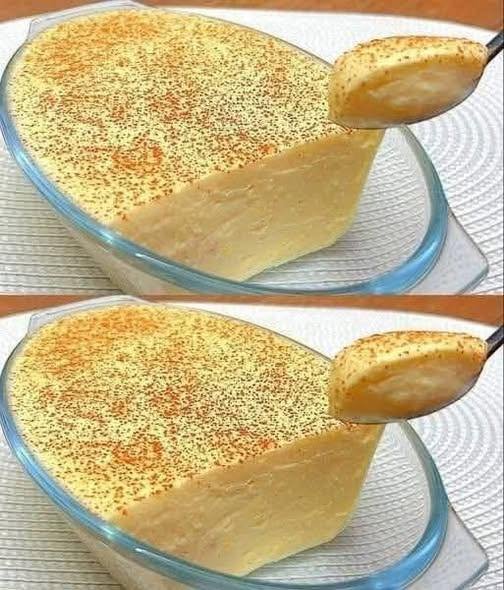
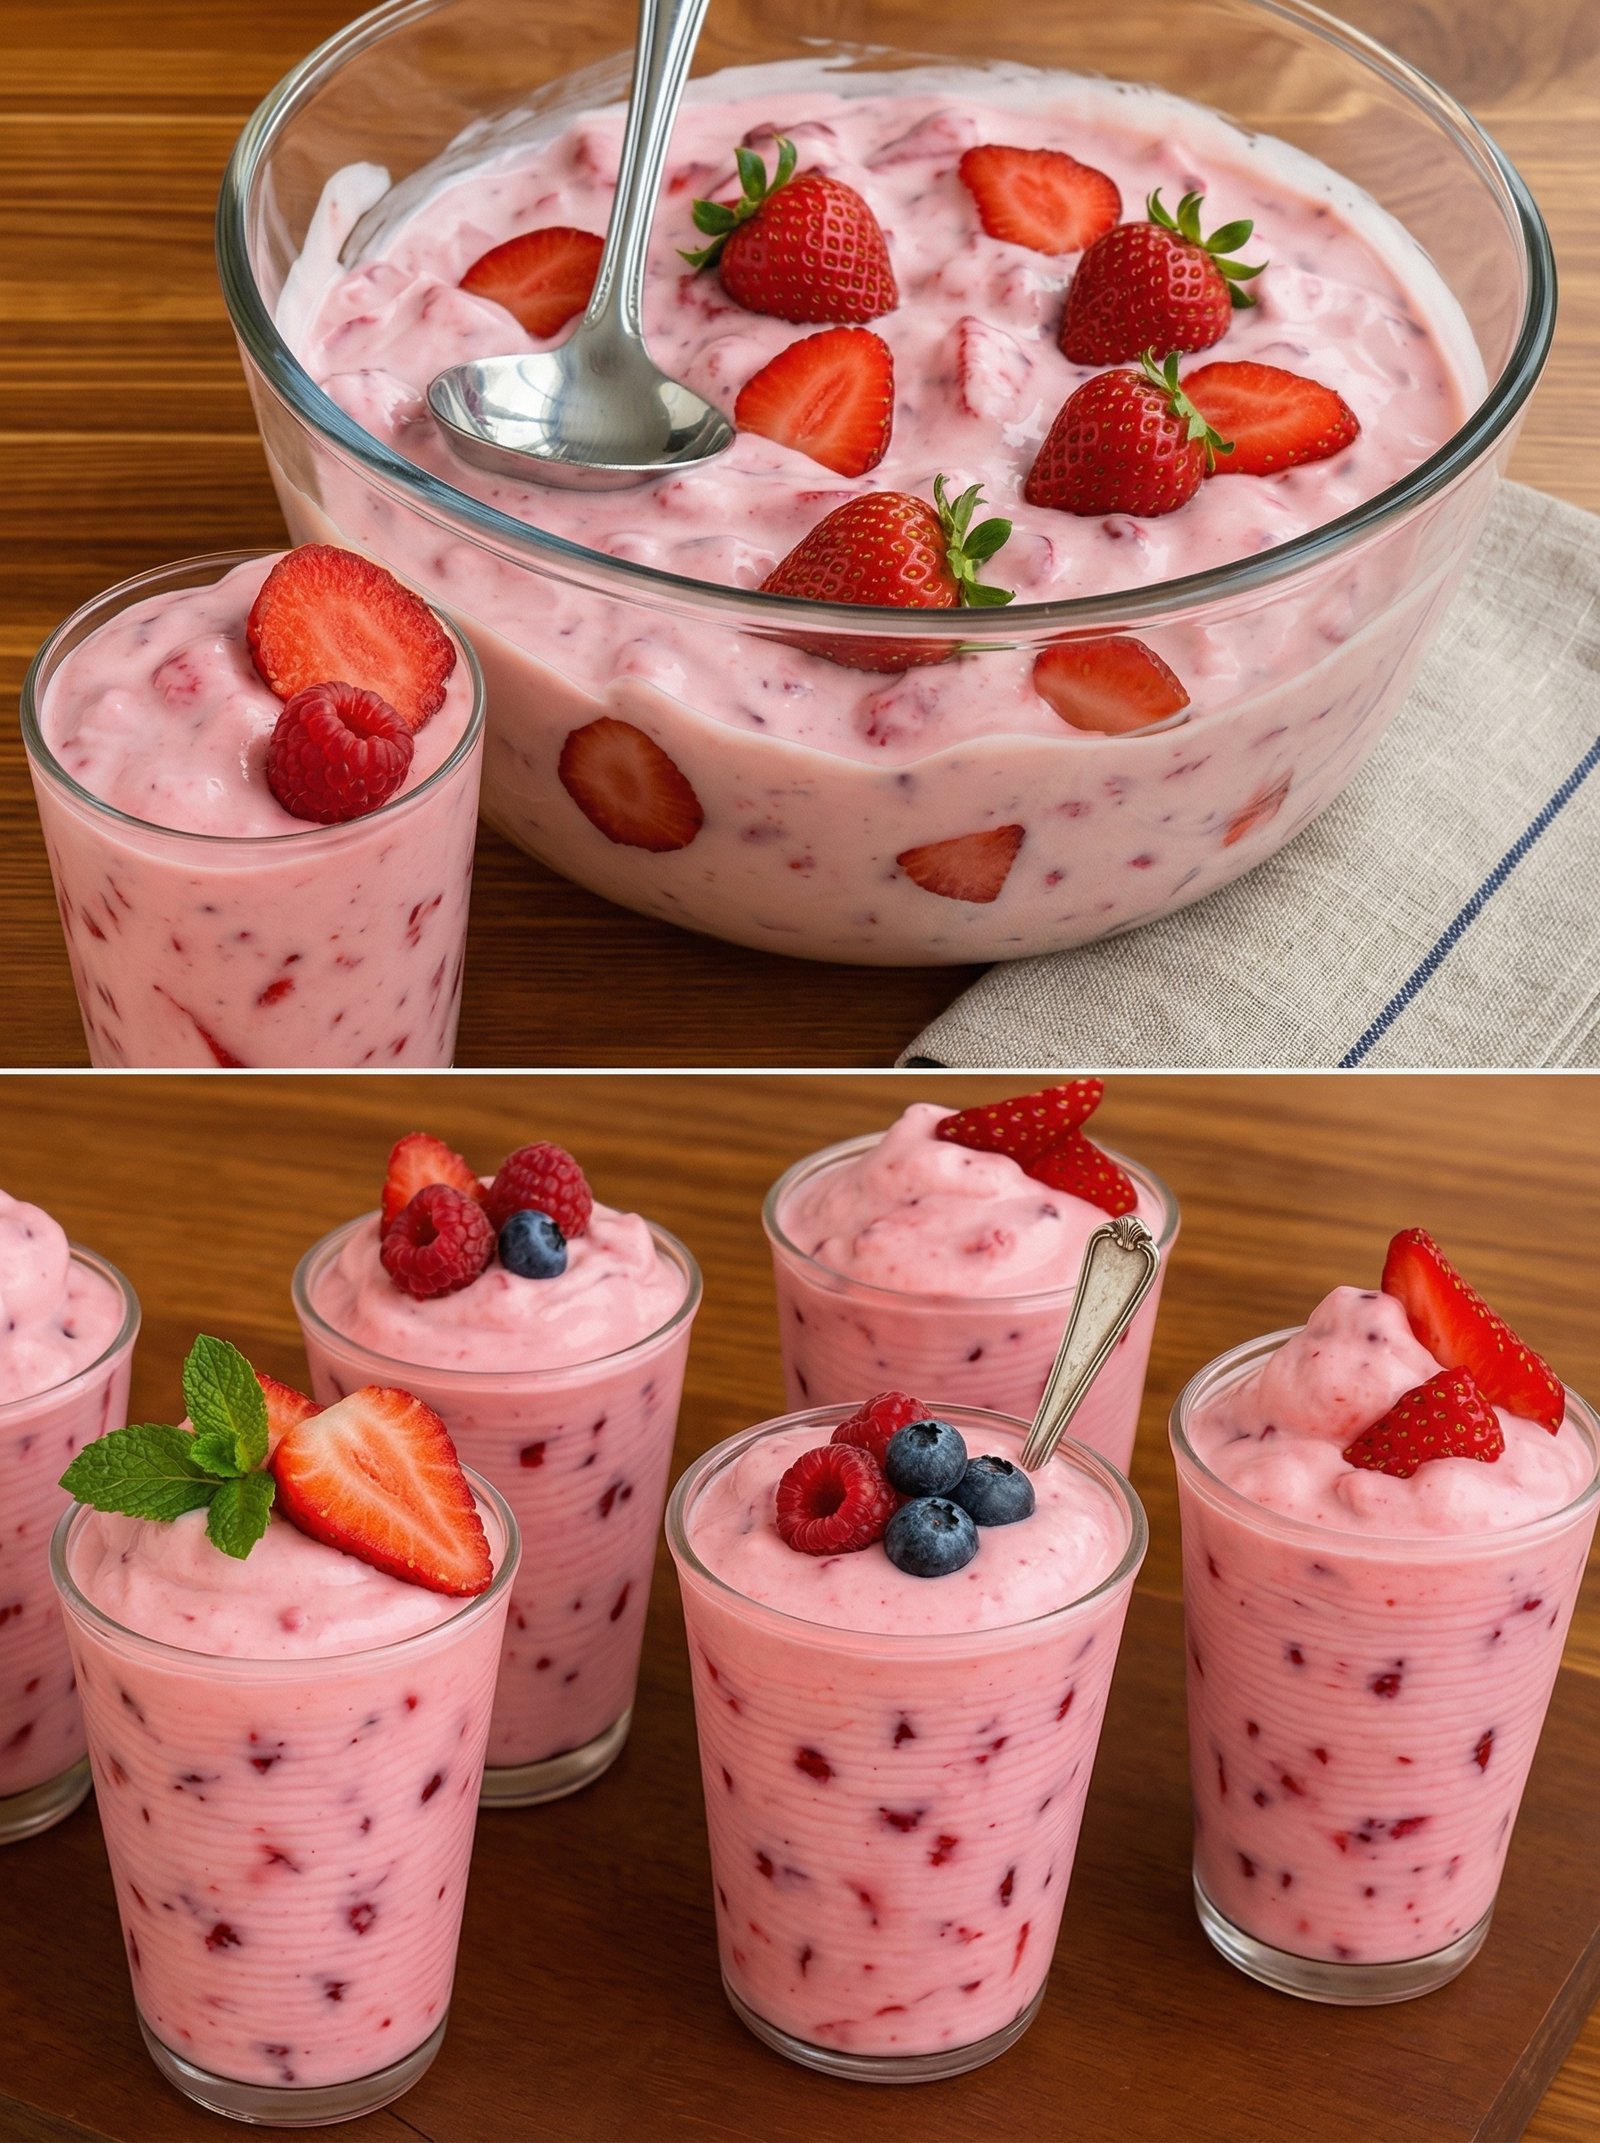
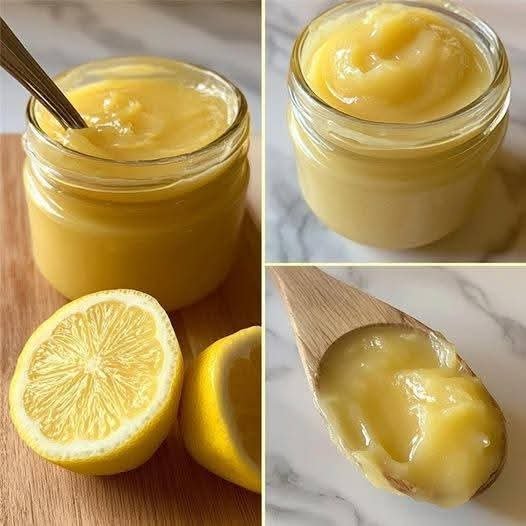
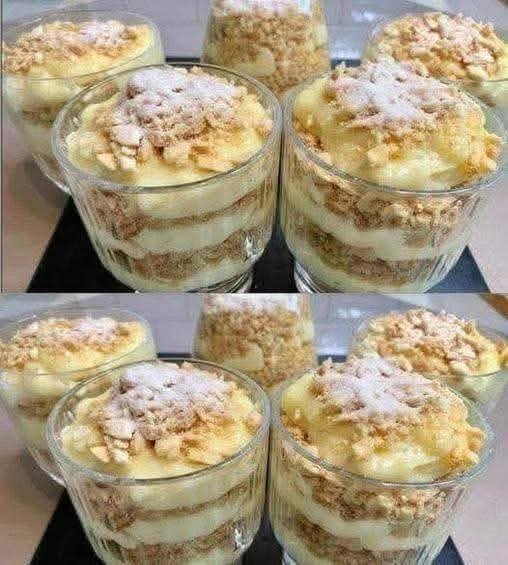
Creamy 3-Ingredient Whipped Delight
This incredibly smooth and airy dessert is the perfect solution for a quick sweet fix. It requires no baking and no gelatin, relying on the natural thickness of the ingredients to create a melt-in-your-mouth texture that feels like a gourmet mousse.
Ingredients
-
2 cups heavy whipping cream (chilled)
-
1 cup condensed milk (or a sugar-free condensed milk alternative)
-
1 tsp vanilla extract
-
Optional: Ground cinnamon or cocoa powder for dusting the top
Step-by-Step Instructions
-
Chill Your Tools: For the best results, place your mixing bowl and whisk attachment in the freezer for about 10 minutes before starting. This helps the cream whip faster and creates a more stable texture.
-
Whip the Cream: Pour the 2 cups of heavy whipping cream into the chilled bowl. Using an electric mixer, beat the cream on medium-high speed until stiff peaks form. Be careful not to over-beat, or it will turn into butter.
-
Combine: Gently pour the 1 cup of condensed milk and 1 tsp vanilla extract into the whipped cream.
-
Fold Gently: Using a spatula, fold the ingredients together very gently. Use a circular motion, lifting from the bottom to the top, to keep as much air in the mixture as possible. This ensures the dessert stays light and creamy.
-
Set: Transfer the mixture into a glass serving dish or individual ramekins. Smooth the top with the back of a spoon or a spatula.
-
Chill: Place the dish in the refrigerator for at least 2 hours (or the freezer for 30 minutes) to let it set and become firm.
-
Serve: Just before serving, lightly dust the top with ground cinnamon or cocoa powder to add a beautiful finish and a hint of extra flavor.
Serving Suggestion
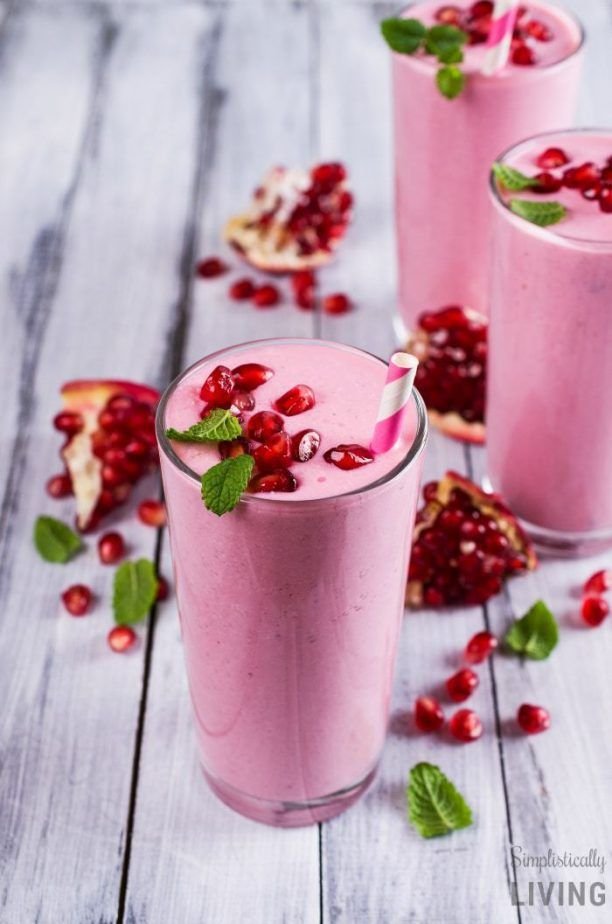
This dessert is wonderful on its own, but it also tastes amazing when served with fresh sliced strawberries or a handful of crushed nuts for a bit of crunch.
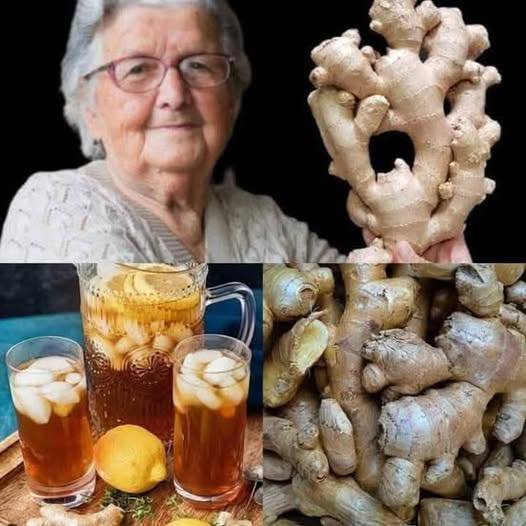
 Note: This is a simple home drink that may support hydration and digestion, but it is not a medical treatment. If someone has health concerns, it is always best to consult a healthcare professional.
 Famous Magnolia Banana Pudding Recipe
 Expert Tips & Notes
 Nutritional Info (Per 1/2 Cup Serving)
 Benefits
 Common Q&A


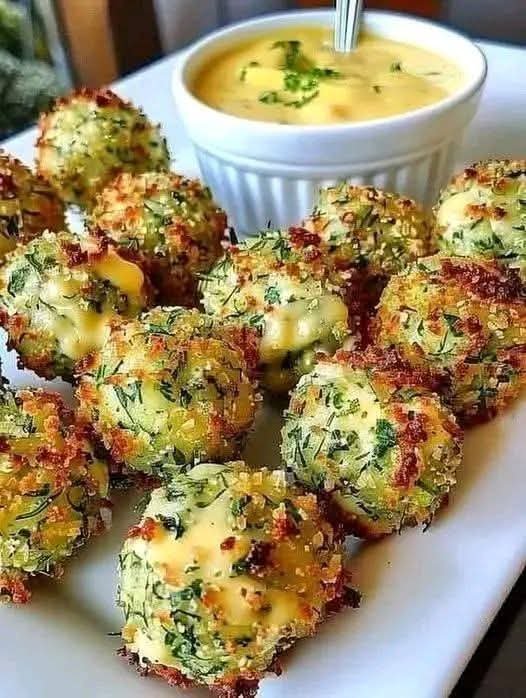
 DIABETIC-FRIENDLY ZUCCHINI BITES
 INGREDIENTS (Makes 18–20 bites)
 INSTRUCTIONS
 Prepare the Zucchini
 Mix the batter.
 Shape the Bites
 Bake
Bake Serve
Serve
