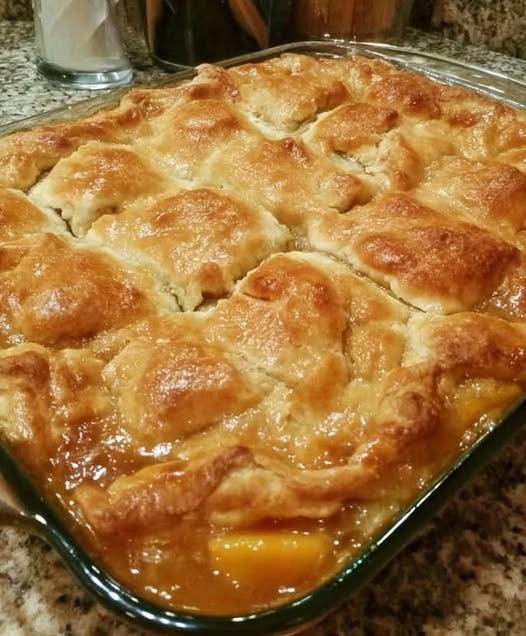
Triple-Crust Peach Cobbler
This version features a bottom crust, a middle layer that soaks up the juices, and a golden-brown top crust.
-
Prep time: 30 minutes
-
Bake time: 50–60 minutes
-
Servings: 8–10
Ingredients
For the Peaches:
-
6–8 cups Fresh Peaches, peeled and sliced (or 3 cans of sliced peaches, drained)
-
1 cup Granulated Sugar
-
1/2 cup Brown Sugar, packed
-
1 tsp Ground Cinnamon
-
1/4 tsp Ground Nutmeg
-
1 tbsp Lemon Juice
-
2 tbsp Cornstarch
For the Triple Crust:
-
3 Refrigerated Pie Crusts (or 3 batches of your favorite homemade double-crust dough)
-
1/2 cup Unsalted Butter, melted
-
2 tbsp Granulated Sugar (for sprinkling)
-
1 Egg + 1 tbsp Water (for egg wash)
Instructions
-
Prepare the Filling: In a large saucepan, combine the peaches, sugars, cinnamon, nutmeg, lemon juice, and cornstarch. Cook over medium heat for about 5–8 minutes until the peaches soften and the syrup thickens slightly. Remove from heat.
-
The Bottom Layer (Crust #1): Preheat your oven to 375°F (190°C). Fit one pie crust into the bottom of a 9×13 inch baking dish. Prick the bottom with a fork and bake for 10 minutes until just slightly set.
-
The Middle Layer (Crust #2): Pour half of the peach mixture over the bottom crust. Take your second pie crust and cut it into 1-inch strips. Lay these strips directly over the peaches in a lattice pattern or simply lay them flat. Brush these strips with some of the melted butter.
-
The Top Layer (Crust #3): Pour the remaining peaches over the middle crust layer. Place the third pie crust over the top. You can do a full top crust (vented with a knife) or another lattice.
-
The Finish: Brush the top crust with the egg wash and sprinkle with the 2 tbsp of sugar. This creates that “aesthetically pleasing” golden finish you mentioned.
-
Bake: Place in the oven for 40–50 minutes. If the edges brown too quickly, cover them with foil. The cobbler is done when the crust is deep golden brown and the peach filling is bubbling through the gaps.
-
Rest: Let it sit for at least 15–20 minutes before serving. This allows the three layers of crust to set and the juices to thicken.
Why This Works
-
Layers upon Layers: The middle crust acts as a “dumpling” layer, soaking up the peach syrup while remaining tender.
-
Texture: You get a crispy bottom, a gooey middle, and a flaky top.
-
Variety: Every bite offers a different ratio of buttery crust to sweet fruit.

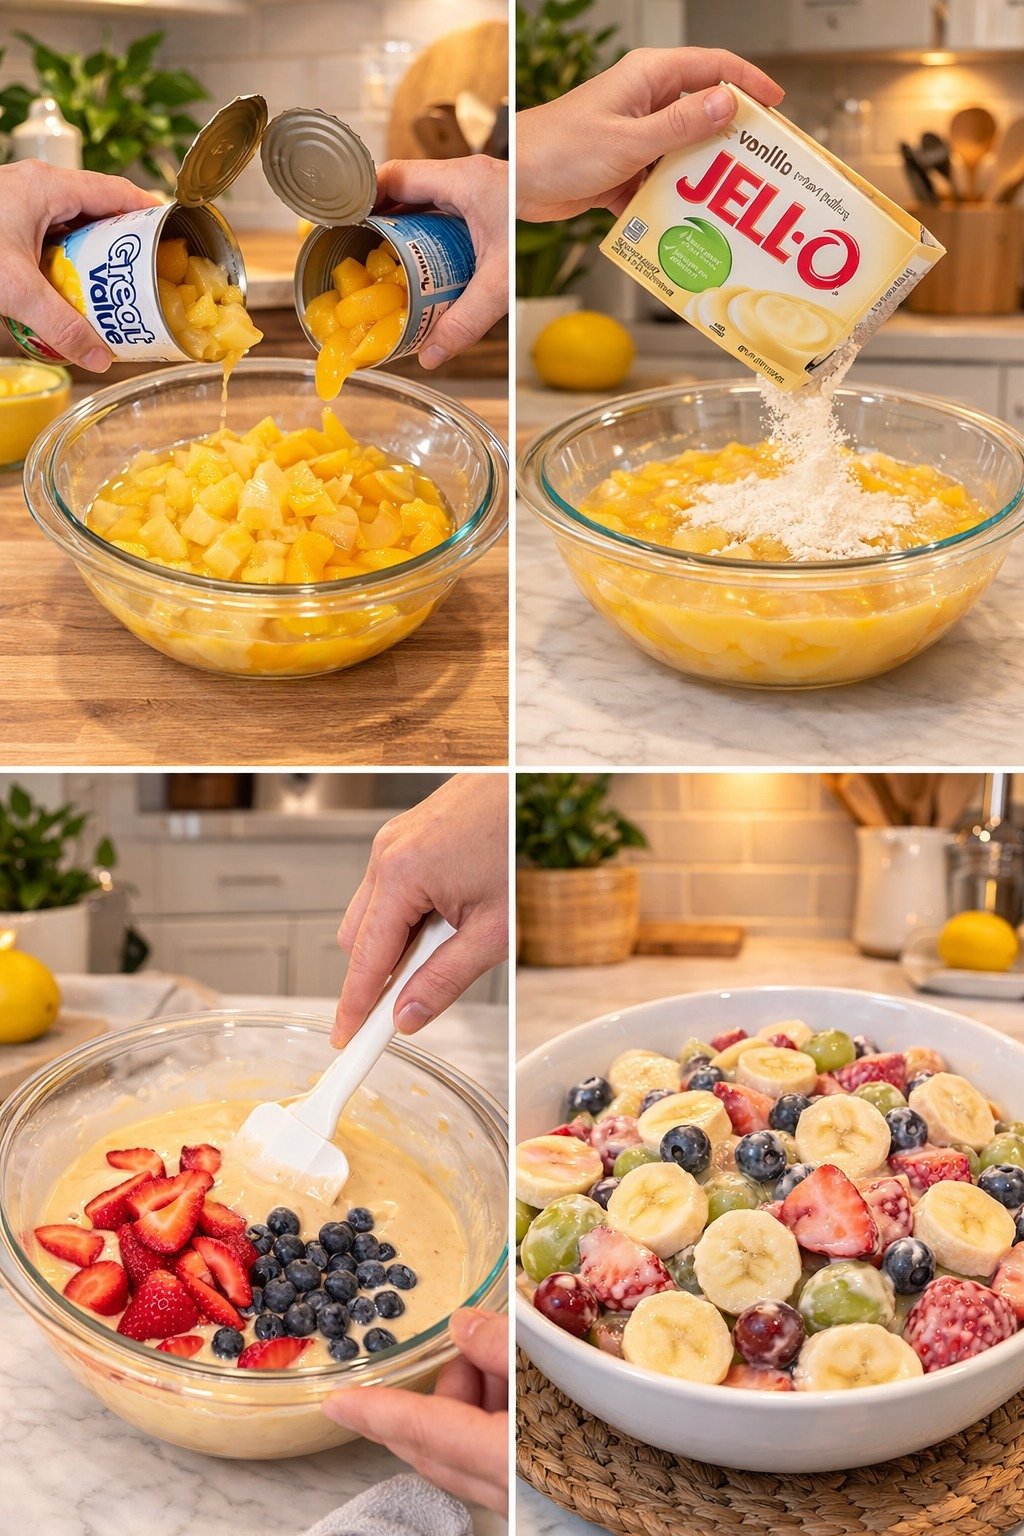
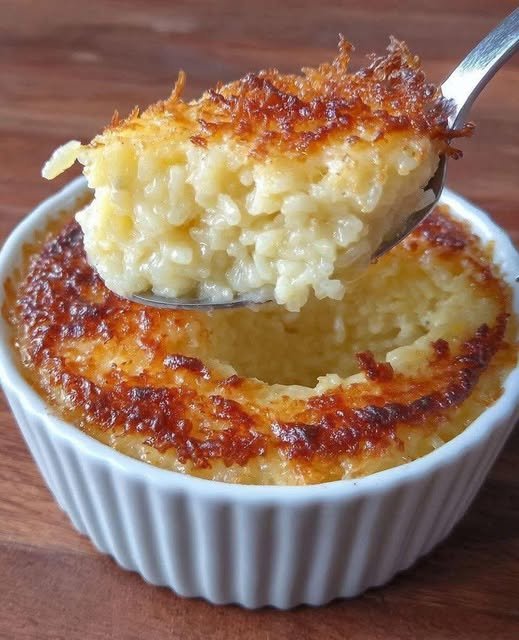
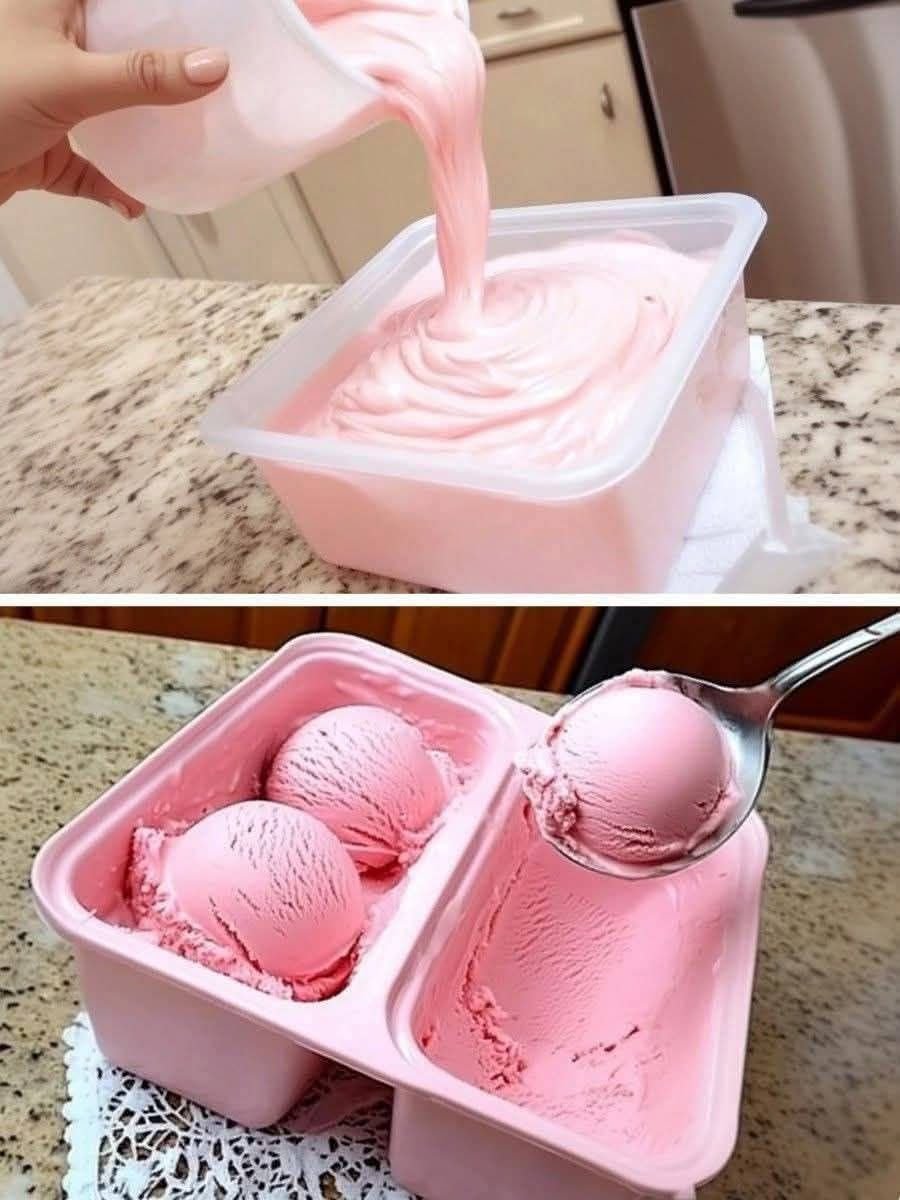
 Perfect simple dessert with basic ingredients!
 Ingredients
 Step-by-Step Detailed Recipe
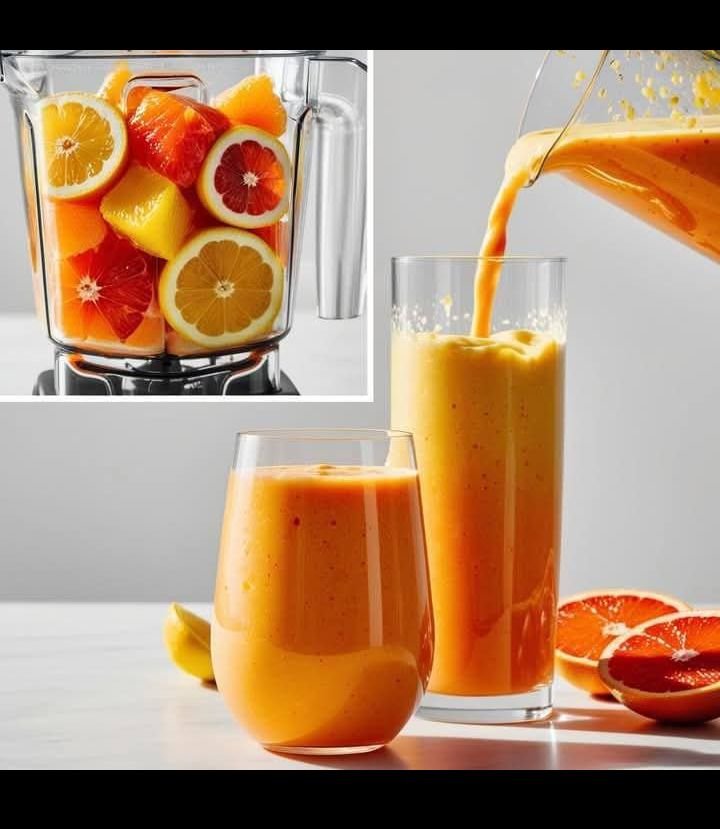
 Step 1: Prepare the Mixture
 Tip: Strain the mixture for extra smooth texture.
 Serving Tip
 Texture Tips
 Use room temperature eggs
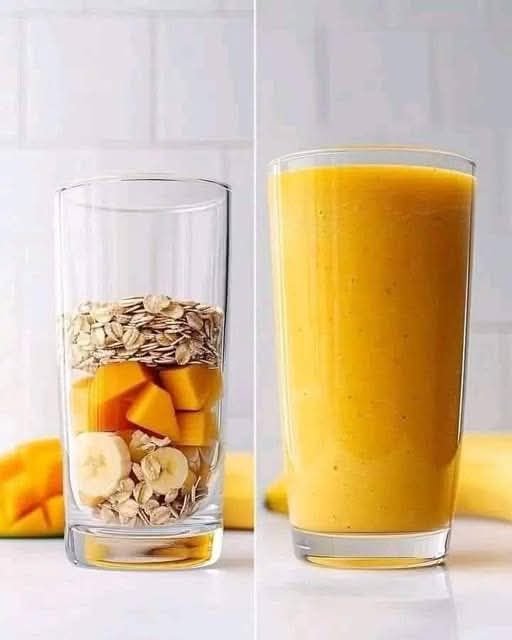
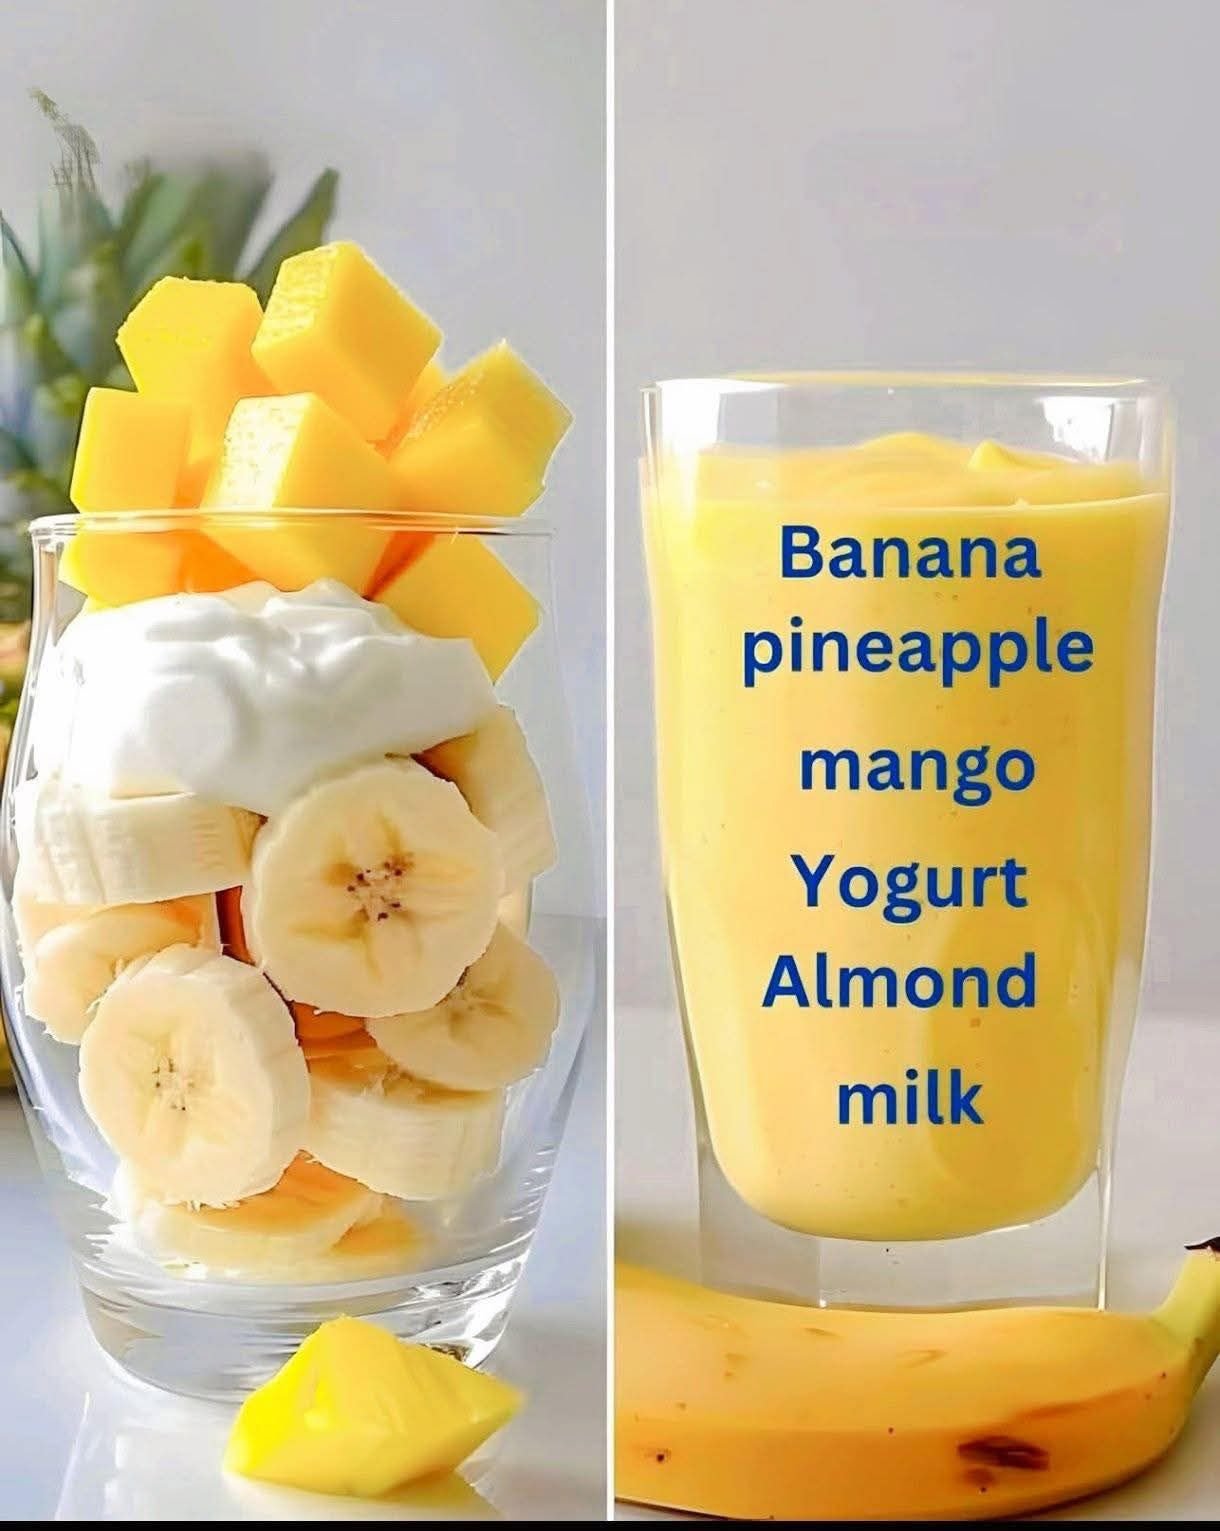
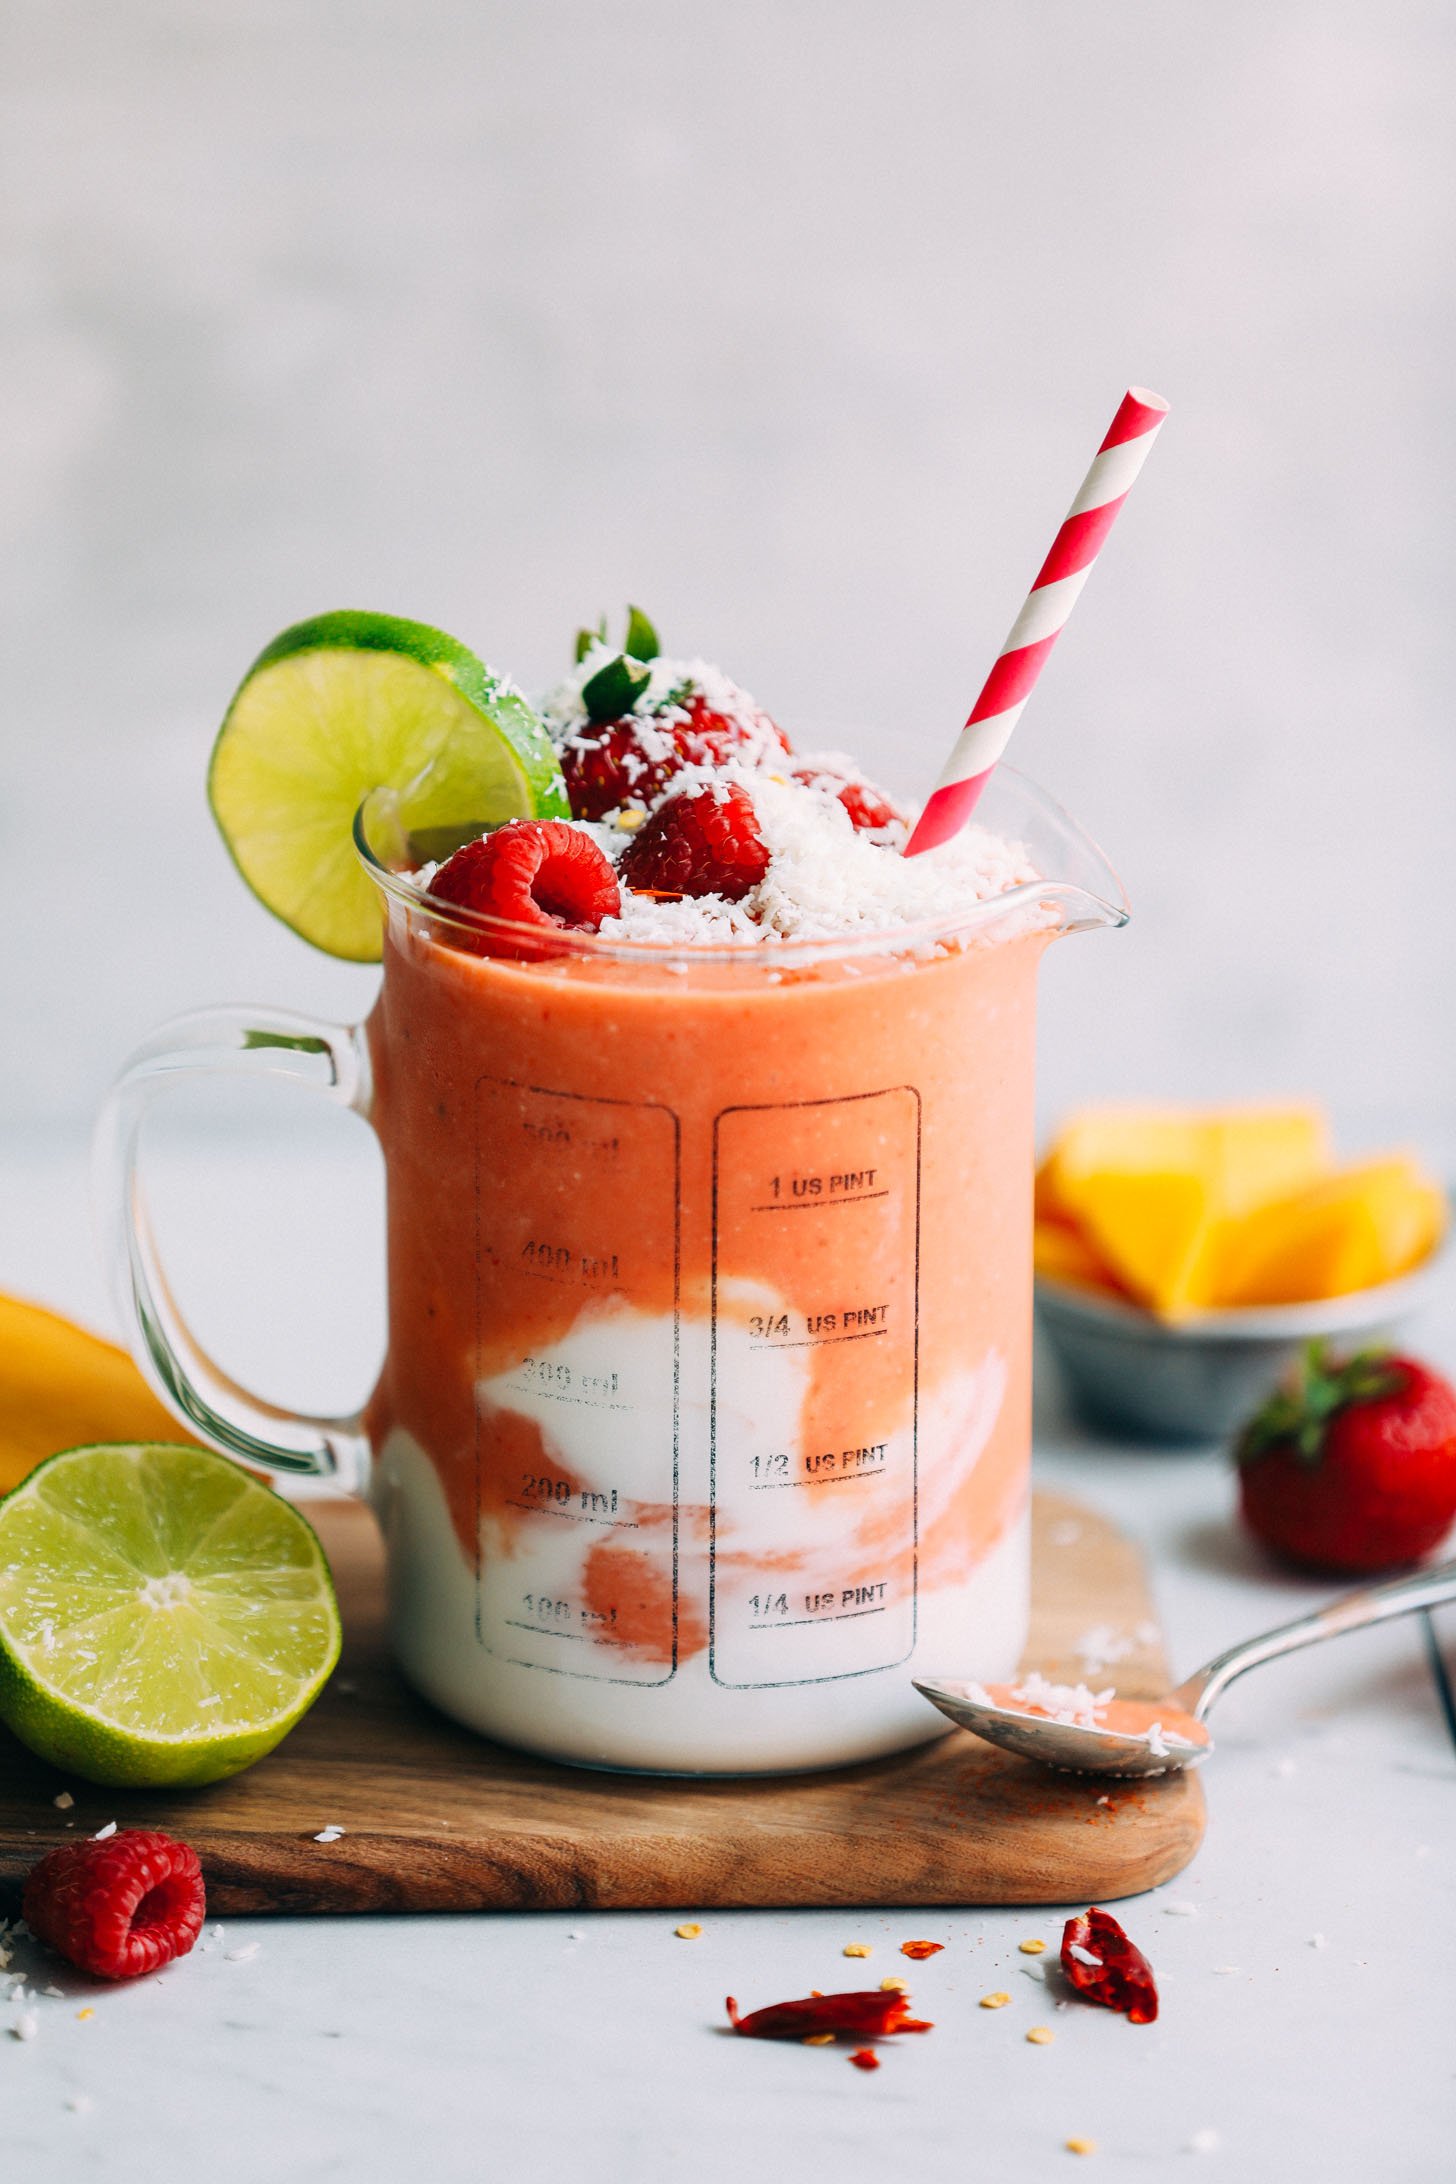
 Mango Banana Oat Breakfast Smoothie
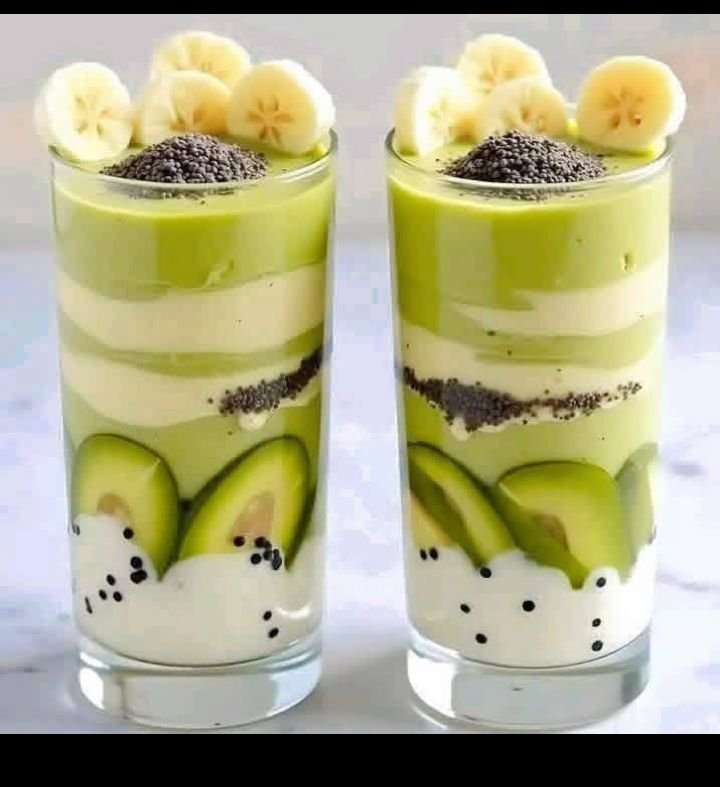
 Ingredients
 Step-by-Step Instructions
 Q&A Section
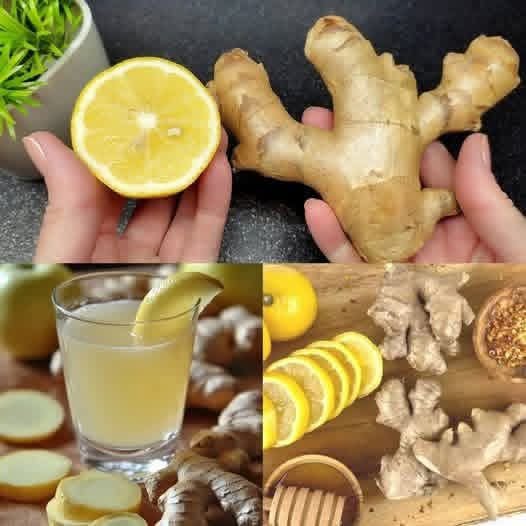
 Ginger works wonders by speeding up your metabolism, curbing your appetite, and enhancing digestion.