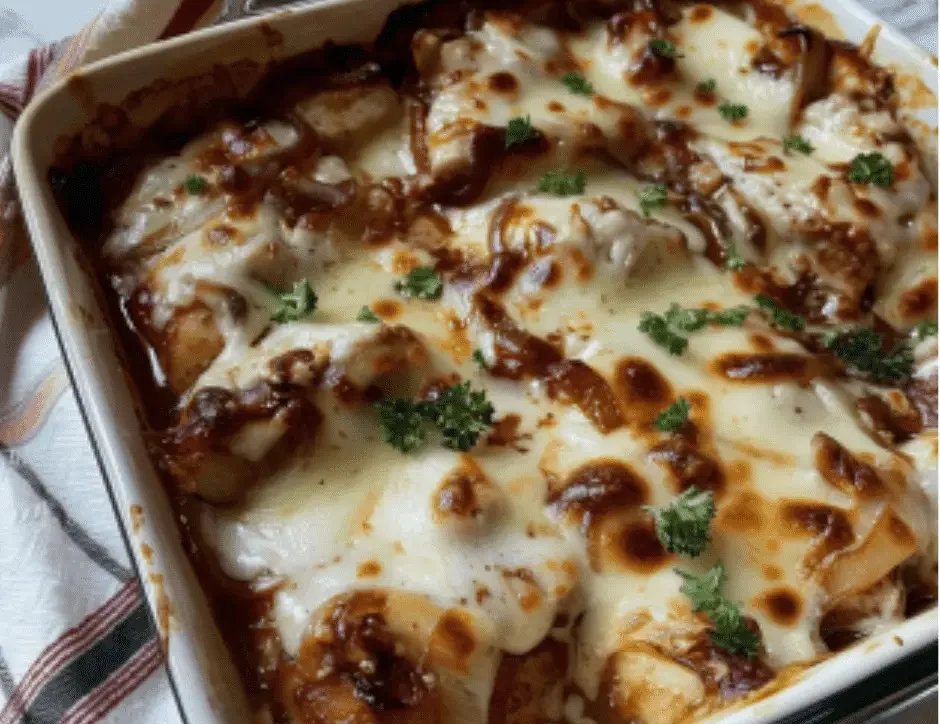
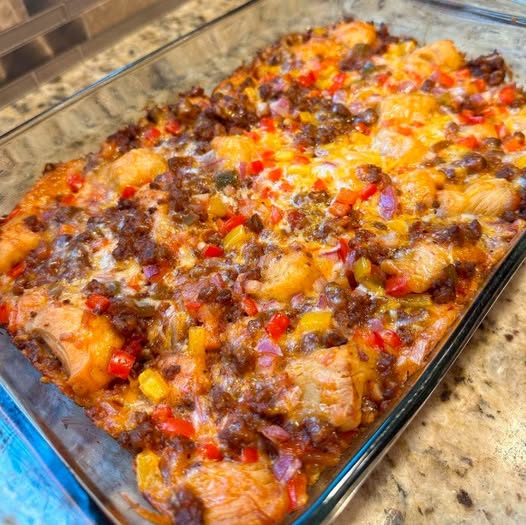
This keto French Onion Chicken Bake is a delicious and amazing dish. This baked dish had a large no of healthy fats & proteins, so we won’t feel hungry till the next meal. It is made with a mix of tender chicken with caramelized onions, Gruyere cheese, along with herbs, and beef broth. These ingredients will deepen the taste of the dish and also make the dish aromatic and appetizing. This dish is prepared fast in only fifty minutes, so it is perfect for a weeknight dinner, but also on busy days. We can serve this tasty baked dish along with cauliflower mash or steamed vegetables for a filling and healthy meal. This dish is very delightful, so everyone will like to have it.
STATS:
- Serving size: 1 fillet with topping
- Time of cook: 35 mints.
- Serving: 4
- Overall time: 50 mints.
- Caloric content: 400 Kcal
- Cuisine: American & French-inspired
- Time of prep: 15 mints.
- Course: Main course
- Diet: Keto & Low-Carb
EQUIPMENT:
- Oven-safe baking dish
- Big dish
- Measuring spoons
- Bowl
- Measuring cups
INGREDIENTS:
- Four chicken breasts
- One tablespoon organic olive oil
- 3 large yellow onions
- Black pepper
- 3 tablespoons grass fed butter
- 2 garlic cloves
- 1 cup organic Gruyere cheese block
- ½ cup Homemade beef broth
- 1 tablespoon Coconut aminos
- Salt
- 1 teaspoon fresh thyme
INGREDIENT NOTES:
YELLOW ONIONS:
- We use yellow onions to make this dish as they caramelize well, and they also add sweetness and deep taste to the dish.
GRUYERE CHEESE BLOCK:
- It is utilized to add a slightly tangy & nutty taste, and it also melts nicely in the dish.
GRASS FED BUTTER:
- It is used to boost the caramelization taste of onions, and it also makes the dish rich.
HOMEMADE BEEF BROTH:
- We have to use the reduced sodium broth to add the umami flavor in the dish & chicken broth is also a great alternative.
COCONUT AMNOS:
- We have to use the coconut aminos to add the umami flavor in the dish without the carbs.
THYME:
- We have to use fresh thyme to add the strong herbal aroma to the dish; dry thyme works great.
OLIVE OIL:
- It is used to saute the onions and also prevents the food from sticking to the pan.
INSTRUCTIONS:
- We have to preheat the oven at three-seventy-five degrees F.
- Then we can heat oil in a pan on moderate settings.
- We can add slices of onions and cook for around twenty minutes to get them caramelized.
- Then we can add butter and garlic in between.
- We can sprinkle black pepper, thyme, and salt on the chicken fillet.
- Put the chicken fillet on a tray along with keto beef broth, & coconut aminos.
- Sprinkle caramelized onions and Gruyere cheese around the chicken fillet.
- Now we can bake this for 25 minutes to properly cook the chicken.
- We can serve French Onion Chicken Bake after 5 mints.
SERVING SUGGESTIONS:
- We can serve this Bake dish with steamed broccoli or asparagus.
- We can pair this bake with cauliflower mash for a filling meal.
- You can have this bake dish along with salad & vinaigrette.
- We can add sautéed mushrooms on the side of this dish.
- You can garnish with parsley or chives.
TIPS:
- We have to slowly caramelized onions to prepare the flavorful and sweet dish.
- You have to utilize a meat thermometer to monitor the interior temperature of 165 degrees F.
- We can also add a little heavy cream to prepare a rich dish.
- You can easily use mozzarella cheese for a different flavor profile.
STORAGE INFORMATION:
FRIDGE:
- Put the bake dish in the sealed container for around 4 days.
FREEZER:
- Put the bake dish in a closed box and preserve the dish for three months.
FAQs:
Can I utilize chicken thighs to prepare this dish?
- We can utilize chicken thighs to prepare this dish, and modify the time of cooking as required.
Is this baked dish dairy-free?
- This baked dish is not dairy-free, but we can use dairy-free cheese or eliminate the cheese to prepare a dairy-free dish.
Will we prepare the dish before time?
- We can prepare and assemble the dish, store it in the fridge, and bake the next day.
NUTRITIONAL INFORMATION:
Fiber: 2g
Net Carbs: 5g
Fat: 20g
Sodium: 600mg
Protein: 45g
Calcium: 200mg
Caloric content: 400 kcal
Iron: 2mg
Vitamin A: 400 IU
Potassium: 700mg
Total Carbs: 7g


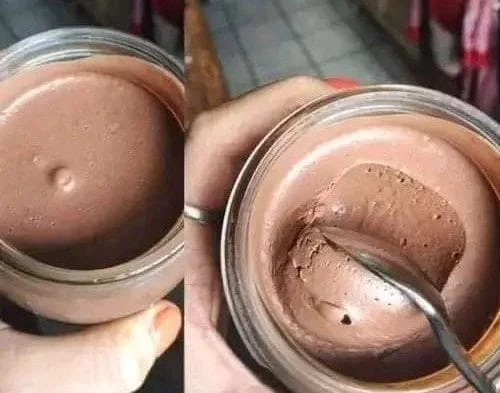
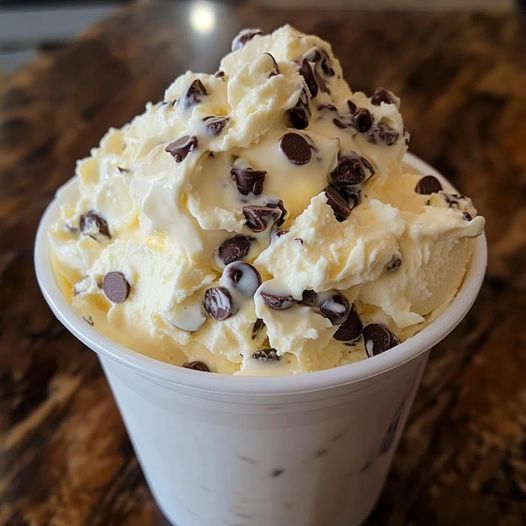
 Carnivore Chocolate Mousse Recipe
 Ingredients (Serves 2–3):
 Optional additions:
 Instructions:
 Storage:

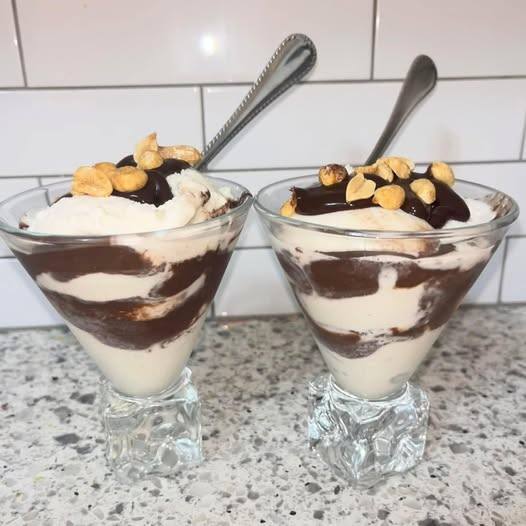


 What You’ll Need:
 How to Make Them:
 Bonus Tip: