
Zero-Carb Savory Cheese Flatbread
Prep time: 10 minutes
Baking time: 20–25 minutes
Servings: 4–6 slices
Ingredients
-
2 Large Eggs
-
1 cup Low-Fat Cottage Cheese (Small curd works best)
-
1 ½ cups Shredded Mozzarella Cheese (Divided)
-
½ teaspoon Garlic Powder
-
1 teaspoon Italian Seasoning (Dried oregano, basil, and thyme)
-
A pinch of Salt
Detailed Step-by-Step Instructions
-
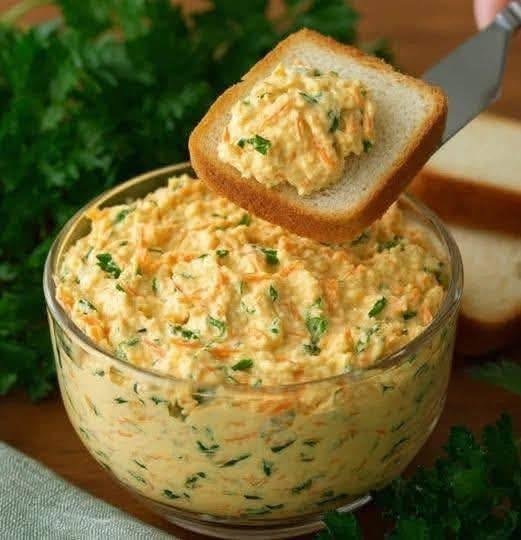
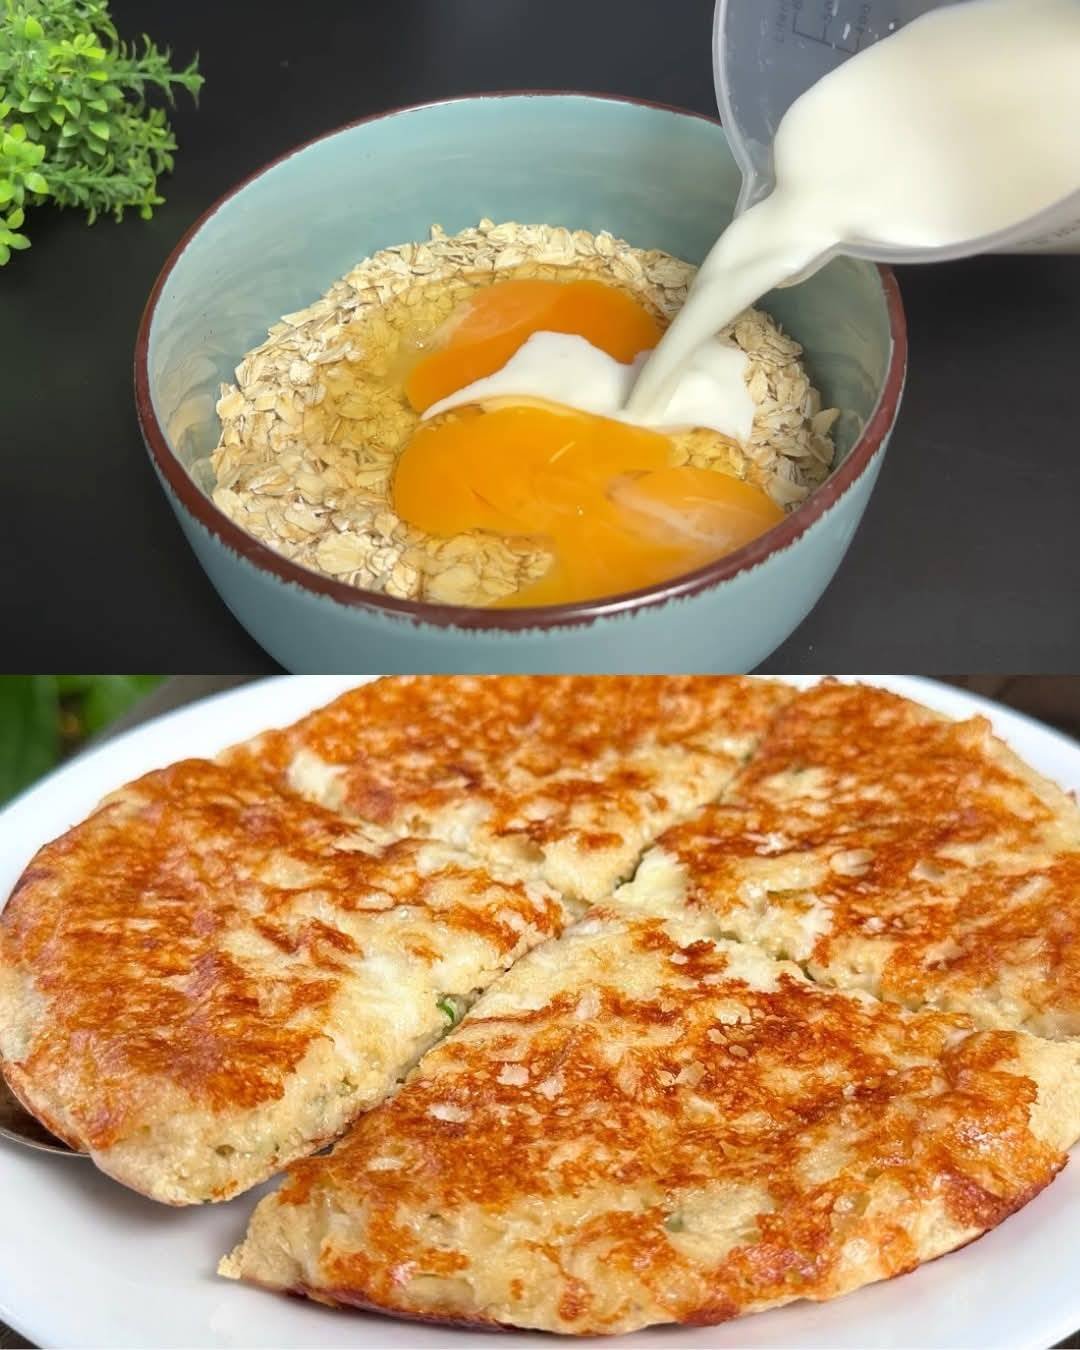
Prepare the Base: In a medium bowl, whisk the two eggs thoroughly. Add the cottage cheese and half of the shredded mozzarella (¾ cup). Stir in the garlic powder and salt until well combined.
-
Blend for Smoothness (Optional): If you prefer a more uniform, bread-like texture without the visible curds of cottage cheese, you can pulse the mixture in a blender for 30 seconds until smooth.
-
Spread the Batter: Line a baking sheet with parchment paper (this is crucial to prevent sticking). Pour the mixture onto the center of the tray and use a spatula to spread it into a rectangular or circular shape, about ½ inch thick.
-
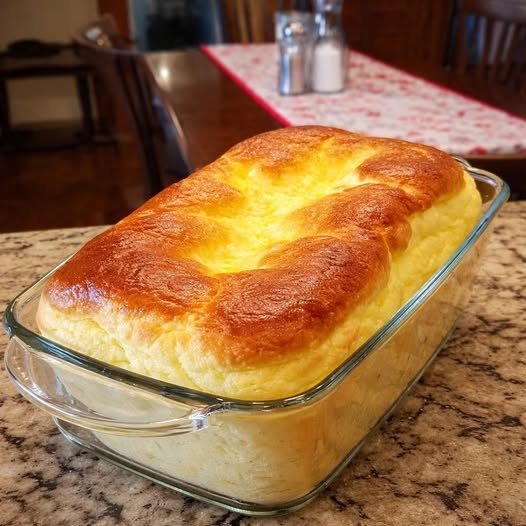
The First Bake: Place in a preheated oven at 190°C (375°F) for about 15–20 minutes. The edges should start to turn golden brown and the center should be firm to the touch.
-
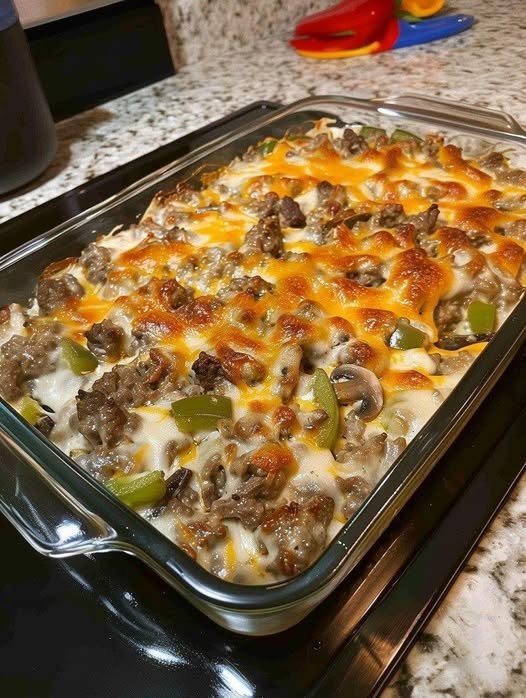
Add Toppings: Remove the tray from the oven. Sprinkle the remaining ¾ cup of shredded mozzarella and the Italian seasoning evenly over the top.
-
The Final Melt: Return the flatbread to the oven for another 5 minutes, or until the cheese on top is bubbly and begins to brown slightly.
-
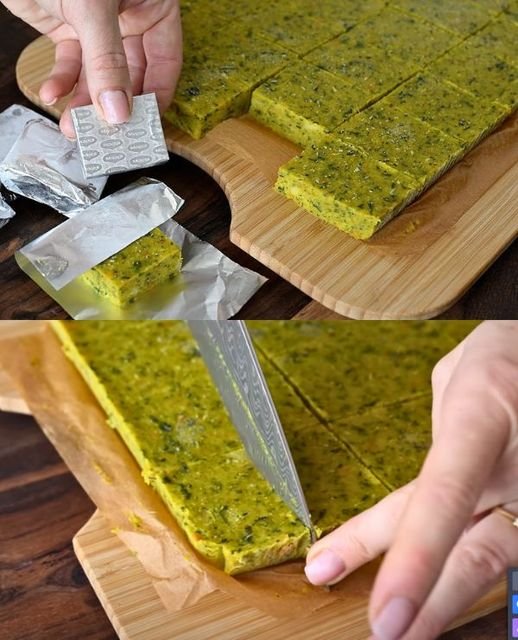
Slice and Serve: Let it cool for 2–3 minutes before slicing into strips or squares. This allows the base to set firmly so you can pick up the slices easily.
Chef’s Tip
For a “crispy crust” feel, you can sprinkle a little grated Parmesan cheese on the parchment paper before pouring the batter. This creates a savory, golden crust on the bottom of your flatbread!


 Description
 Ingredients (Serves 4)
 Instructions
 Prepare the Cucumbers
 Make the Creamy Dressing
 Combine
 Chill
Chill Tips for Best Results
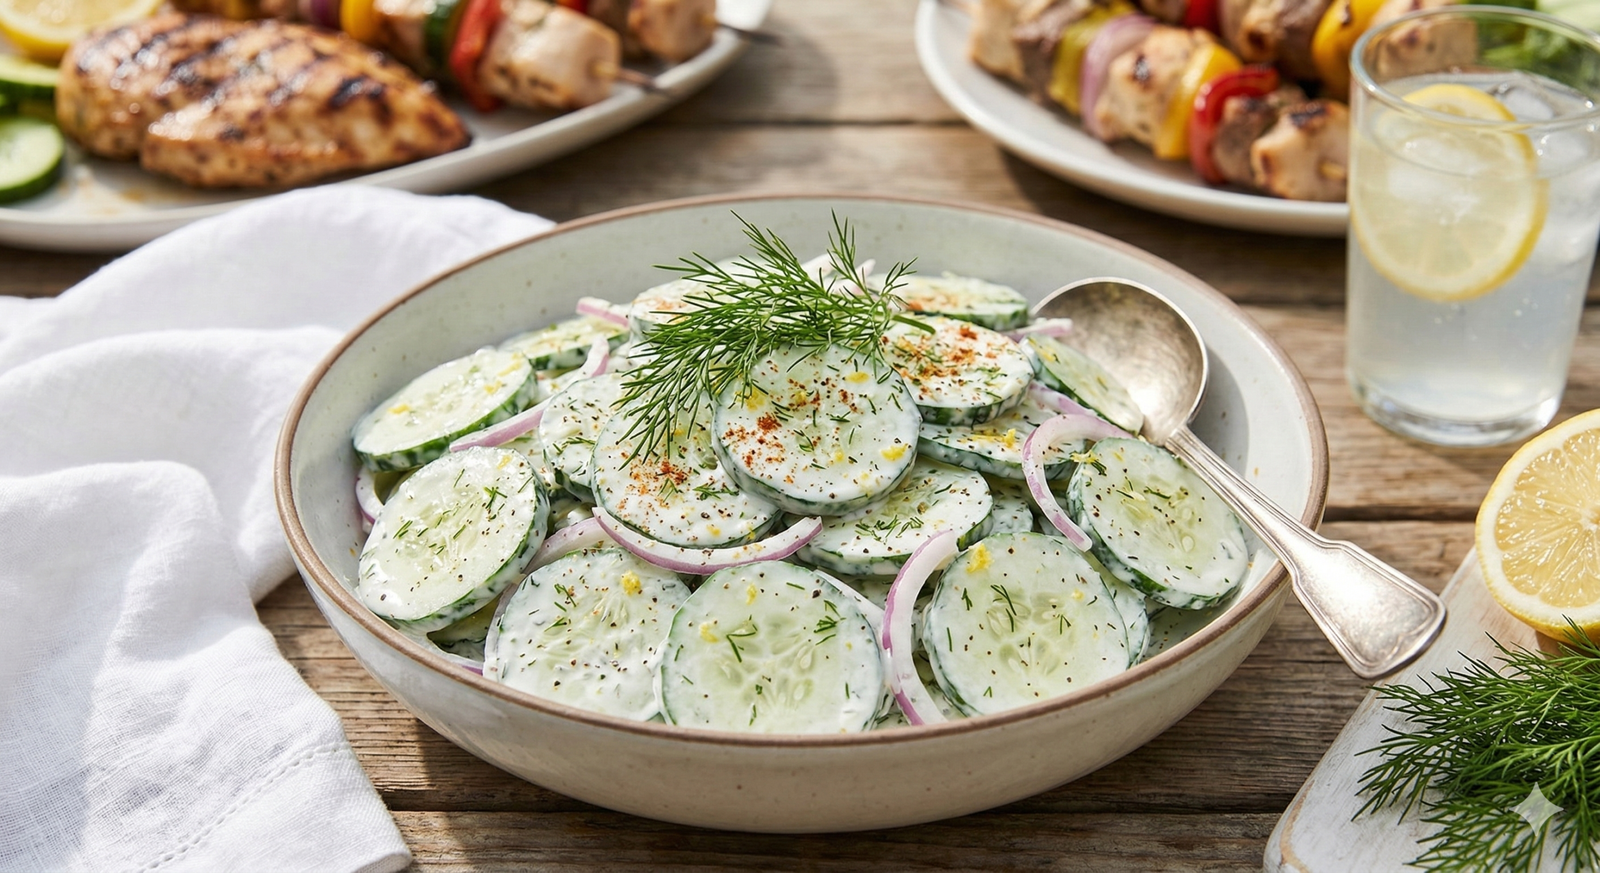
 Use English cucumbers for fewer seeds and less bitterness.
 Serving Suggestions
 Nutritional Info (Approx. per serving)
 Health Benefits
 Cucumbers are hydrating and low in calories
 Yogurt provides probiotics for gut health
 Light and heart-friendly when made with Greek yogurt
 Frequently Asked Questions