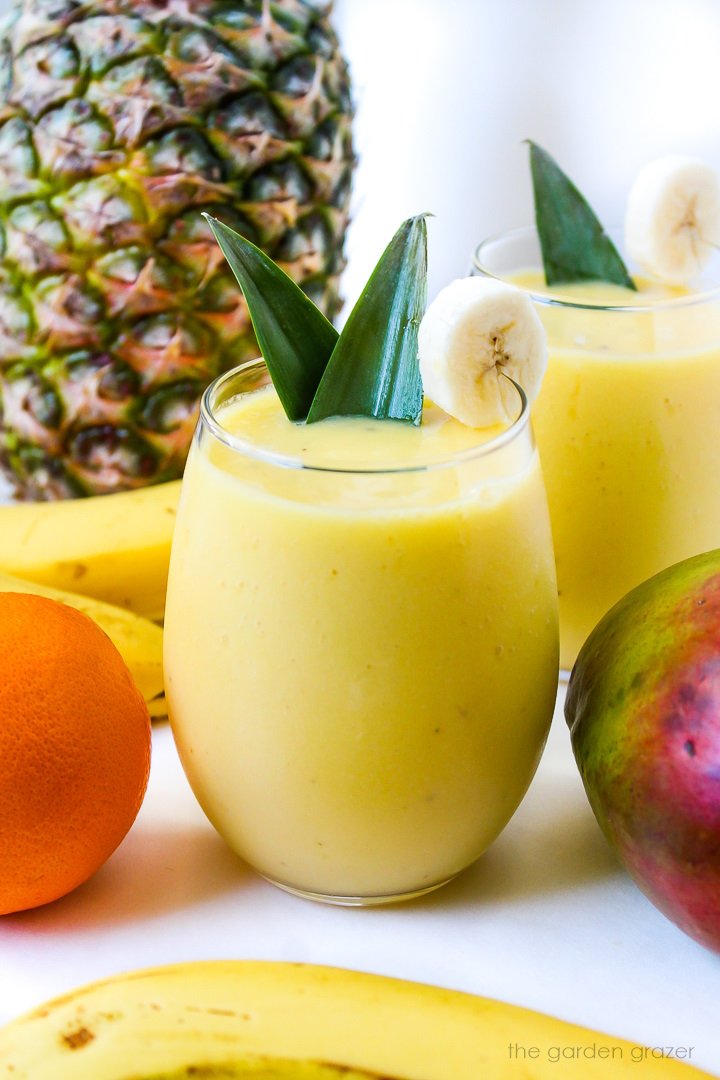
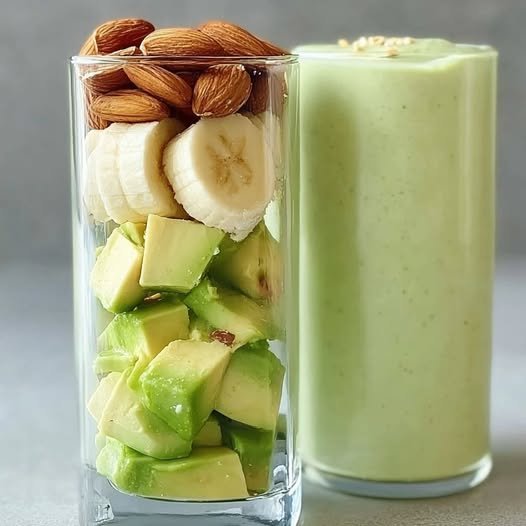
Tropical Sunrise Smoothie
Prep time: 5 minutes | Servings: 2
Ingredients
-
1 cup fresh or frozen mango chunks
-
1 cup fresh or frozen pineapple chunks
-
1 large ripe banana (frozen works best for a thicker texture)
-
1/2 cup fresh orange juice (about 1–2 oranges)
-
1/2 cup coconut milk or Greek yogurt (for that creamy finish)
-
Optional: A splash of water or ice if needed to reach your desired consistency.
Instructions
-
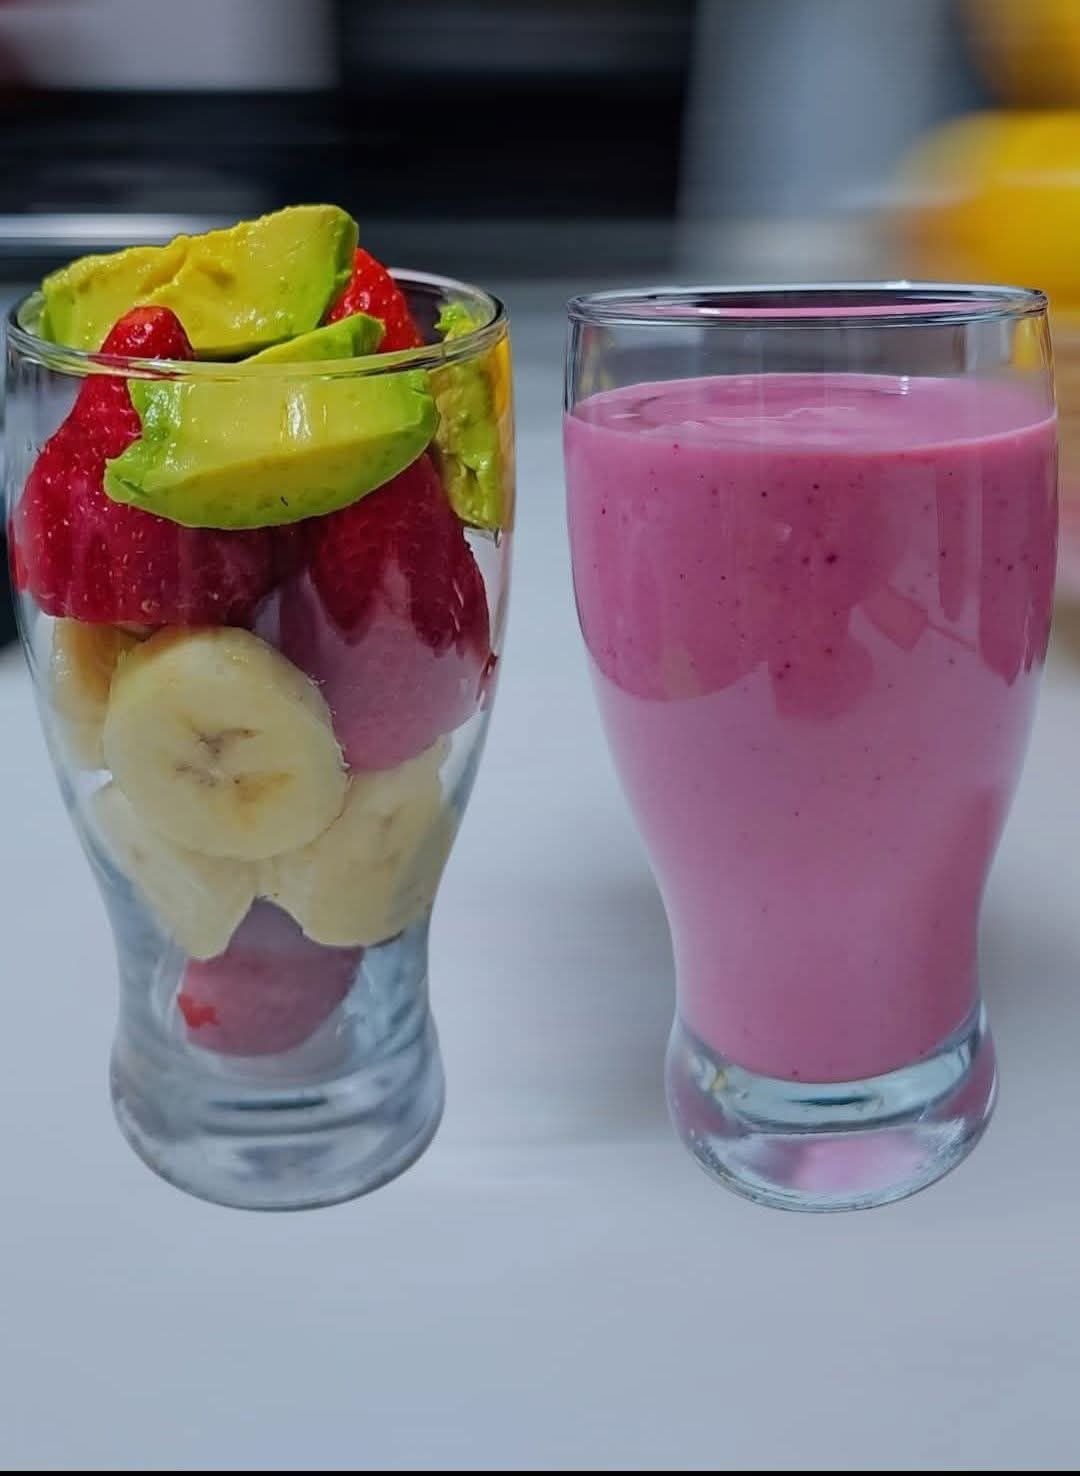
Prep the Fruit: If using fresh fruit, peel the mango and orange, and remove the core from the pineapple.
-
Combine: Place the mango, pineapple, banana, orange juice, and coconut milk/yogurt into a high-speed blender.
-
Blend: Start on low speed and gradually increase to high. Blend for about 45–60 seconds until completely smooth and creamy.
-
Adjust: If it’s too thick, add a little more orange juice. If it’s too thin, add a few ice cubes or more frozen fruit and blend again.
-
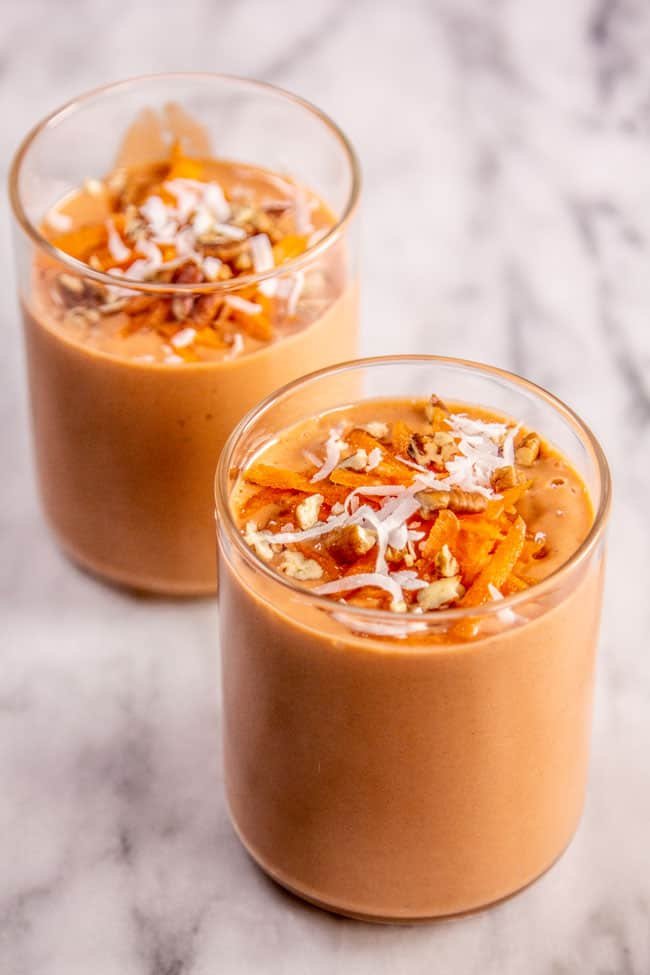
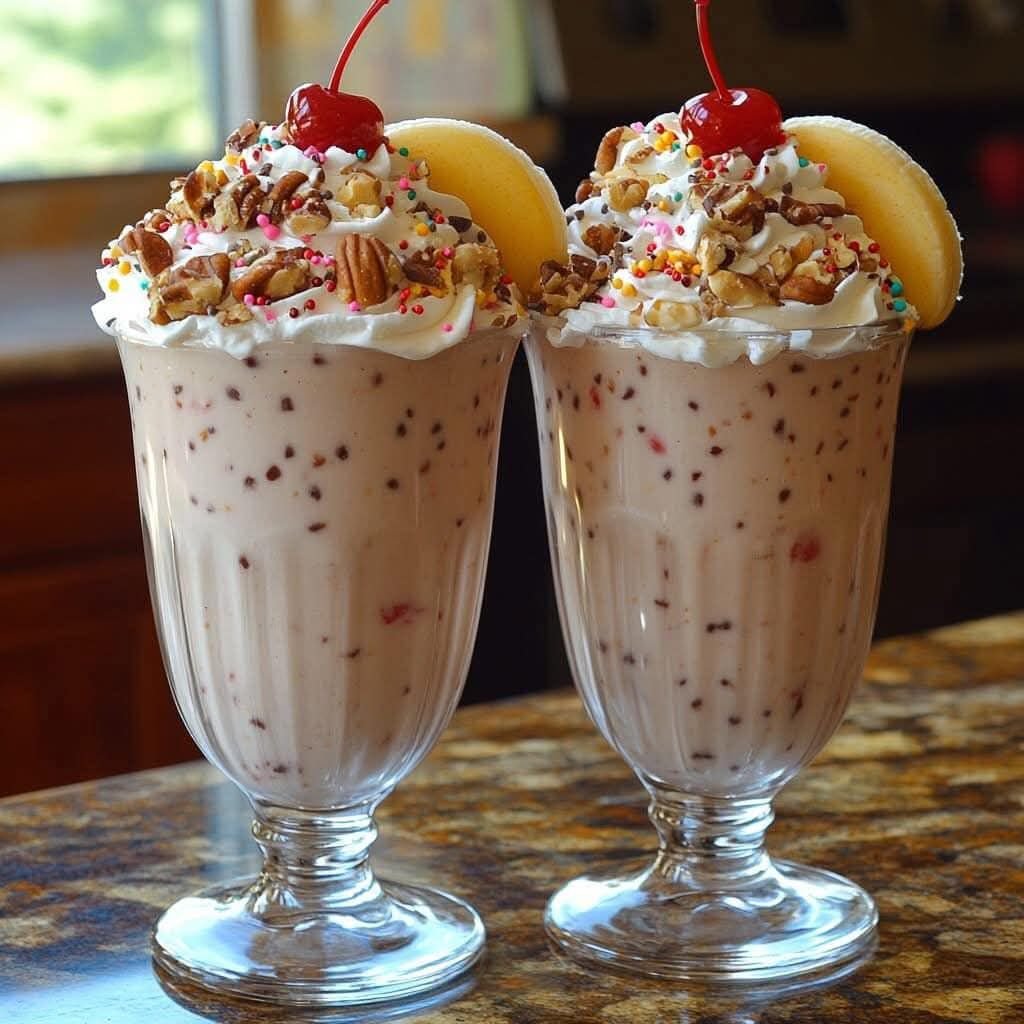
Garnish: To match the photo, pour into glasses and top with a thin slice of banana and a couple of clean pineapple leaves.
Pro Tips for the Best Results
-
Freeze your fruit: Using frozen mango and banana eliminates the need for ice, which can water down the flavor. It results in a much more “velvety” texture.
-
The “Secret” Creaminess: If you want it extra decadent like the photo suggests, use full-fat canned coconut milk.
Note: Always ensure you wash the outside of the pineapple leaves thoroughly before using them as a garnish!


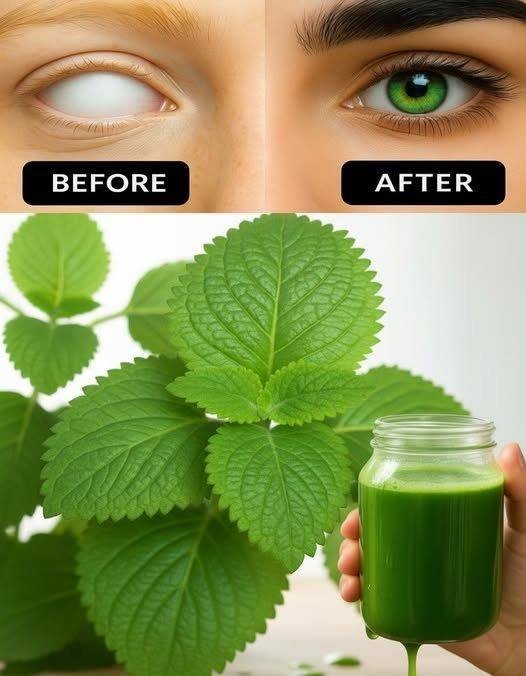
 Wash the herbs
 Prepare ingredients
 Blend
Blend Strain (optional)
 Serve
Serve Eye health support
 Immune support
 Anti-inflammatory properties
 Heart health
 Digestive support
 Add ginger for extra digestive benefits.


 Q&A:
Q&A: