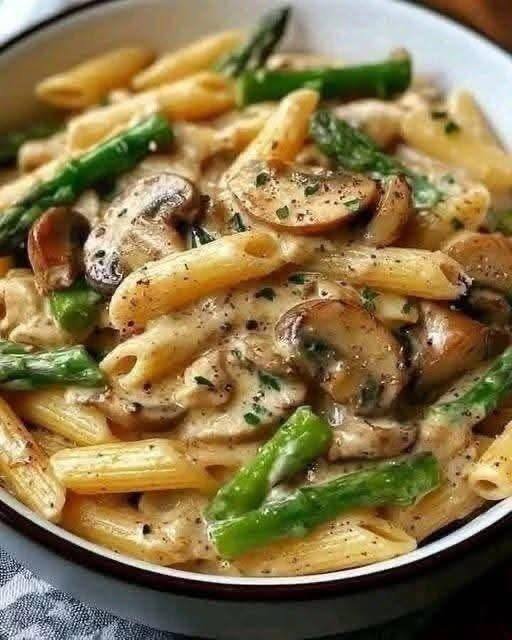
Creamy Mushroom & Asparagus Chicken Penne
-
Prep time: 15 minutes
-
Cook time: 20 minutes
-
Servings: 4 people
Ingredients
-
1 lb Chicken breast, bite-sized pieces
-
10 oz Penne pasta
-
1 bunch Asparagus, trimmed and cut into 2-inch pieces
-
8 oz Cremini or Button mushrooms, sliced
-
3 cloves Garlic, minced
-
1 ½ cups Heavy cream (or half-and-half for a lighter version)
-
½ cup Parmesan cheese, freshly grated
-
2 tbsp Olive oil
-
1 tsp Dried thyme or Italian seasoning
-
Salt & Black Pepper to taste
-
Optional: Red pepper flakes for a kick
Instructions
-
Boil the Pasta: Bring a large pot of salted water to a boil. Cook the penne according to package instructions. Pro Tip: Toss the asparagus pieces into the boiling pasta water during the last 3 minutes of cooking. Drain both together.
-
Sear the Chicken: While the pasta cooks, heat olive oil in a large skillet over medium-high heat. Season chicken with salt, pepper, and thyme. Sauté until golden and cooked through (about 5–7 minutes). Remove chicken from the pan and set aside.
-
Sauté Mushrooms: In the same skillet, add the sliced mushrooms. Cook until they release their moisture and turn golden brown. Stir in the minced garlic and cook for 1 minute until fragrant.
-
Create the Sauce: Lower the heat to medium. Pour in the heavy cream and bring to a gentle simmer. Let it bubble for 2–3 minutes to thicken slightly.
-
Combine: Stir the Parmesan cheese into the sauce until melted. Return the chicken, pasta, and asparagus to the skillet.
-
Finish: Toss everything together until well-coated. If the sauce is too thick, splash in a little reserved pasta water. Season with extra salt and pepper to taste.
Tips for Success
-
Don’t Overcook the Asparagus: You want it vibrant green and “tender-crisp.” Blending it with the pasta water (as mentioned in step 1) is the easiest way to ensure perfect texture.
-
Mushroom Magic: Don’t crowd the pan when browning mushrooms. If they are too cramped, they will steam instead of sear, losing that deep umami flavor.
-
Freshly Grated Cheese: Use a block of Parmesan rather than the pre-shredded stuff in a green can. It melts much smoother into the sauce.
Nutritional Info (Per Serving)
Estimates based on standard ingredients.
| Metric | Amount |
| Calories | 620 kcal |
| Protein | 38g |
| Total Fat | 32g |
| Carbohydrates | 45g |
| Fiber | 4g |
Benefits of This Dish
-
High Protein: Excellent for muscle recovery and satiety thanks to the chicken.
-
Vitamin Rich: Asparagus is a powerhouse of Vitamin K and Folate.
-
Selenium & Antioxidants: Mushrooms provide essential minerals that support immune health.
Q&A
Q: Can I make this gluten-free?
A: Absolutely. Simply swap the penne for your favorite gluten-free pasta (brown rice or chickpea pasta works great) and ensure your seasonings are certified GF.
Q: How do I store leftovers?
A: Keep in an airtight container in the fridge for up to 3 days. When reheating, add a splash of milk or water to loosen the sauce, as the pasta will absorb the cream over time.
Q: What can I substitute for heavy cream?
A: For a lighter version, use half-and-half or whole milk mixed with a teaspoon of cornstarch. For a dairy-free version, full-fat canned coconut milk or a cashew-based cream works surprisingly well.


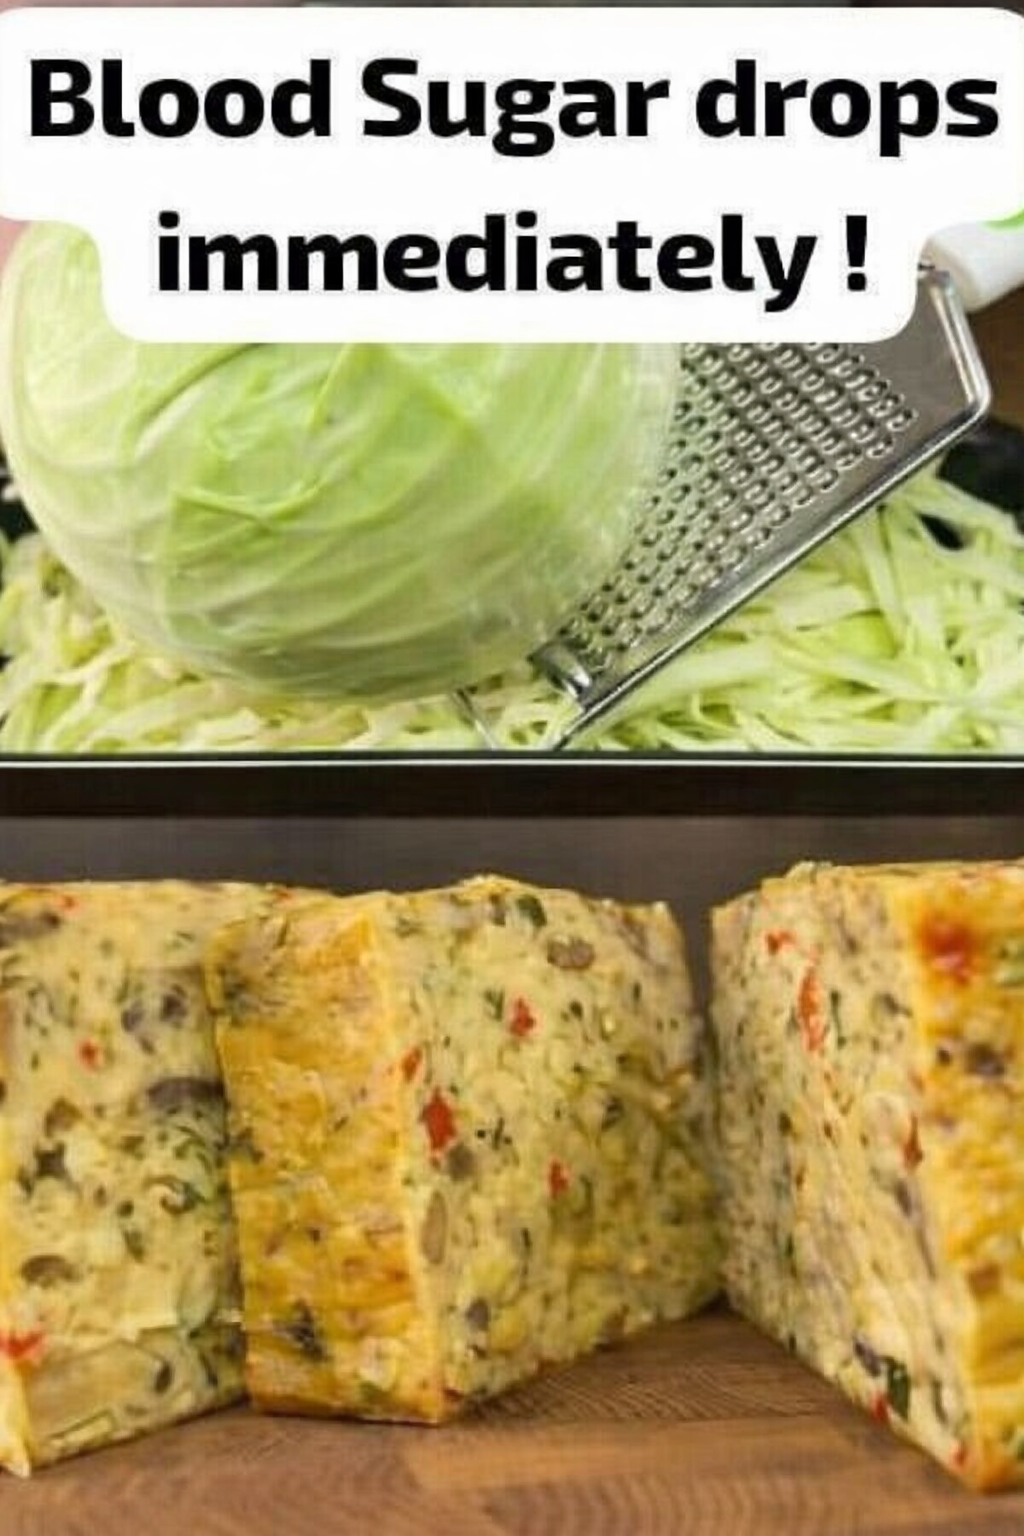
 Note: This recipe supports healthy blood sugar management, but it does not replace medical treatment or cause “instant” glucose drops.
 Suitable for: