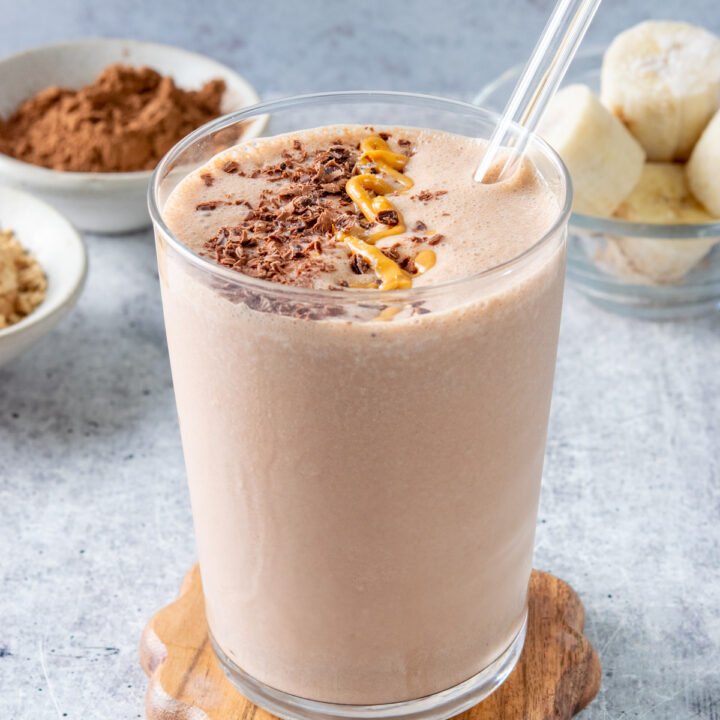
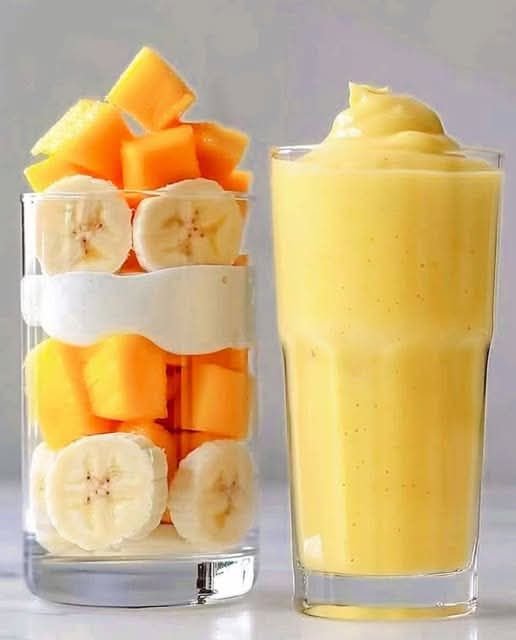
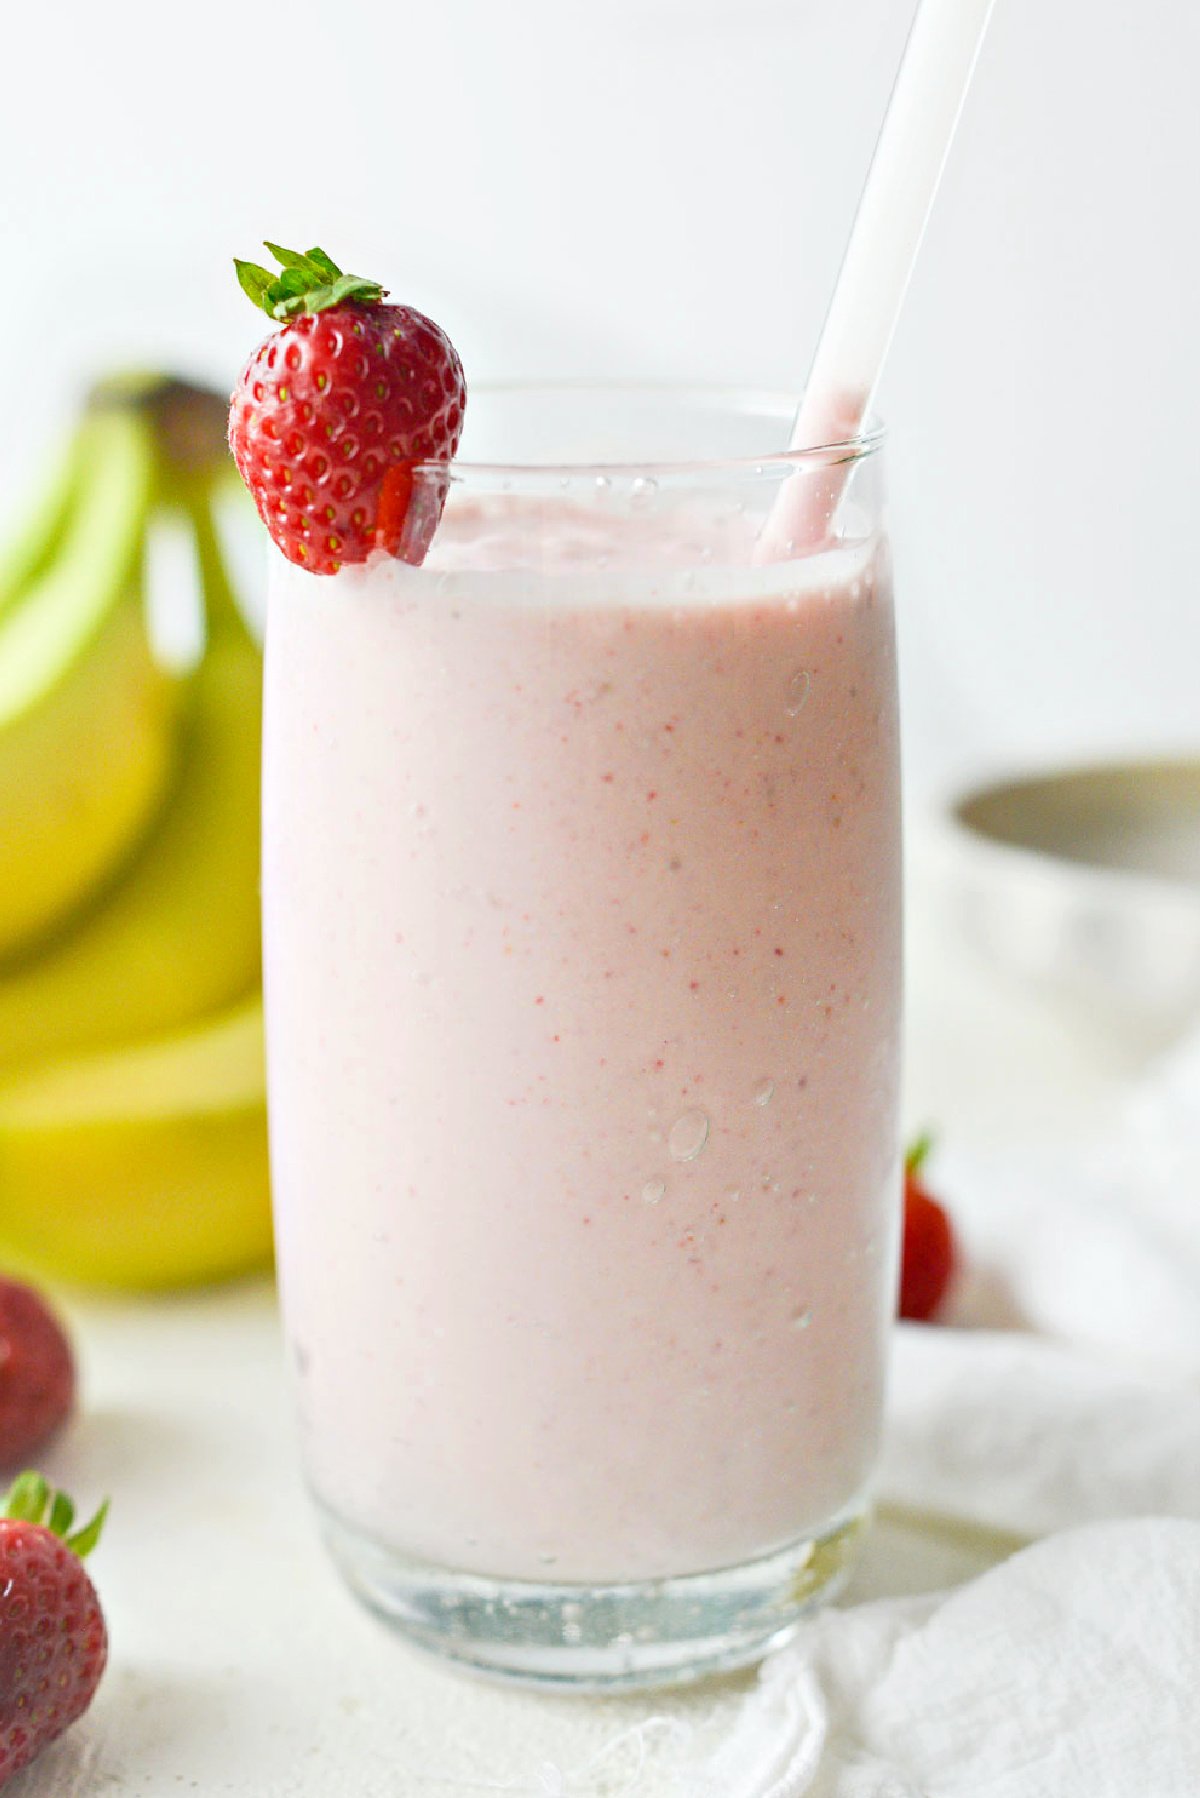
Chocolate Peanut Butter Banana Smoothie
This recipe makes one large, creamy serving that tastes almost like a milkshake but is packed with energy.
Ingredients
| Item | Amount | Notes |
| Frozen Banana | 1 large | Sliced and frozen for maximum creaminess |
| Milk of choice | 1 cup | Dairy, almond, oat, or soy all work well |
| Peanut Butter | 1-2 tbsp | Creamy style works best for blending |
| Cocoa Powder | 1 tbsp | Unsweetened, high-quality cocoa |
| Honey or Maple Syrup | 1 tsp | Optional, for extra sweetness |
| Ice | 1/2 cup | Only if your banana wasn’t frozen |
Toppings (as seen in photo)
-
A drizzle of melted peanut butter
-
A sprinkle of shaved dark chocolate or cocoa nibs
Instructions
-
Prep the Blender: Pour the milk into the blender first. Adding liquid before the solids helps the blades move more freely and prevents sticking.
-
Combine: Add the frozen banana chunks, peanut butter, cocoa powder, and your sweetener of choice.
-
Blend: Start on a low speed and gradually increase to high. Blend for about 45–60 seconds until the texture is completely smooth and no banana lumps remain.
-
Check Consistency: If it’s too thick, add a splash more milk. If you want it thicker, add a few more ice cubes or frozen banana slices.
-
Garnish: Pour into a glass. Melt a teaspoon of peanut butter in the microwave for 10 seconds and drizzle it over the top, then finish with the chocolate shavings.
Pro-Tips for Success
-
The Banana Secret: Using a “spotted” (overripe) banana before freezing it will make the smoothie naturally sweeter without needing extra sugar.
-
Protein Boost: You can easily swap the cocoa powder for a scoop of chocolate protein powder if you’re looking for a post-workout meal.
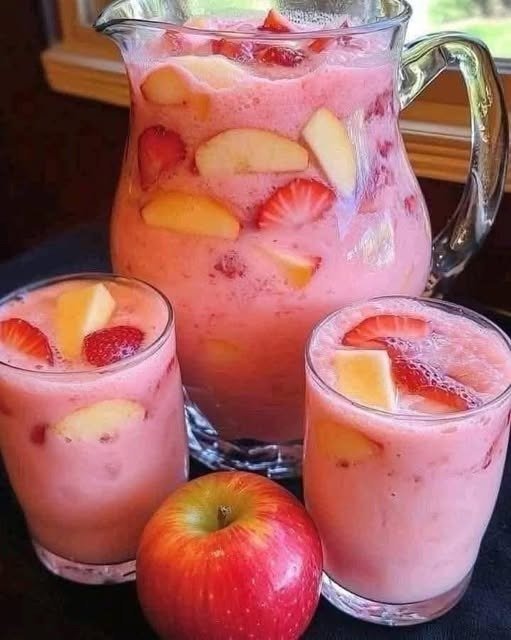
 Recipe: Strawberry Apple Cider Punch
 Tips & Notes
 Nutritional Info (Per Serving)
 The Benefits
 Common Questions


 May help manage blood sugar