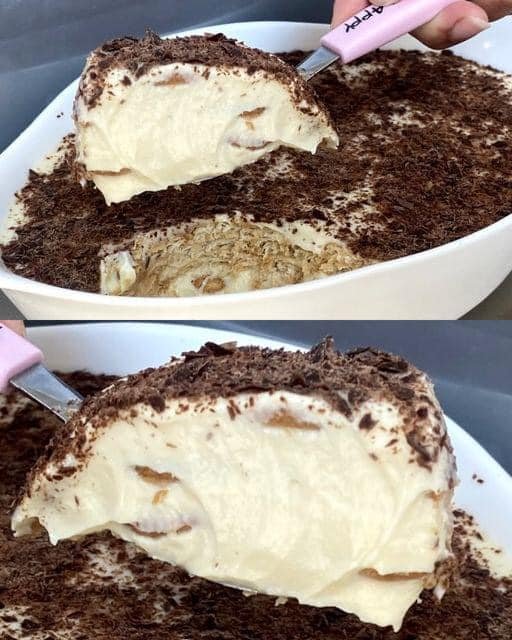
Mediterranean Creamy Lemon Mousse
Creamy Lemon Mousse is one of those desserts that feels light, refreshing, and indulgent all at once. It’s smooth, airy, and perfectly balanced between sweet and tangy, making it an ideal finish to almost any meal. What makes this version especially appealing is its simplicity. With just a handful of ingredients, you can create a dessert that looks elegant enough for guests but is easy enough for everyday cravings. The cold whipping cream provides a fluffy base, condensed milk adds richness and sweetness, and fresh lemon juice brings everything to life with bright citrus flavor. Served chilled and topped with lemon zest, this mousse is proof that simple desserts can still feel special.
Prep Time: 15 minutes
Chilling Time: 2 hours
Total Time: 2 hours 15 minutes
Servings: 4 to 6
Ingredients
1½ cups heavy whipping cream, very cold
¾ cup sweetened condensed milk
¼ cup fresh lemon juice (about 2 lemons)
Zest of 1 lemon, for garnish
Extra lemon zest for serving
Optional: additional lemon juice for extra tang
Optional: whipped cream for topping
Optional: mint leaves for garnish
Optional: crushed biscuits for serving
Optional: pinch of extra zest mixed into the mousse
Instructions
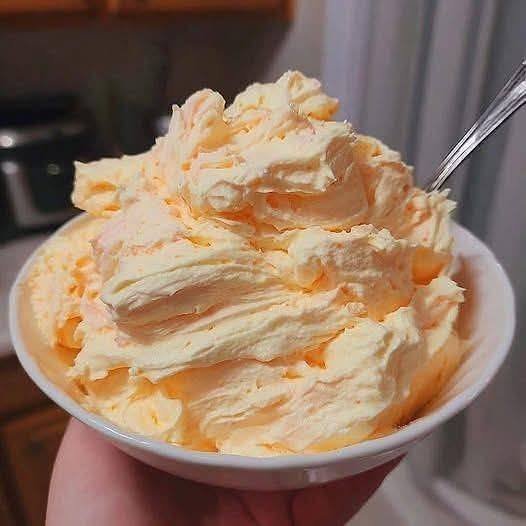
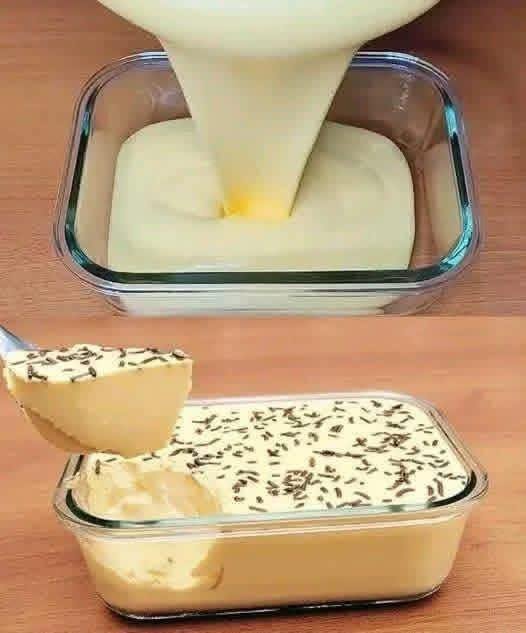
Place the cold heavy whipping cream into a large mixing bowl.
Using a hand mixer or stand mixer, whip the cream on medium speed until soft peaks form.
Reduce the mixer speed to low and slowly pour in the condensed milk.
Continue mixing gently until the condensed milk is fully incorporated.
See also Simply Mix Together 1 Cup of Oatmeal and Zucchini: Better than Pizza, Eat at Least Daily
Add the fresh lemon juice gradually while mixing on low speed.
Increase the speed slightly and mix until the mousse thickens and holds its shape.
Taste the mousse and adjust with a little more lemon juice if needed.
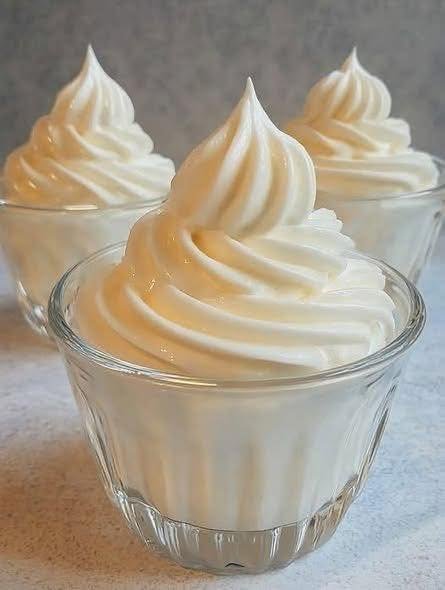
Spoon the mousse into serving glasses or bowls.
Cover and refrigerate for at least 2 hours to fully set.
Garnish with lemon zest just before serving.
Tips
Make sure the whipping cream is very cold for maximum volume.
Chill the mixing bowl for a few minutes before whipping for better results.
Add the condensed milk slowly to avoid deflating the cream.
Use freshly squeezed lemon juice for the best flavor.
Add lemon juice gradually so you can control the tartness.
Stop mixing as soon as the mousse thickens to avoid overwhipping.
If the mousse feels loose, chill it longer rather than remixing.
Zest the lemon before juicing it for easier handling.
Keep the mousse refrigerated until just before serving.
Garnish at the last moment for the freshest look.
Variations
Make it extra tangy by increasing the lemon juice slightly.
Fold a little lemon zest directly into the mousse for stronger citrus aroma.
Serve layered with crushed biscuits for added texture.
Pipe the mousse into glasses for a more polished presentation.
Top with a swirl of whipped cream for added richness.
Serve in small portions for a lighter dessert option.
Chill overnight for an even firmer texture.
Use lime juice instead of lemon for a different citrus twist.
Add a thin biscuit base at the bottom of each glass.
Garnish with mint leaves for a fresh finish.
See also Shrimp broth is a traditional coastal dish
Q & A
Why did my mousse not thicken?
The cream may not have been cold enough or was underwhipped.
Can I make this dessert ahead of time?
Yes, it can be made up to 24 hours in advance.
Can I freeze lemon mousse?
Freezing is not recommended as it can affect the texture.
Is this mousse very sweet?
It’s balanced, but you can add more lemon juice to reduce sweetness.
Can I use bottled lemon juice?
Fresh lemon juice is best, but bottled can work in a pinch.
How long does it keep in the fridge?
Up to 2 days when covered properly.
Can I overwhip the cream?
Yes, overwhipping can make the mousse grainy.
Does the lemon juice help thicken it?
Yes, lemon juice reacts with condensed milk to help set the mousse.
Can I serve it immediately?
It’s best chilled so it fully sets and develops flavor.
Is this dessert suitable for kids?
Yes, it’s gentle and refreshing, perfect for all ages.
Nutrition
(Per Serving, Approximate)
Calories: 320
Protein: 5 g
Fat: 22 g
Carbohydrates: 26 g
Sugar: 24 g
Fiber: 0 g
Sodium: 90 mg
Conclusion
Creamy Lemon Mousse is a dessert that delivers maximum satisfaction with minimal effort. Its light texture, bright lemon flavor, and smooth finish make it a reliable favorite for both casual meals and special occasions. Because it uses just a few basic ingredients, it’s easy to prepare anytime a dessert craving strikes. Whether served plain or dressed up with garnishes, this mousse feels fresh, comforting, and timeless. Once you try it, you’ll likely find yourself returning to this recipe again and again.