Ingredients
-
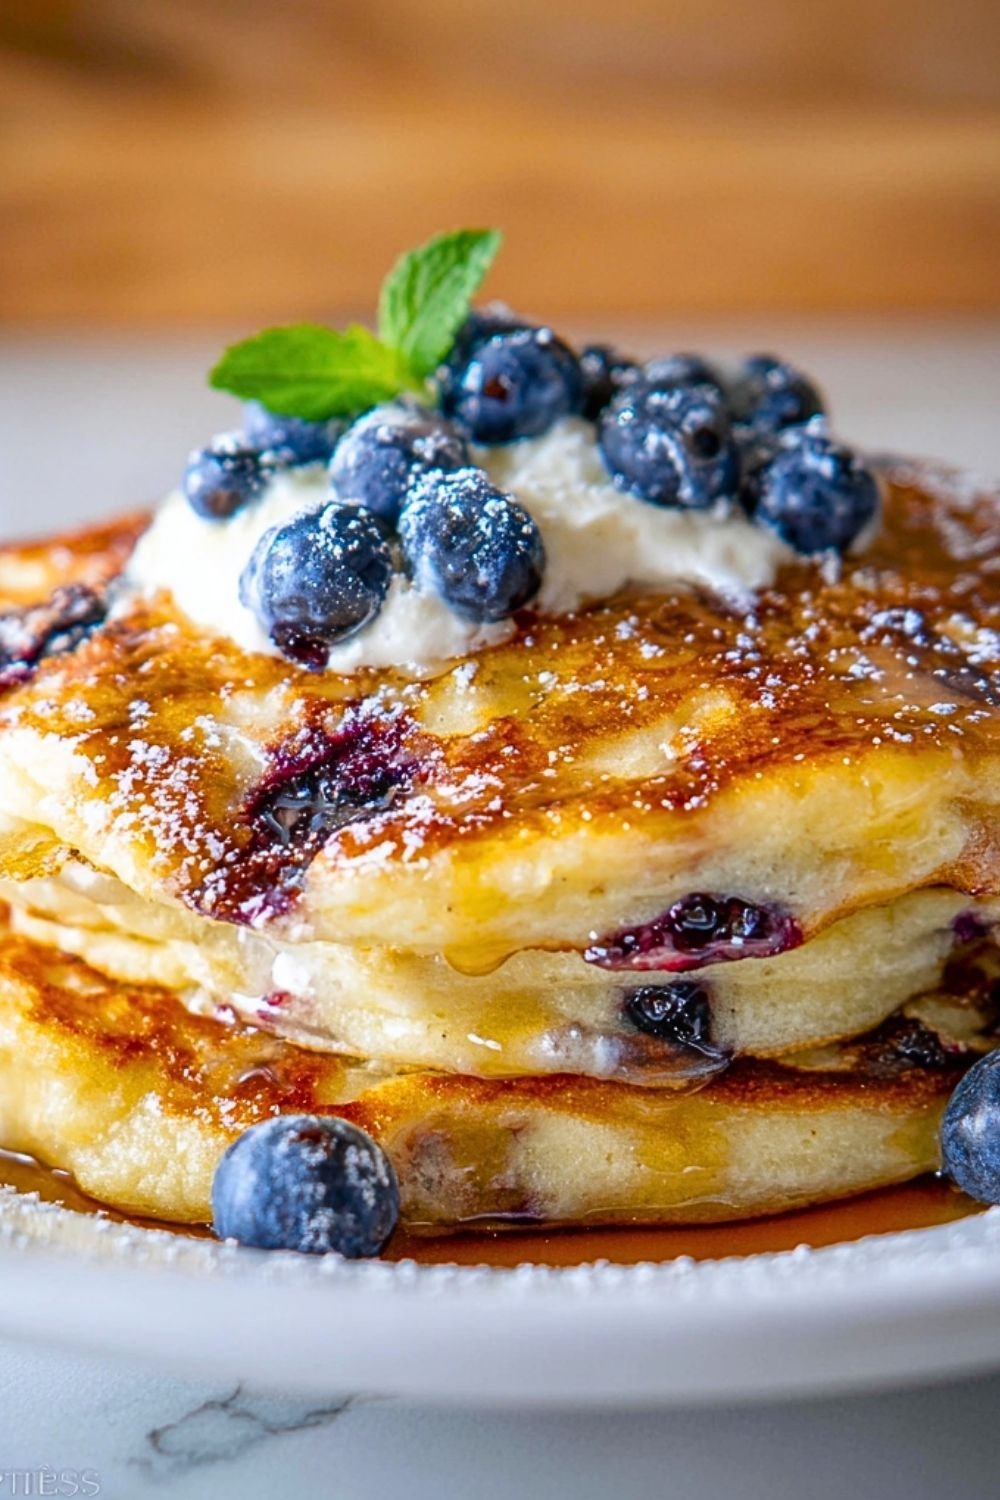
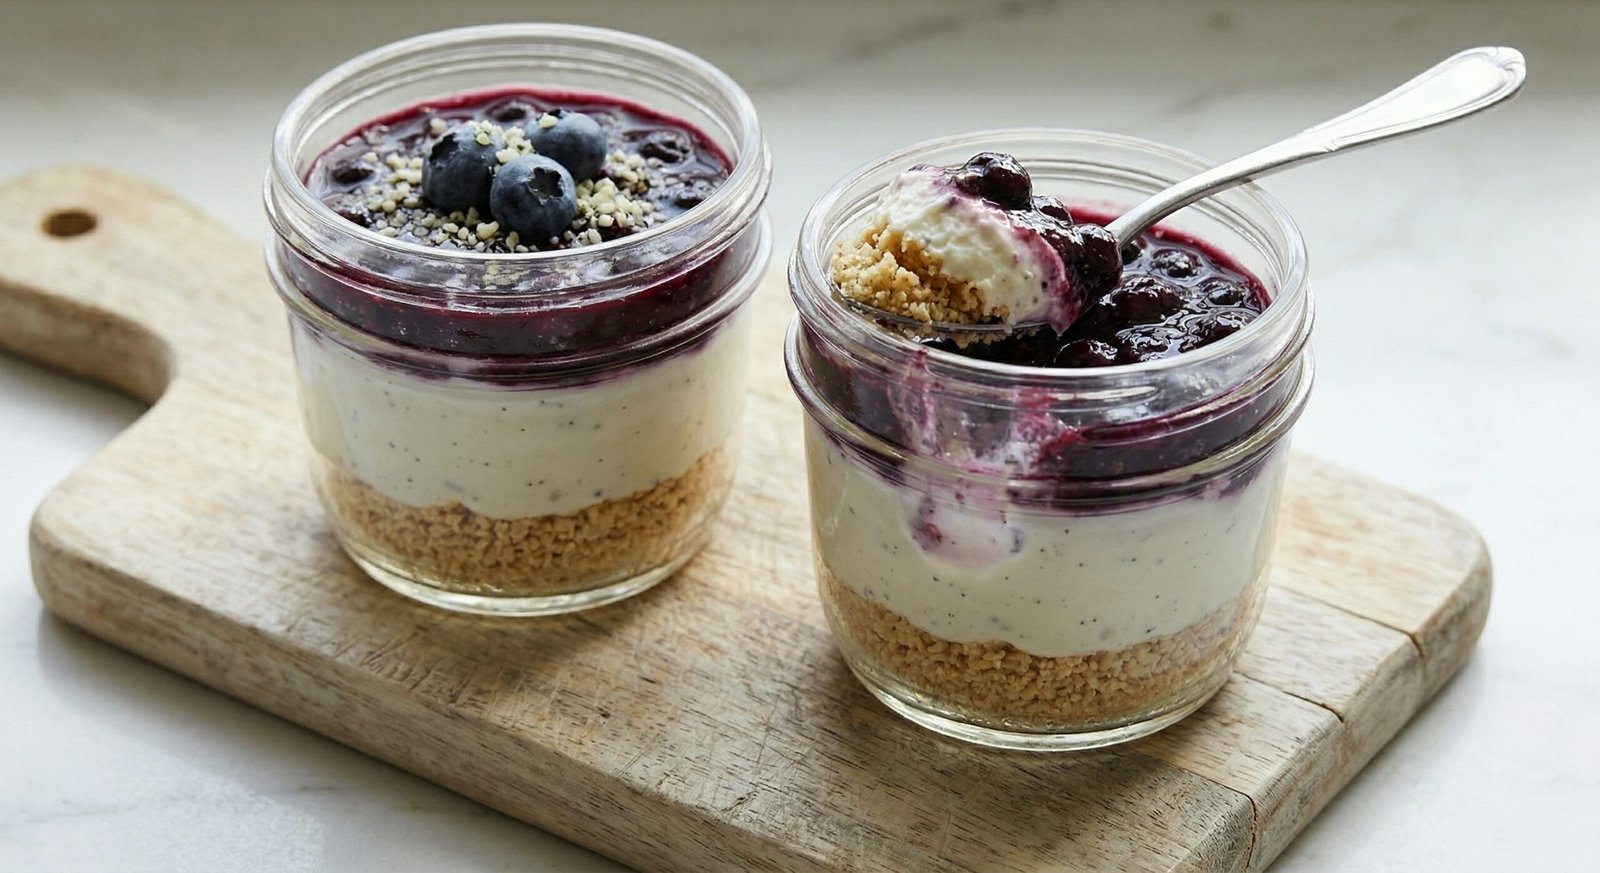
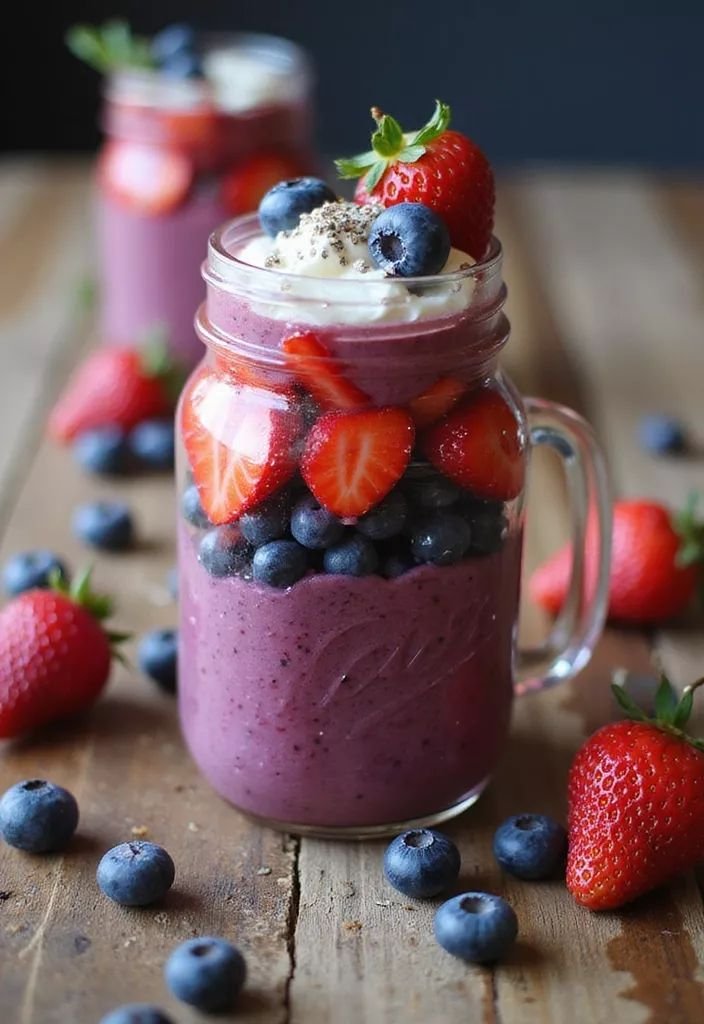
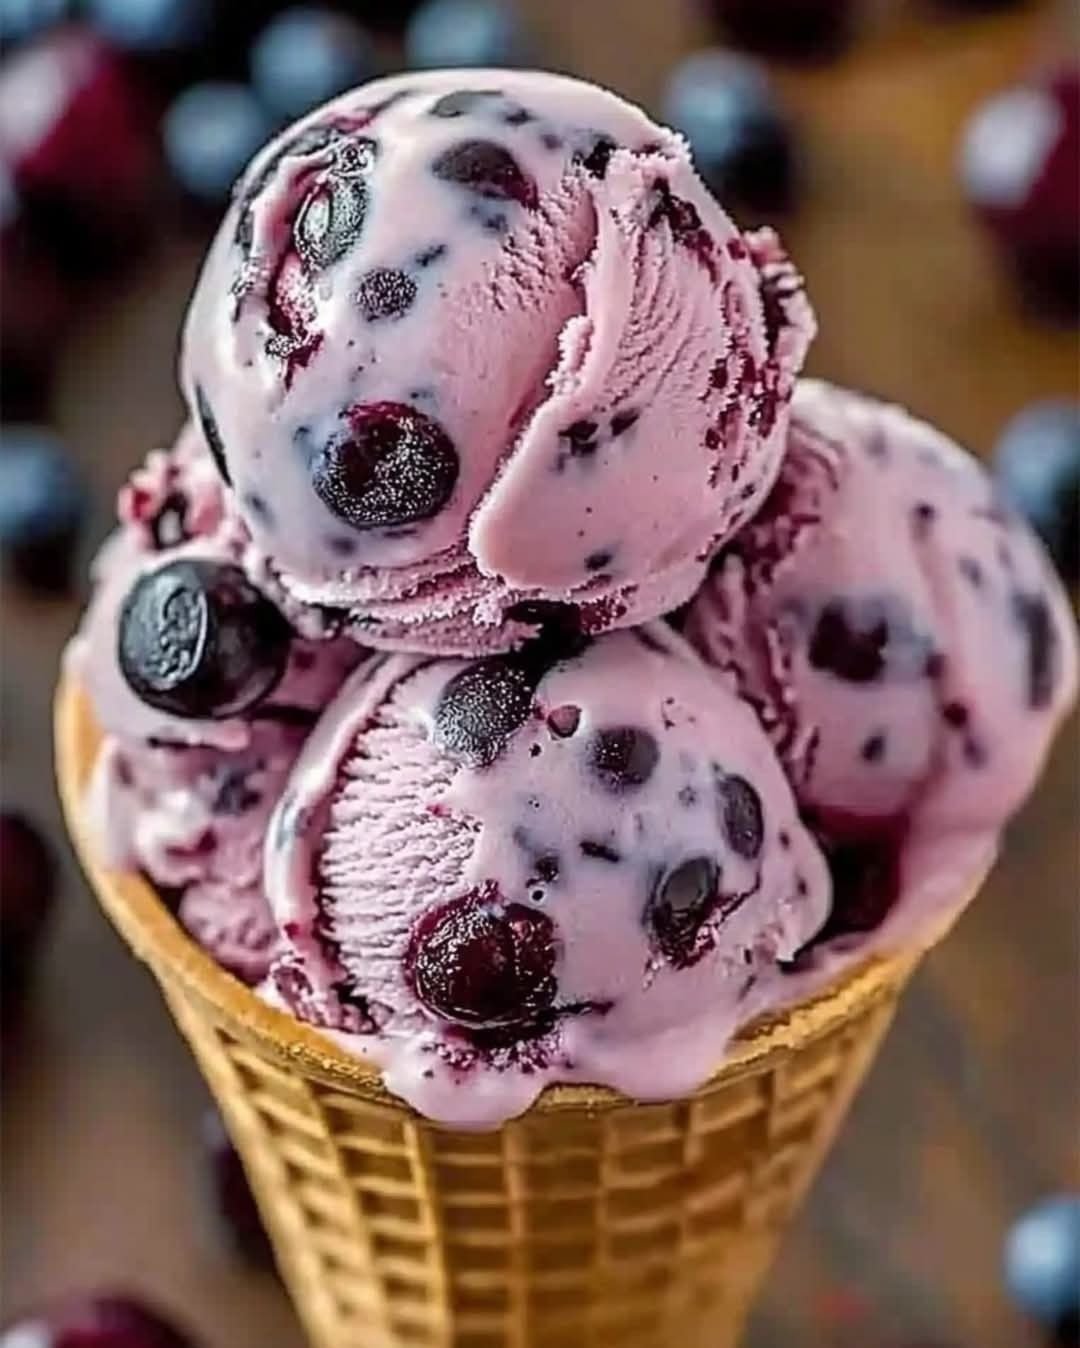
For the Base: 1 ½ cups frozen blueberries, 1 frozen banana, ½ cup Greek yogurt, and ¼ cup almond milk (or your preferred milk).
-
For the Layers: ½ cup fresh blueberries and 4–5 fresh strawberries, sliced vertically.
-
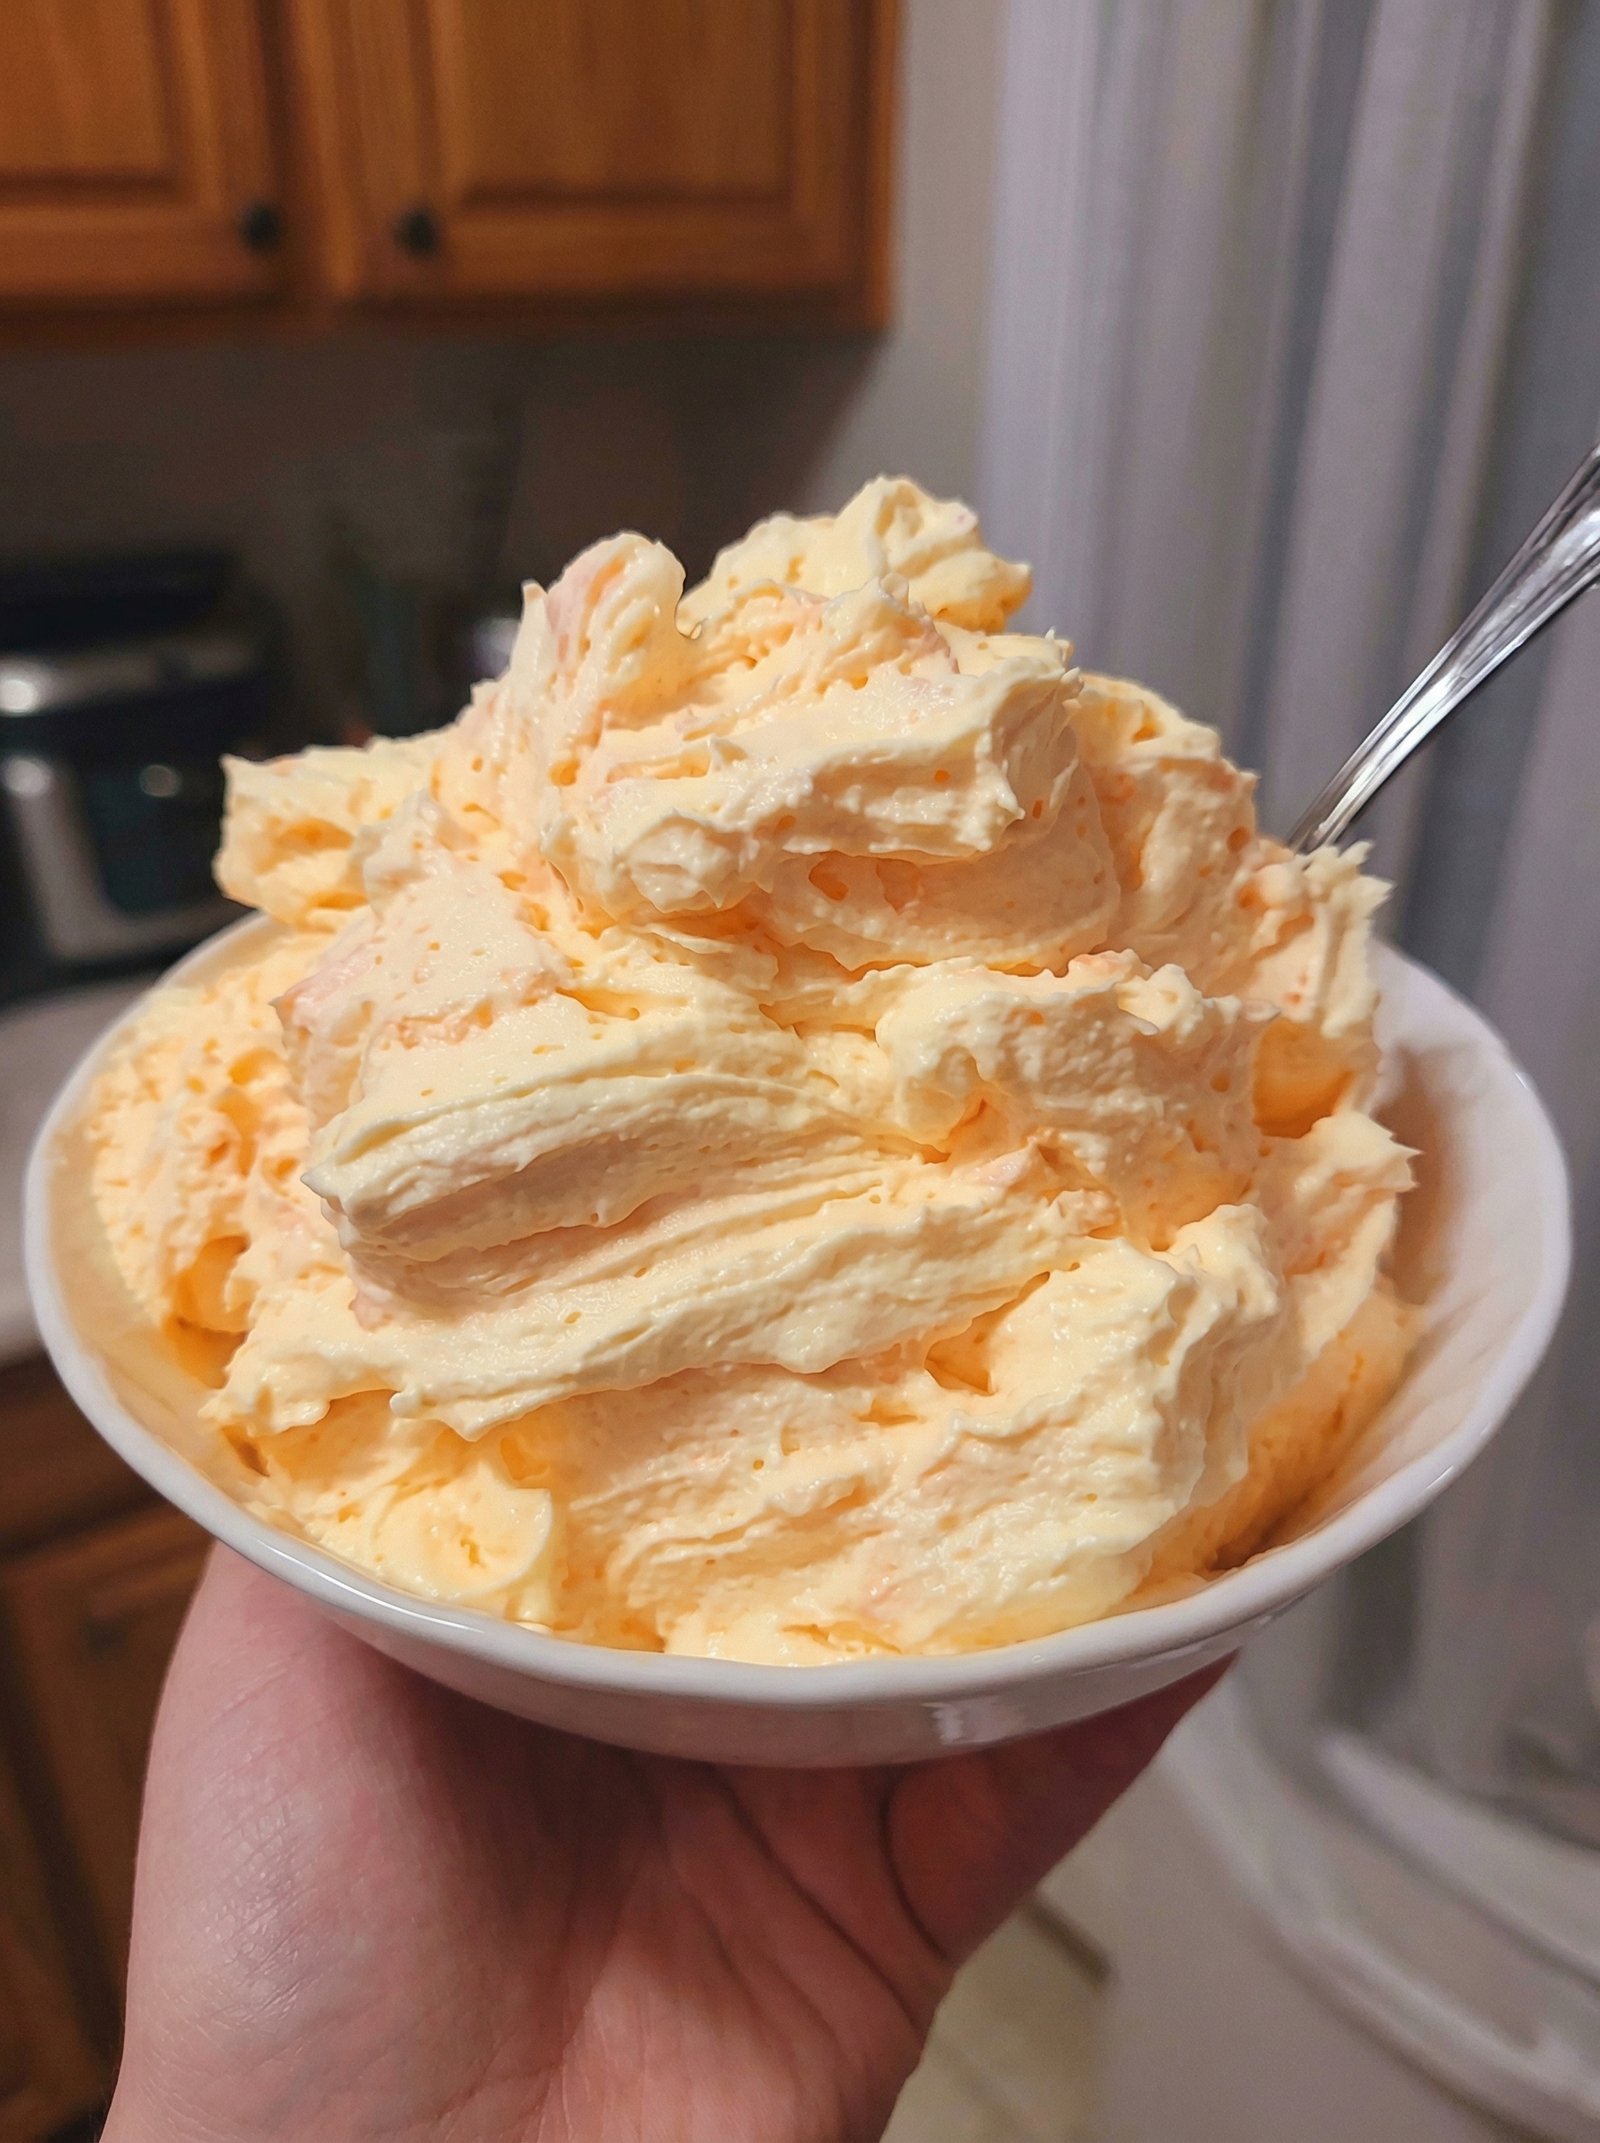
For the Topping: A dollop of whipped cream or thick coconut cream, a sprinkle of chia seeds, and a few extra berries.
Instructions
-
Prepare the Fruit: Wash your fresh berries. Slice the strawberries into thin, even cross-sections. This allows them to “stick” to the glass walls of the jar later.
-
Blend the Base: In a high-speed blender, combine the frozen blueberries, frozen banana, yogurt, and milk. Blend until completely smooth.
Pro-Tip: The mixture should be very thick, like soft-serve ice cream. If it’s too runny, add more frozen fruit; if the blender is struggling, add milk one tablespoon at a time.
-
Assemble the First Layer: Pour the smoothie mixture into a mason jar until it is about halfway full. Use a spoon to smooth the top.
-
Create the Fruit Walls: Carefully drop in a layer of fresh blueberries. Next, take your strawberry slices and press them firmly against the inside glass of the jar, resting them on top of the blueberries.
-
Add the Final Smoothie Layer: Gently spoon more smoothie mixture into the center of the jar, filling it to the shoulders. The pressure of the smoothie will help hold the strawberry slices against the glass.
-
Garnish and Serve: Top with a generous swirl of cream. Finish with a whole strawberry, a few blueberries, and a dusting of chia seeds for a nutritional boost and a bit of crunch.
Enjoy immediately with a long spoon or a wide straw!

 Yes! It tastes even better if made a few hours or a day before, since the flavors develop while chilling.
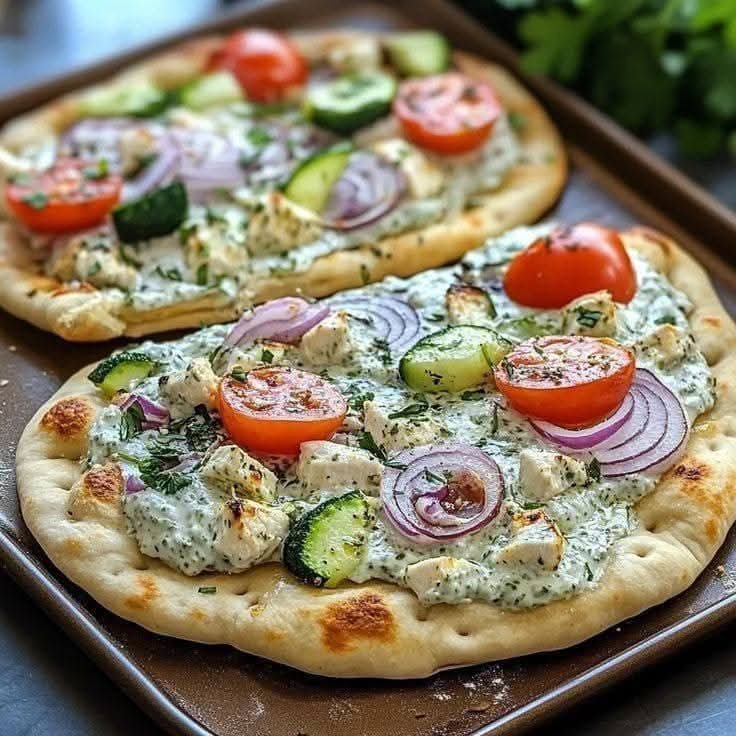
 Tzatziki Chicken Pizza
 Description
 Ingredients
 ):
): Instructions
 Notes
Notes Tips
Tips Servings
 Nutritional Info (Approx. per serving)
 Health Benefits
 Q & A
Q & A
 Nutritional Info & Benefits