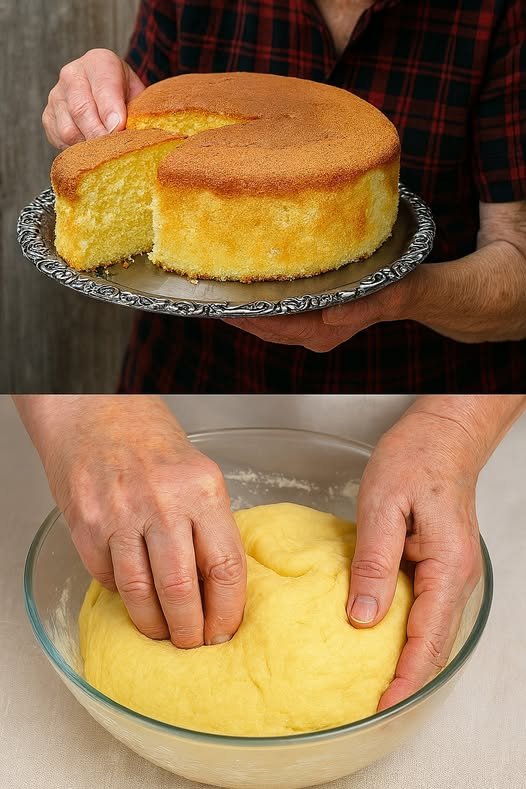
Hello, everyone! Welcome back to our cooking blog, where we share delicious recipes every week. Today, we’re preparing an 8-Measure Cake. So, grab your pen and paper to jot down the ingredients, and let’s dive into this easy, step-by-step recipe that’s perfect for breakfast, appetizers, or even to accompany fresh salads!
How to Make 8-Measures Cake with 4 Ingredients
Looking for a delicious cake with simple ingredients? This one is perfect—light texture and ideal for any moment. You don’t need cooking classes or costly meal delivery services to prepare something delicious at home. With a bit of planning and our detailed meal prep guide, you can create amazing dishes with confidence and ease.
Recipe Ingredients:
- 8 large eggs
- 5.6 oz of granulated sugar (¾ cup or 160 g)
- 6.7 oz of all-purpose flour (1½ cups or 190 g)
- ⅛ teaspoon of vanilla extract (or to taste)
- 1 fl oz of lemon juice (2 tablespoons or 30 ml, optional)
Instructions:
First, let’s prepare the egg whites:
Separate the egg whites from the yolks carefully.
Then, start beating the egg whites until foamy—you can add lemon juice at this point if desired.
Next, gradually add the sugar while continuing to beat.
After that, keep beating until you get a firm and glossy meringue.
After this, we’ll incorporate the yolks:
Add the yolks one at a time into the meringue.
Right after each addition, beat well to keep the batter light and airy.
Next, we’ll add the flour:
Sift the flour before using.
Then, gently fold it into the batter with upward movements so you don’t lose the air in the mixture.
Now it’s time to bake the cake:
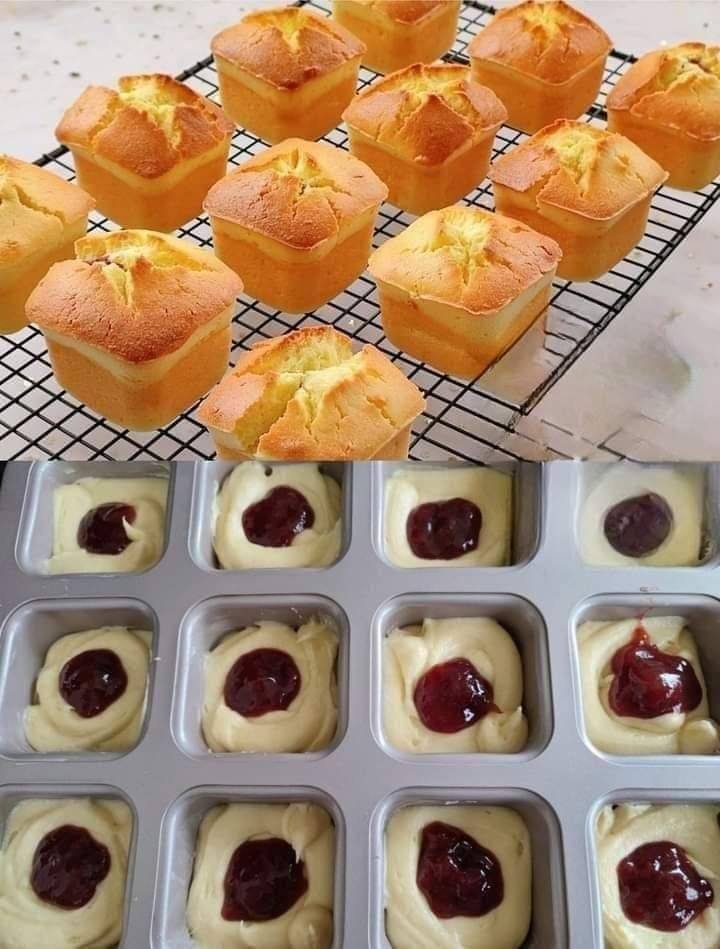
Grease only the bottom of a 22×10 cm (8.7×3.9 inch) glass baking dish with butter and line it with parchment paper.
Do not grease the sides—this helps the cake rise evenly.
Pour the batter into the dish and lightly smooth the top.
Bake in a preheated oven at 356°F (180°C) for about 35 to 40 minutes.
Finally, let’s finish the process:
Remove the cake from the oven and let it cool completely.
Then, carefully remove it from the dish.
You can top it with icing or simply serve it with coffee.
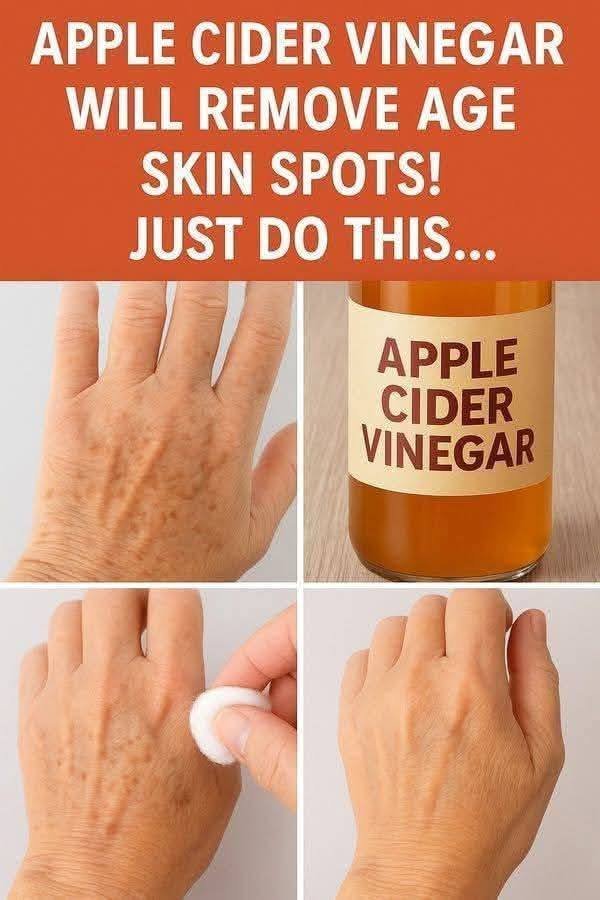
 Use 1–2 times per week only
 Never use undiluted ACV
 Does ACV permanently remove age spots?
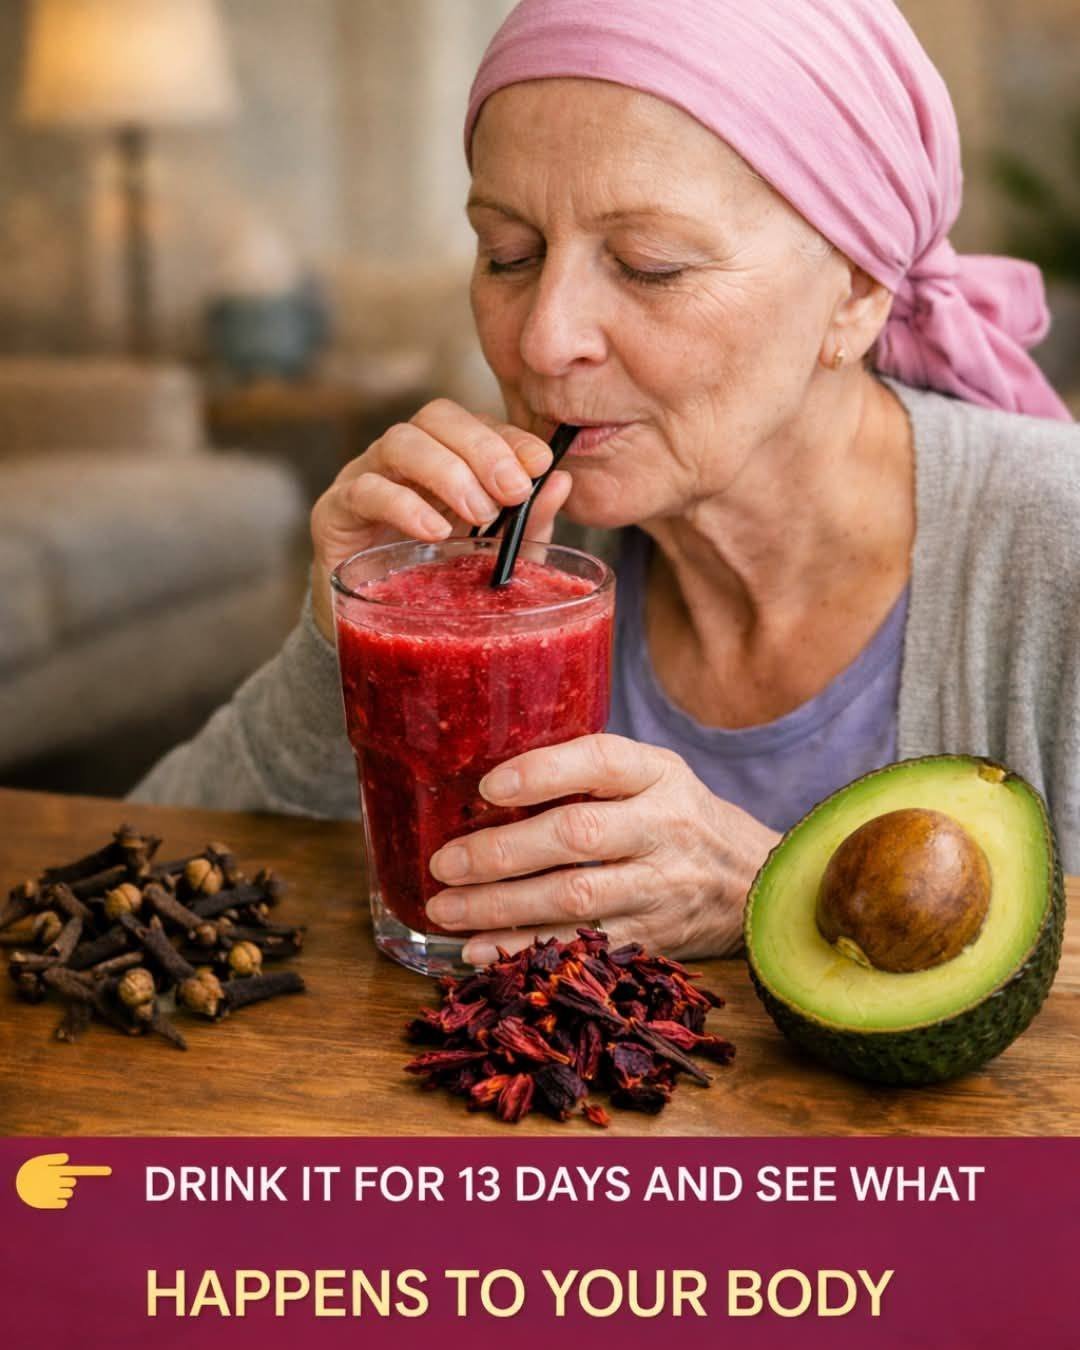
 Support heart health
 It does NOT cure cancer, diabetes, or hypertension.
 Typically 2–6 weeks with consistent use and proper diet.
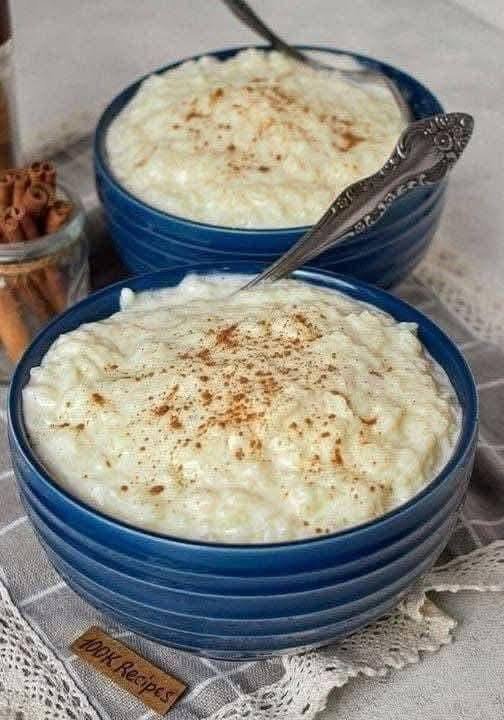
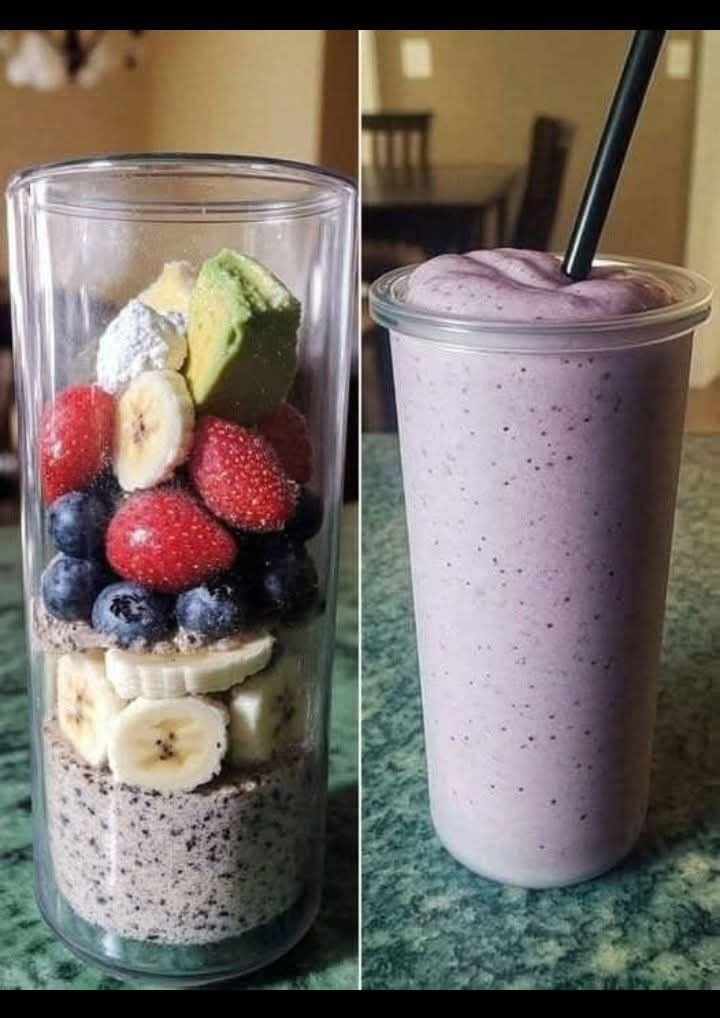
 Mixed Berry Banana Super Smoothie – Full Recipe
 Instructions

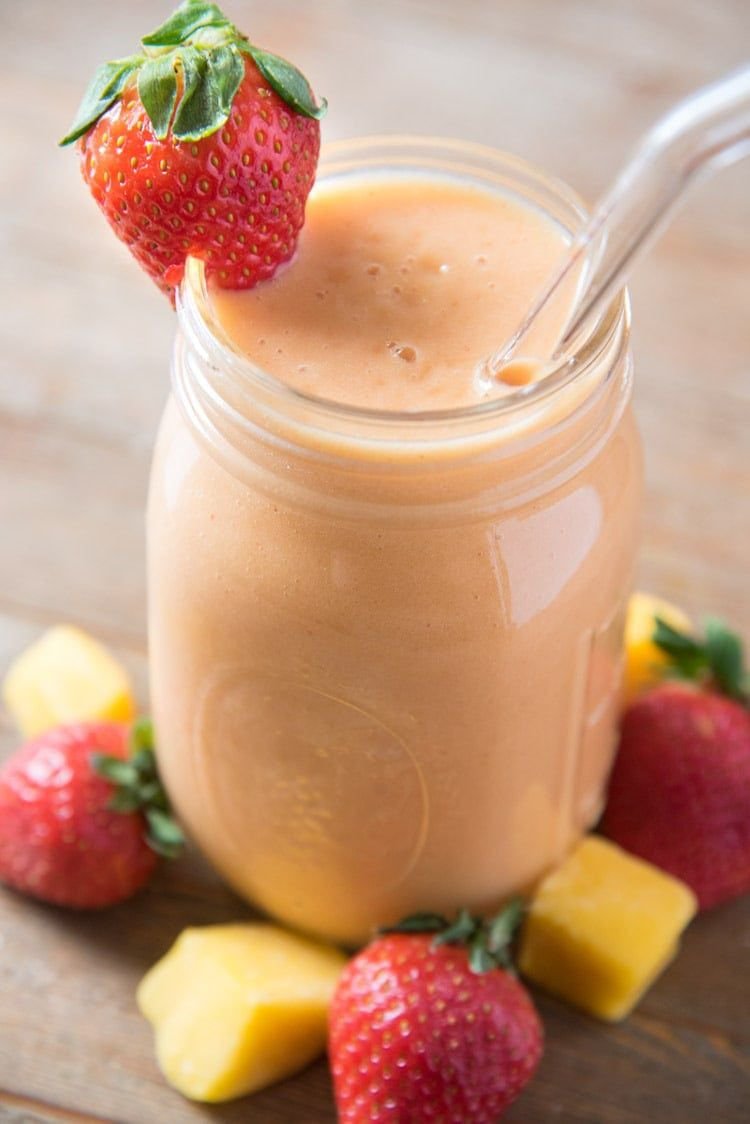
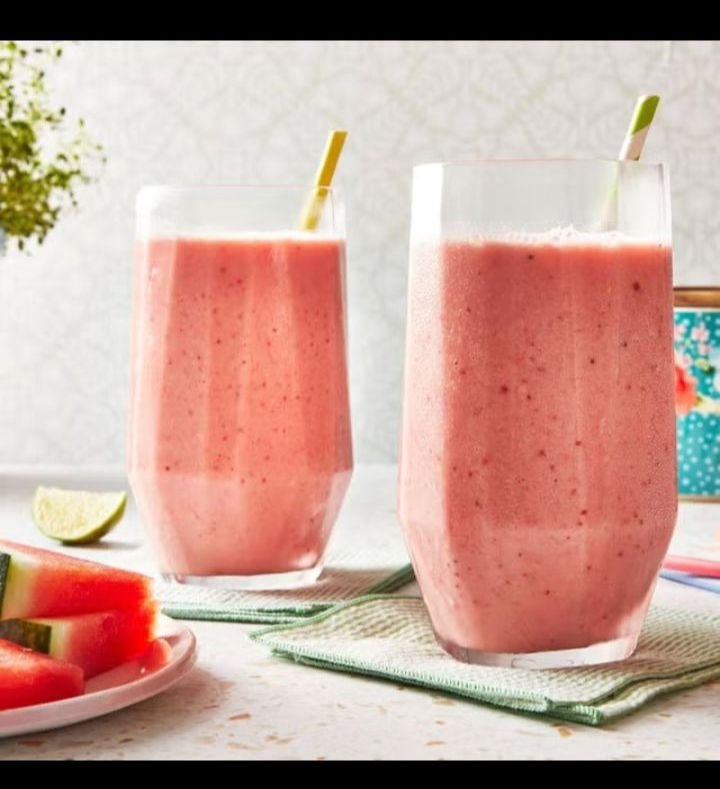
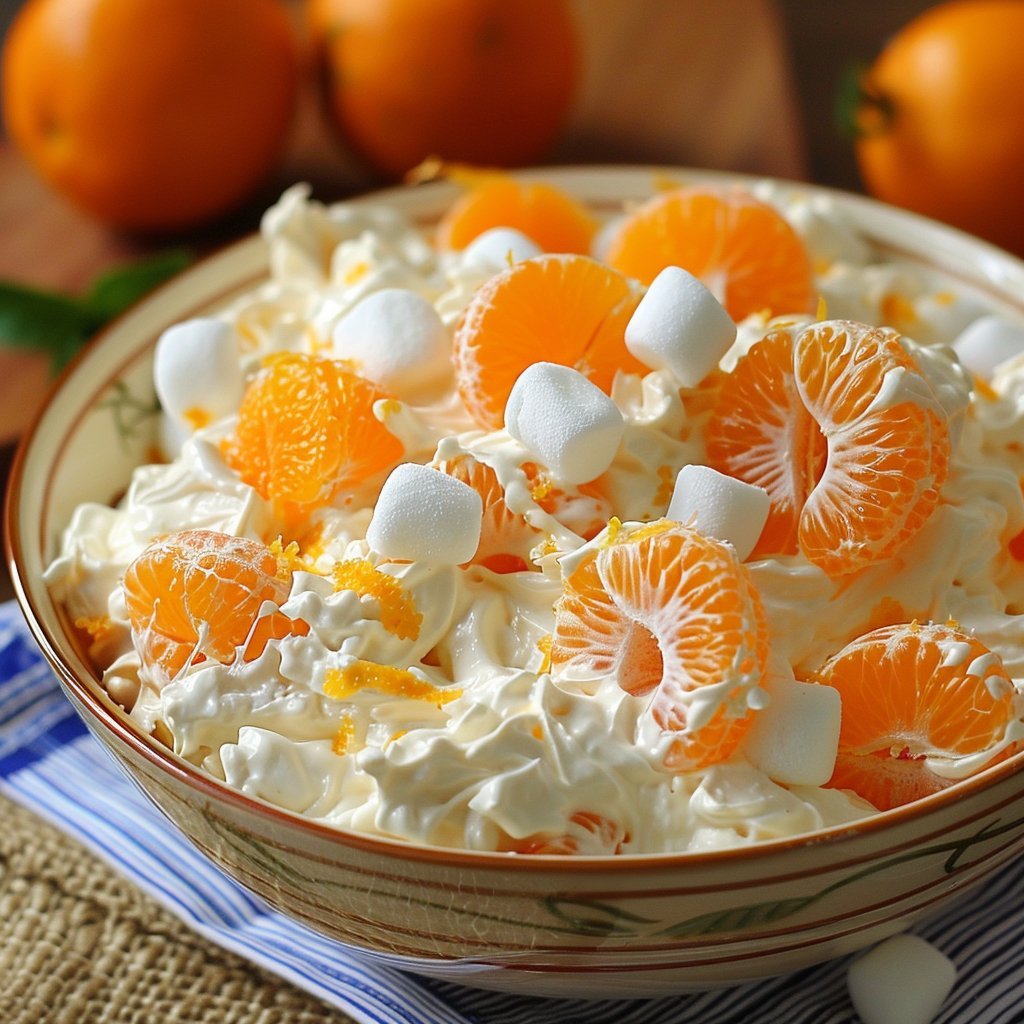
 Tropical Strawberry Mango Smoothie
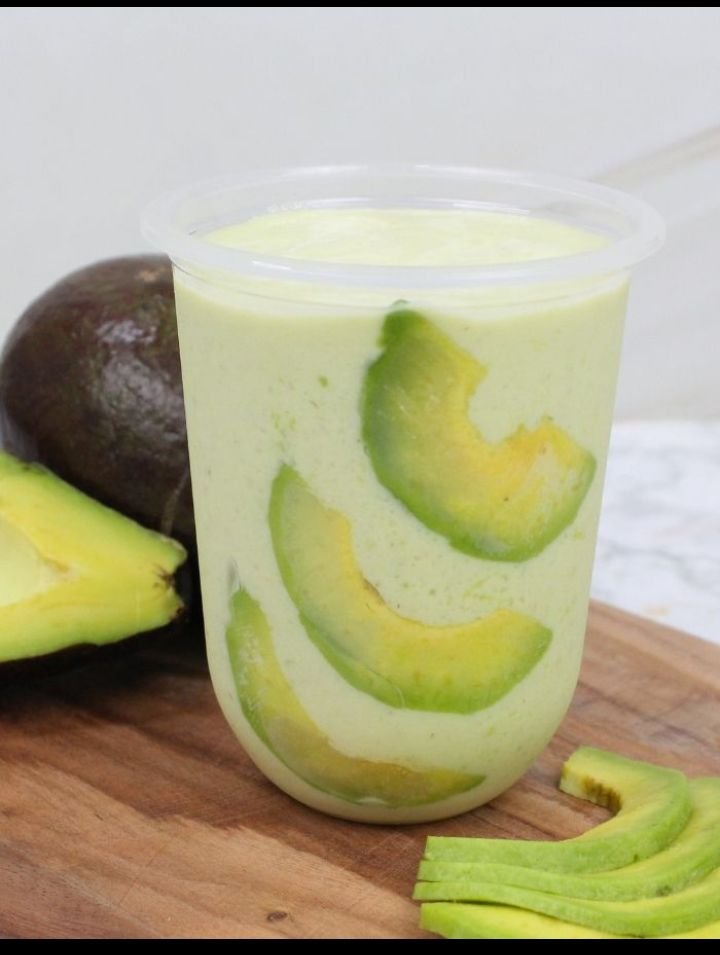
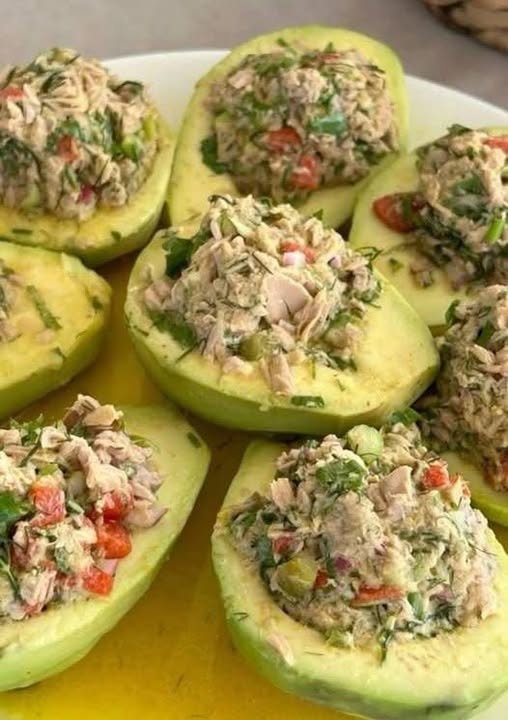
 Creamy Avocado Shake Recipe