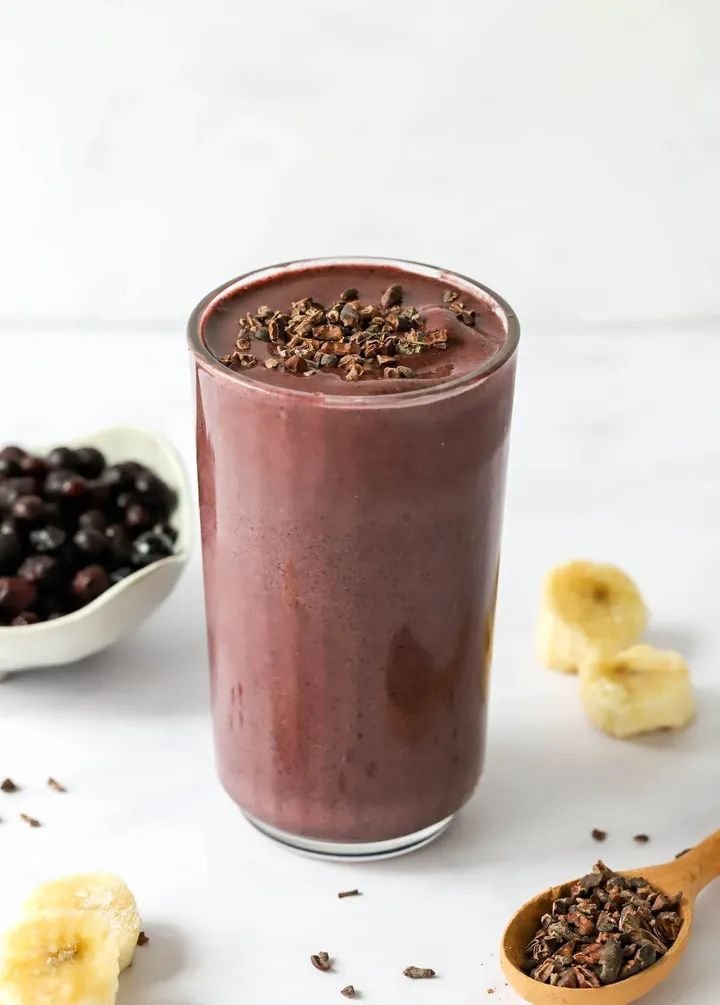
Servings: 2 glasses
Total Time: 10 minutes
Difficulty: Easy
Calories per Serving: ~60 kcal
A Refreshing Way to Reset and Recharge
When your body needs a fresh start, this Flat Belly Detox Juice delivers. Bursting with crisp cucumber, hydrating lemon, zesty ginger, and cleansing greens, it’s a revitalizing blend designed to reset your digestion, boost hydration, and leave you feeling light, clean, and energized.
This simple detox drink is ideal for those following Keto, Low-Carb, Slimming, Weight Watchers, High-Protein, or Mediterranean meal plans. It’s naturally low in calories, packed with antioxidants, and supports gut health without artificial additives or sugar.
Whether you sip it in the morning for an energizing start or as a mid-afternoon refresh, this clean, nutrient-rich detox juice helps reduce bloating, support metabolism, and nourish your body from within — all in one glass.
Why You’ll Love This Juice
- Cleansing & Refreshing: Hydrating cucumber and lemon flush out toxins.
- Supports Digestion: Ginger and mint calm the stomach and aid gut health.
- Naturally Energizing: No caffeine or sugar — just pure, plant-based vitality.
- Fits Every Lifestyle: Low in carbs, syns, and SmartPoints.
Ingredients You’ll Need
- ½ cucumber, sliced
- 1 green apple (optional for flavor)
- Juice of 1 lemon
- 1-inch piece fresh ginger
- Handful of spinach or mint leaves
- 1 cup cold water or coconut water
- Ice cubes (optional)
- Stevia or monk fruit sweetener (to taste, optional)
Step-by-Step: How to Make Flat Belly Detox Juice
Step 1: Prep the Produce
Wash and slice the cucumber, apple, lemon, and ginger. Peel ginger if preferred.
Step 2: Blend Everything
Add all ingredients to a blender — cucumber, apple, lemon juice, ginger, spinach, and water. Blend on high until smooth.
Step 3: Strain (Optional)
For a smoother texture, strain the juice through a fine mesh sieve or cheesecloth.
Step 4: Chill & Serve
Pour over ice, garnish with mint or a lemon wedge, and enjoy immediately for the best flavor and nutrient content.
How to Customize for Your Plan
For Keto or Low-Carb
Skip the apple and use extra cucumber and lemon. Add a scoop of collagen for a protein boost.
For Slimming
Stick to Speed Foods (cucumber, spinach, lemon). Skip apple if you want to keep syns at zero.
For Weight Watchers
Use stevia for sweetness and track fruit portions if using apple.
For High-Protein
Blend with a scoop of whey protein or collagen powder for an energizing post-workout drink.
For Mediterranean
Use whole fruits, fresh herbs, and a splash of olive oil for extra antioxidants and healthy fats.
Storage, Serving & Meal Prep Tips
- Storage: Best enjoyed fresh, but you can refrigerate up to 24 hours in a sealed jar.
- Meal Prep Tip: Prep ingredients ahead — chop cucumber, lemon, and ginger, and store in zip bags for quick blending.
- Serving Suggestions: Pair with a protein breakfast (like eggs or Greek yogurt) for a balanced morning.
Macros & Plan Compatibility
| Plan | Notes |
|---|---|
| Keto & Low-Carb | ~6g net carbs per glass. Use minimal apple or skip for stricter Keto. |
| Slimming | 0–0.5 syns per glass; mostly Speed Food ingredients. |
| High-Protein | ~5–6g protein per glass if you blend with unflavored whey or collagen peptides. |
| Weight Watchers | ~1–2 SmartPoints per glass (Blue/Green plan) with optional stevia and no fruit juice. |
| Mediterranean | Naturally low-calorie and antioxidant-rich — aligns with whole-food, clean eating principles. |
Expert Tips & Troubleshooting
1. Juice too bitter?
Use half the lemon or a few drops of stevia for balance.
2. Want more sweetness?
Add a few slices of apple, pineapple, or berries (adjust for carbs if needed).
3. No blender?
Use a juicer or muddle ingredients in water and let sit overnight for infused flavor.
4. Want extra detox power?
Add a pinch of cayenne or turmeric for metabolism support.
5. Prefer a cold-pressed feel?
Blend, strain, and chill in glass bottles for a spa-style presentation.
FAQs
Q1: How often can I drink detox juice?
Once daily is ideal for ongoing hydration and cleansing benefits.
Q2: Does detox juice help with belly fat?
While no drink burns fat directly, this juice supports hydration, digestion, and reduced bloating — all key for a flatter tummy.
Q3: Can I drink it on Keto?
Yes! Just skip the apple or limit to a few slices to stay under your carb target.
Q4: Can I add protein powder to detox juice?
Absolutely — unflavored or vanilla whey or collagen powder blends in seamlessly.
Q5: What’s the best time to drink it?
Morning on an empty stomach or mid-afternoon for a natural energy boost.
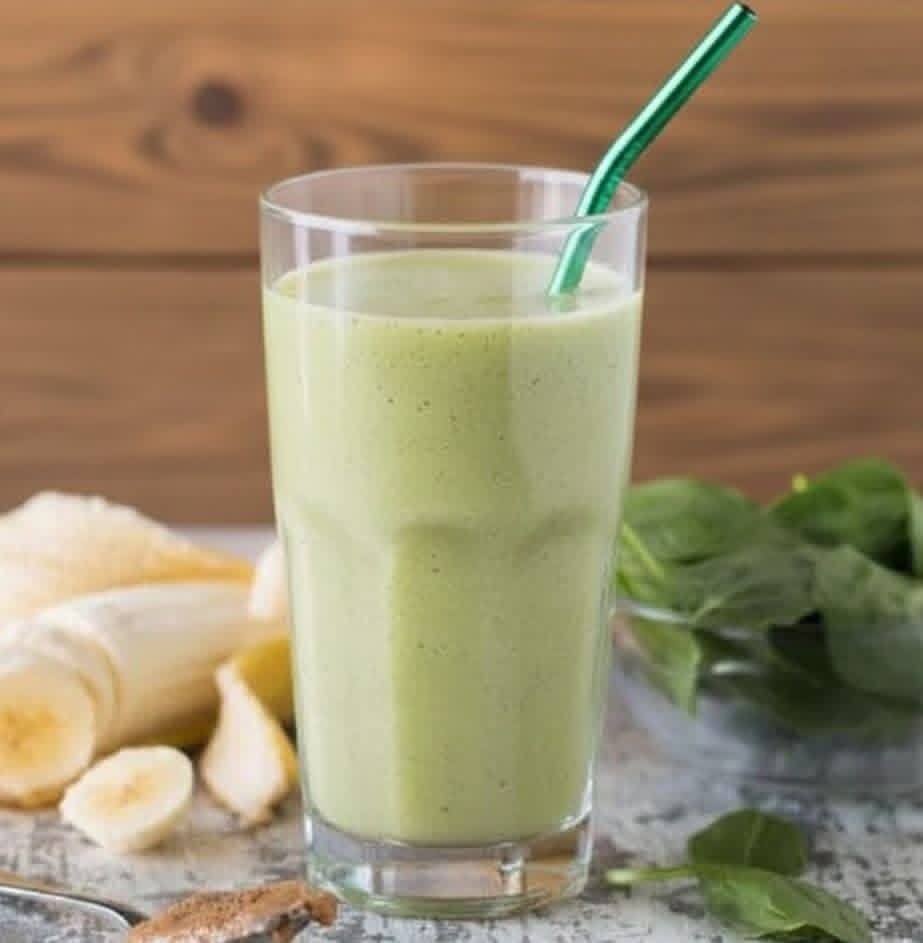
 Creamy Banana & Spinach Power Smoothie
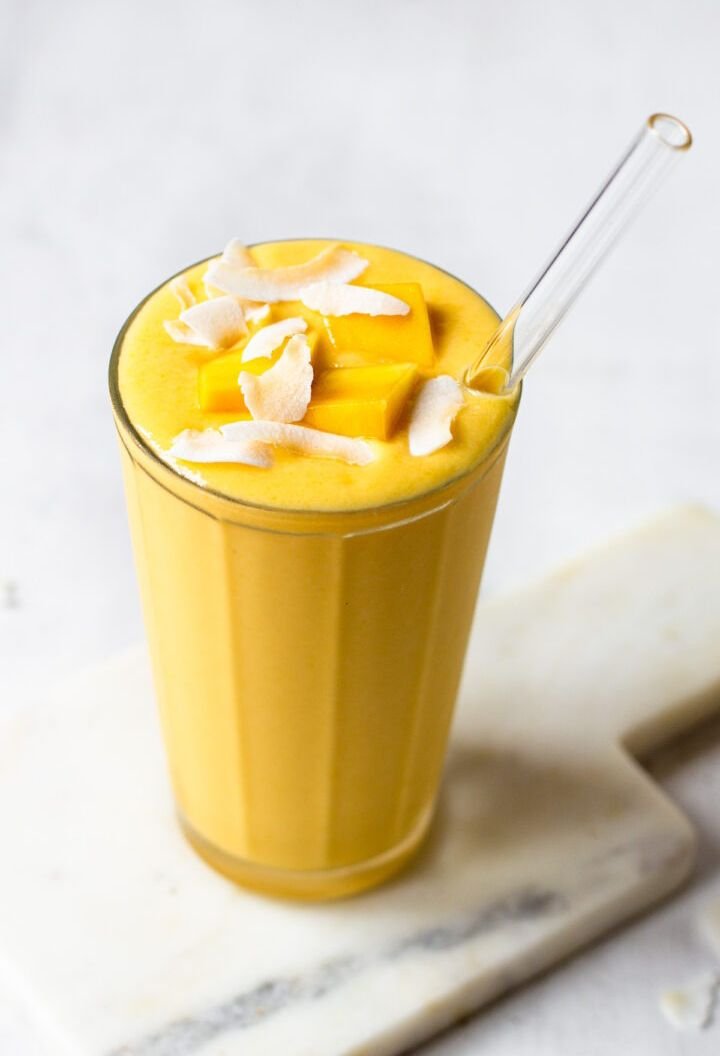
 Mango Coconut Smoothie Recipe
 Keto Cheesecake Mousse (Cheesecake Fluff)
 Tips for Success


 Variations
 Ingredients (4 servings)
 Instructions
 Preheat oven to 180°C (350°F).
 Sauté veggies
 Mix casserole
 Bake
Bake Rest & Serve
 Calories
 Weight-Loss Tips
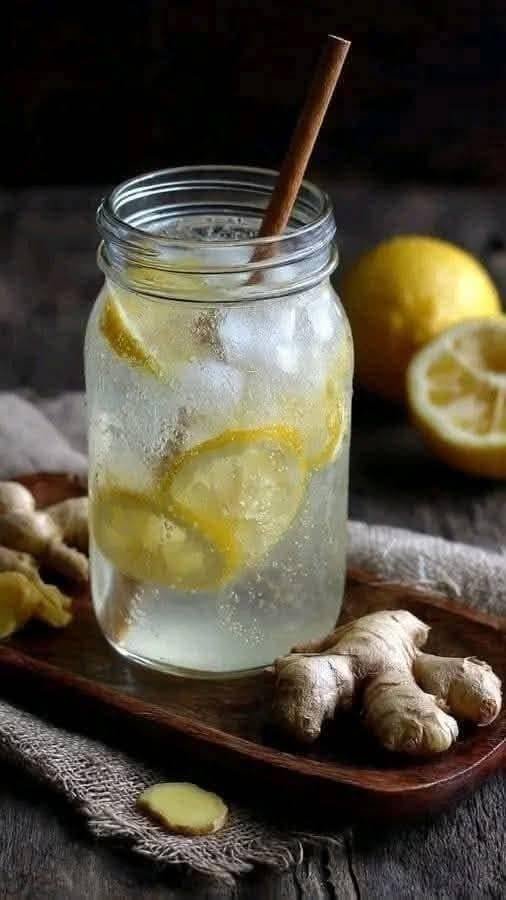
 Ginger Water Recipe
 How to Drink It
 Real Benefits of Ginger Water
 Reduces bloating and water retention
 What It Will NOT Do
 Melt fat overnight
 For Better Results
 Caution
 Optional Add-Ins:
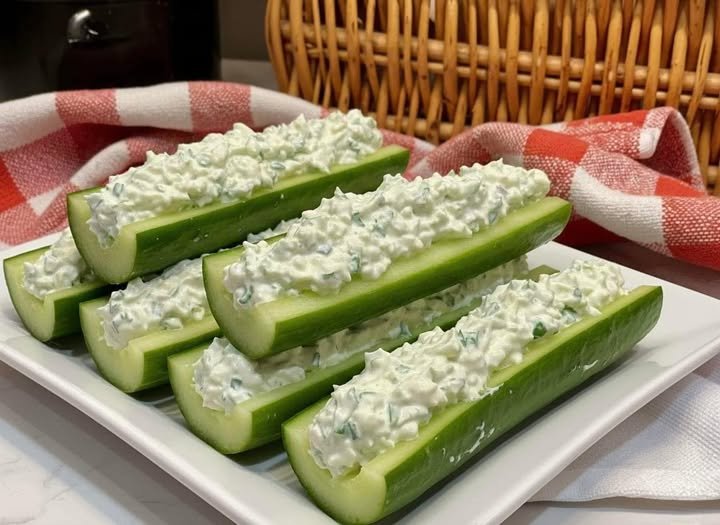
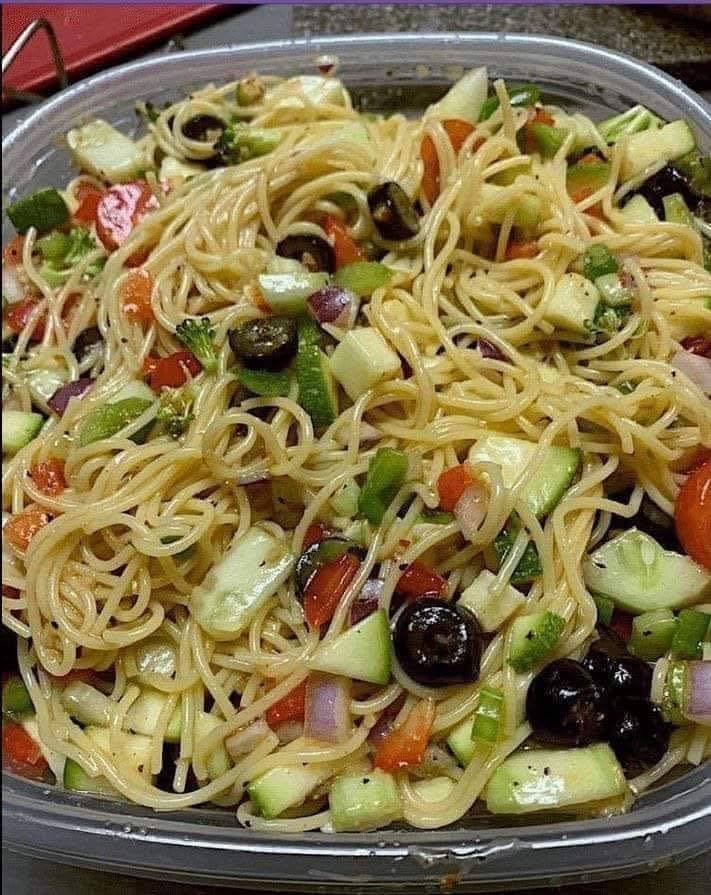
 Intro : Your New Favorite WW Lunch
 Look at the Recipe
 How to Make Our SmartPoints Chicken Salad
 Storage & Serving Suggestions
 Tips & FAQs