
Diabetic Golden French Toast Recipe
Ingredients
-
4 slices low-carb bread or whole-grain bread
-
2 large eggs
-
¼ cup unsweetened almond milk (or low-fat milk)
-
1 tsp vanilla extract
-
½ tsp cinnamon
-
1 tbsp erythritol or stevia (optional sweetener)
-
1 tsp butter or coconut oil for frying
-
Pinch of salt
Optional toppings
-
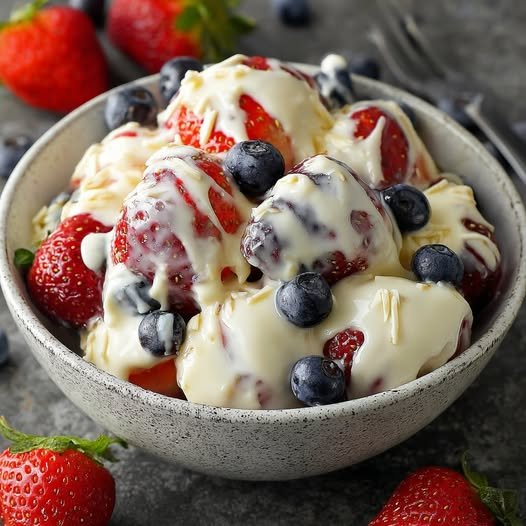
Fresh berries (strawberries, blueberries)
-
Greek yogurt
-
Sugar-free maple syrup
-
Chopped nuts
Instructions
-
Prepare the batter
In a bowl, whisk together eggs, almond milk, vanilla, cinnamon, sweetener, and salt. -
Dip the bread
Dip each slice of bread into the mixture for about 10–15 seconds per side. -
Heat the pan
Heat a non-stick skillet over medium heat and add butter or coconut oil. -
Cook the toast
Place soaked bread into the skillet and cook for 2–3 minutes per side until golden brown. -
Serve
Top with berries, nuts, yogurt, or sugar-free syrup.
Cooking Time
-
Prep time: 5 minutes
-
Cook time: 6 minutes
-
Total time: 11 minutes
Servings
2 servings (2 slices each)
Nutritional Information (Approx per serving)
-
Calories: 210 kcal
-
Carbohydrates: 15 g
-
Protein: 13 g
-
Fat: 11 g
-
Fiber: 5 g
-
Sugar: 2 g
(Values vary depending on bread brand.)
Health Benefits
 Blood sugar friendly
Low-carb bread and sugar substitutes help prevent blood sugar spikes.
 High protein
Eggs provide protein that helps with fullness and glucose control.
 Lower carbs
Much fewer refined carbohydrates than regular French toast.
 Heart-healthy fats
Using coconut oil or small amounts of butter adds healthy fats.
 Fiber support
Whole-grain or keto bread adds fiber for digestion.
Helpful Tips
 Use keto bread or almond-flour bread for the lowest carbs. Cook on medium heat to avoid burning the outside. Add chia seeds or flax seeds for extra fiber. Avoid regular syrup; use sugar-free syrup or berries instead. Slightly stale bread works best because it absorbs the mixture better.
Notes
-
Always check carbohydrate count of your bread.
-
Portion control is important for people managing diabetes.
-
Pair with protein (Greek yogurt or nuts) for better blood sugar balance.
Frequently Asked Questions
1. Can diabetics eat French toast?
Yes, when made with low-carb bread and no added sugar, French toast can be diabetic-friendly.
2. What bread is best for diabetics?
-
Low-carb bread
-
Whole-grain bread
-
Almond-flour bread
-
Keto bread
3. Can I make it dairy-free?
Yes. Use almond milk, coconut milk, or oat milk.
4. Can I bake it instead of frying?
Yes. Bake at 375°F (190°C) for about 10–12 minutes, flipping halfway.
5. Is maple syrup allowed for diabetics?
Regular syrup is high in sugar. Use sugar-free syrup or fresh fruit instead.


 Q&A:
Q&A:

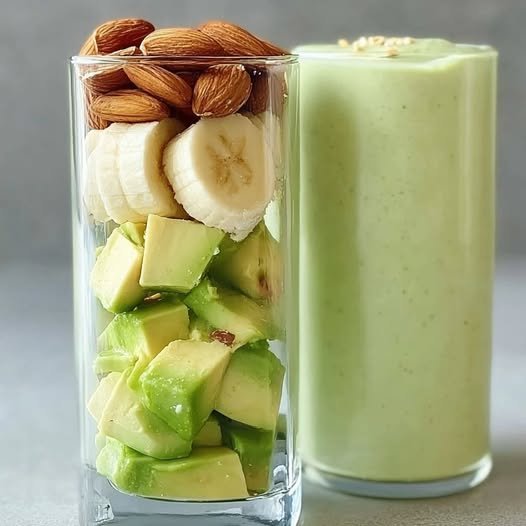
 Creamy Almond Banana Smoothie
 Pro Tips for the Best Result

 Low-Point Pizza Roll-Ups (Weight Watchers)
 Ingredients
 Instructions
 1–2 points per roll-up
 WW Pro Tip