
The Signature Weight-Loss Bowl
This version balances complex carbs with healthy fats and natural thermogenic spices.
The Essentials:
-
Base: 1 cup Rolled Oats + 1 3/4 cups Water.
-
The Warmth: 1/2 tsp Cinnamon + 1/4 tsp Nutmeg.
-
** The Bulk:** 1 Diced Apple (Granny Smith or Honeycrisp recommended for texture).
-
The Crunch & Sweet: 2 tbsp Maple Syrup, 1/4 cup Walnuts, 1/4 cup Raisins.
Efficiency & Storage Tips
Since you mentioned meal prepping, here is a quick guide on how to handle the leftovers you described:
| Method | Best For… | Pro-Tip |
| Refrigeration | 3–5 Days | Store in airtight glass containers. The oats will thicken; add a splash of almond milk before reheating. |
| Freezing | Up to 3 Months | Freeze in muffin tins for “oatmeal pucks.” Pop two out and microwave for an instant portion-controlled meal. |
| Cold Prep | Overnight Oats | Use the same ratios but don’t boil. Let sit in the fridge overnight for a “parfait” texture. |
Troubleshooting Your Texture
You brought up some great points regarding consistency. To ensure the “Ultimate” result every time:
-
If it’s too mushy: You might be over-stirring. Stirring releases starches; for a more distinct “al dente” grain, stir only 2–3 times during the simmer.
-
If the apples disappear: Add half the apples at the beginning of the simmer (for flavor) and the other half right before serving (for a fresh, crisp crunch).
-
If it lacks “Zinc”: Even in sweet recipes, a tiny pinch of salt in the boiling water is non-negotiable. It bridges the gap between the oats and the maple syrup.
Peer Note: You mentioned using oat flour for a gluten-free alternative. Just a quick reminder for anyone following along: while oats are naturally gluten-free, they are often processed in facilities with wheat. If you have Celiac disease or a high sensitivity, always look for the “Certified Gluten-Free” label on your bag of oats!


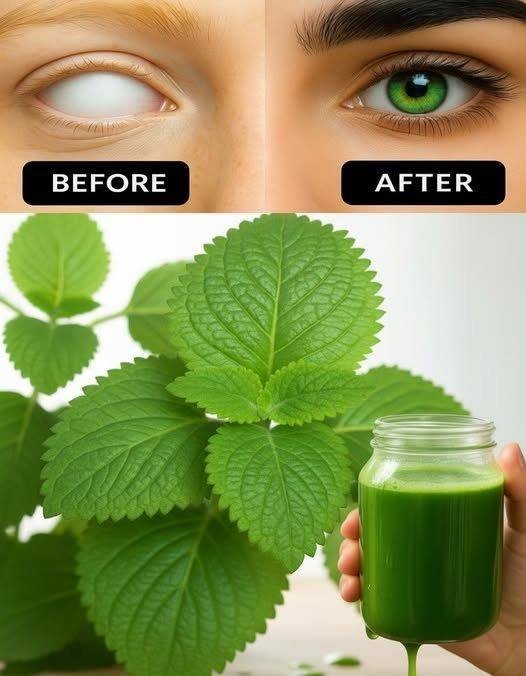
 Wash the herbs
 Prepare ingredients
 Blend
Blend Strain (optional)
 Serve
Serve Eye health support
 Immune support
 Anti-inflammatory properties
 Heart health
 Digestive support
 Add ginger for extra digestive benefits.