Ingredients
For the Homemade Tahini
1 cup Fresh, dry sesame seeds
1 Tbsp Sesame oil
For the Flatbread and Loaf
4 Tbsp Homemade Tahini
2 whole Eggs
2 Tbsp Water
a pinch Salt
1/2 cup Tahini (for loaf)
5 whole Eggs (for loaf)
1 Tbsp Olive oil
1 tsp Baking powder
1/2 tsp Salt (for loaf)
1-2 Tbsp Maple syrup optional for sweetness
Mixed nuts for topping
Method
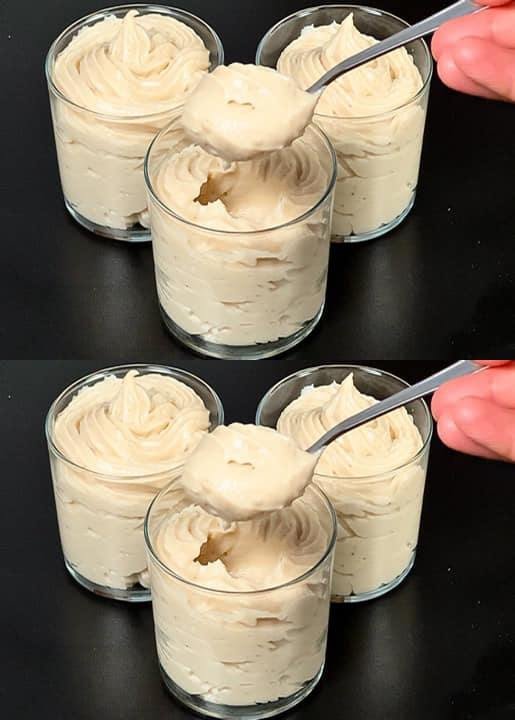
Make the Homemade Tahini
Toast fresh, dry sesame seeds in a pan over medium heat until they’re golden and aromatic. Let them cool before transferring to a food processor.
Blend the seeds until they become a thick paste, and then gradually add 1 tablespoon of sesame oil until smooth.
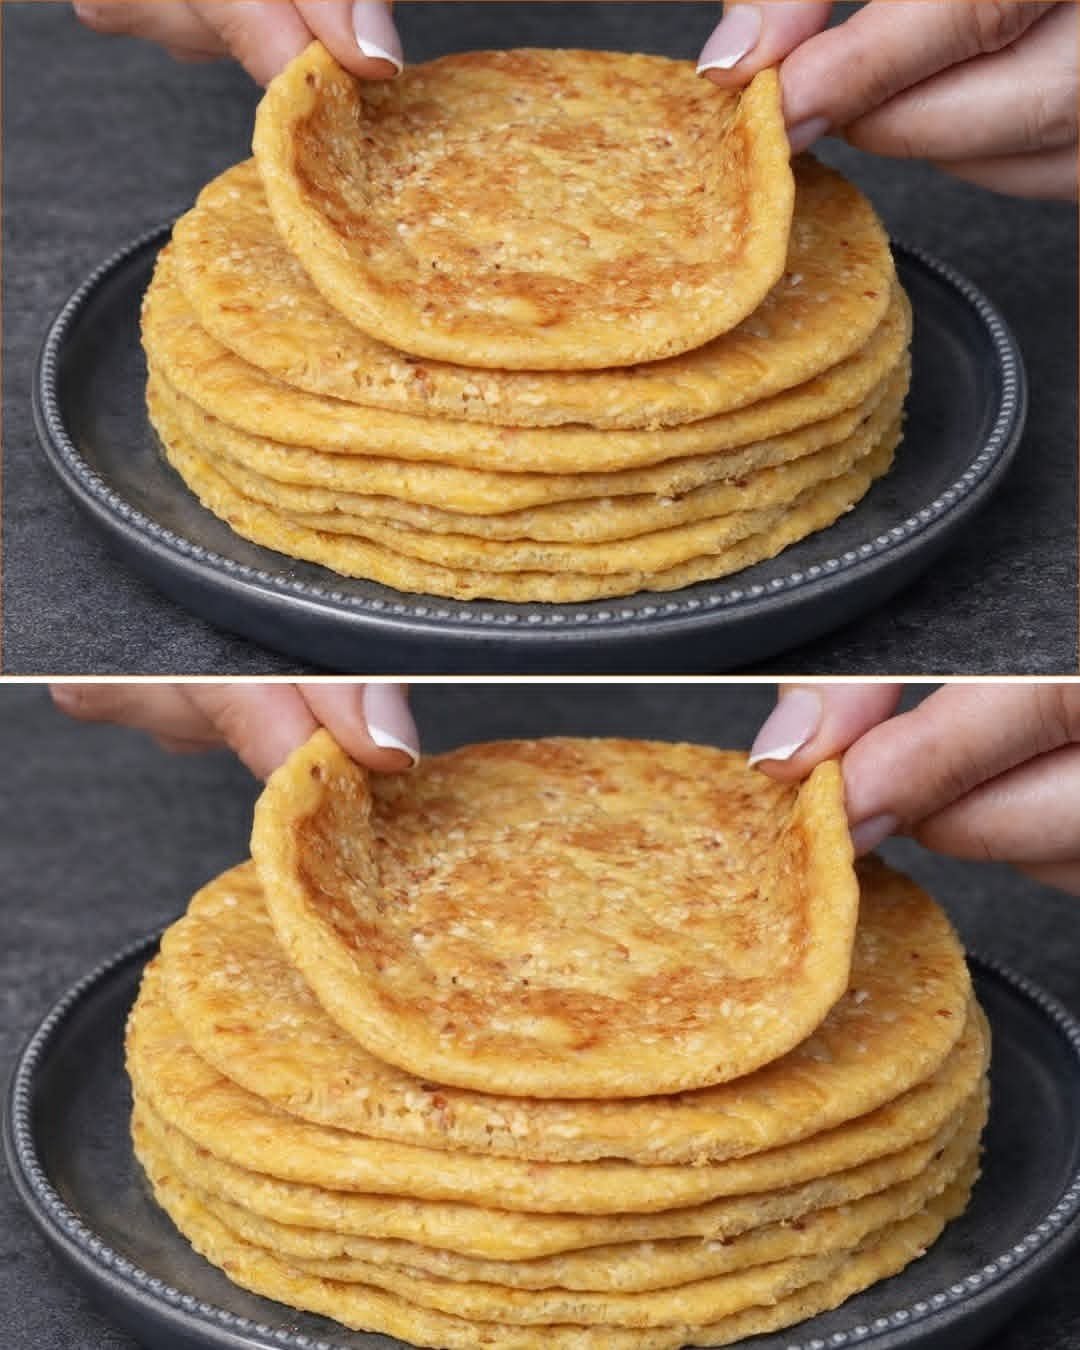
Prepare the Quick Flatbread
In a bowl, mix 4 tablespoons of your homemade tahini, 2 whole eggs, a pinch of salt, and 2 tablespoons of water.
Whisk until the mixture is smooth and fluffy.
Cook the Flatbreads
Heat a non-stick pan over medium heat.
Pour a ladle of the batter into the pan and cook for 1-2 minutes, or until the edges start to turn golden.
Flip it over and cook the other side until fully cooked. Repeat this process with the remaining batter.
Make the Fluffy Protein Loaf
Preheat your oven to 180°C (355°F).
In a separate bowl, combine 1/2 cup of tahini, 5 eggs, olive oil, baking powder, salt, and maple syrup if you like a hint of sweetness.
Mix well until everything is combined.
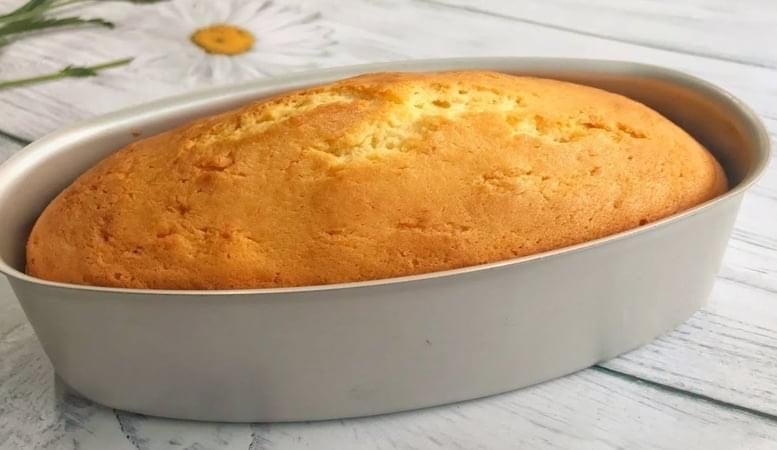
Bake the Loaf
Pour the mixture into a prepared loaf pan lined with parchment paper.
Top with mixed nuts for an extra crunch.
Bake in the preheated oven for about 35-40 minutes, or until the top is golden brown and a toothpick inserted comes out clean.
Cool and Serve
Allow the loaf to cool in the pan for a bit before transferring it to a wire rack.
Slice once it’s cool, and enjoy your high-protein sesame bread!
Notes
Store the bread in an airtight container to keep it fresh for a few days. The bread freezes well; just slice it and wrap it tightly before placing it in the freezer. Feel free to add herbs or spices to the batter for an extra flavor boost. Reheat slices in a toaster or on a pan for that fresh-baked taste. Experiment with various toppings like hummus, tomato slices, or smoked salmon for a tasty twist.


 Pico de Gallo
 Chef’s Tips & Notes
 Nutritional Info (Per Serving)
 Benefits
 Common Questions (Q&A)


 Note: This recipe supports healthy blood sugar management, but it does not replace medical treatment or cause “instant” glucose drops.
 Suitable for: