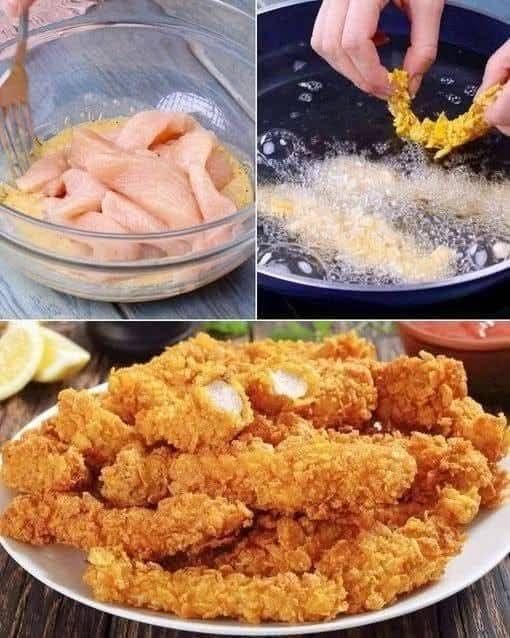
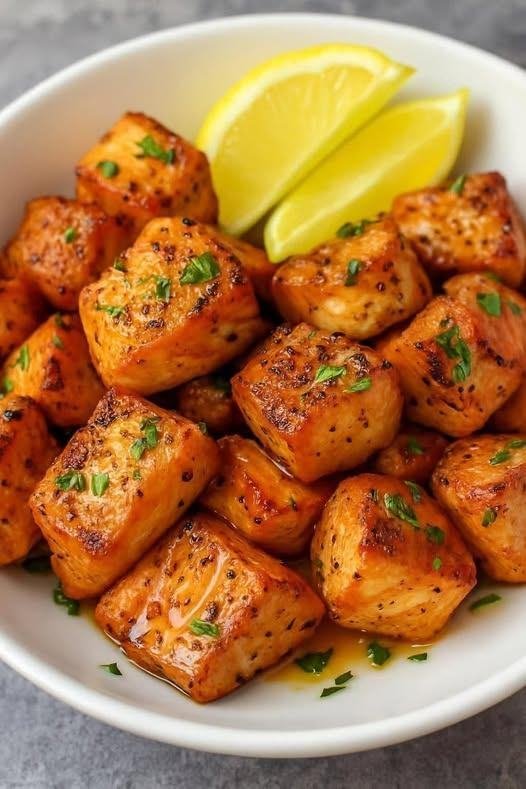
Extra-Crunchy Chicken Tenders
Prep time: 15 mins | Cook time: 10–12 mins | Serves: 3–4
Ingredients
-
Chicken: 1.5 lbs chicken breast or tenderloins, cut into long strips.
-
The Coating: 3–4 cups plain cornflakes (unsweetened).
-
The Dredge: ½ cup all-purpose flour.
-
The Binder: 2 large eggs + 2 tbsp milk or water.
-
Seasoning: 1 tsp salt, ½ tsp black pepper, 1 tsp garlic powder, 1 tsp paprika, and a pinch of cayenne (optional).
-
Frying: Vegetable or canola oil (enough to submerge the chicken halfway).
Instructions
-
Prep the Crumbs: Place the cornflakes in a large zip-top bag. Crush them with your hands or a rolling pin until they are broken down but not a fine powder. You want some pea-sized chunks for that signature crunch.
-
Set Up Your Stations:
-
Bowl 1: Flour mixed with all the seasonings.
-
Bowl 2: Eggs and milk, whisked together.
-
Bowl 3: The crushed cornflakes.
-
-
Bread the Chicken: * Coat a chicken strip in the seasoned flour (shake off excess).
-
Dip into the egg wash.
-
Press firmly into the cornflakes until fully coated.
-
-
The Fry: Heat about ½ inch of oil in a large skillet over medium-high heat (approx. 350°F / 180°C).
-
Cook: Fry the chicken in batches for 3–5 minutes per side until the coating is deep golden brown and the internal temperature reaches 165°F (74°C).
-
Drain: Place on a wire rack or paper towels to remove excess oil.
Pro Tips for Success
-
Don’t Crowd: If you put too many pieces in the pan at once, the oil temperature drops, and the chicken will get soggy instead of crispy.
-
Baked Version: If you’d rather not fry, spray the breaded tenders with cooking oil and bake at 400°F (200°C) for 15–20 minutes.
-
Dipping: These pair perfectly with honey mustard, ranch, or a spicy buffalo sauce.


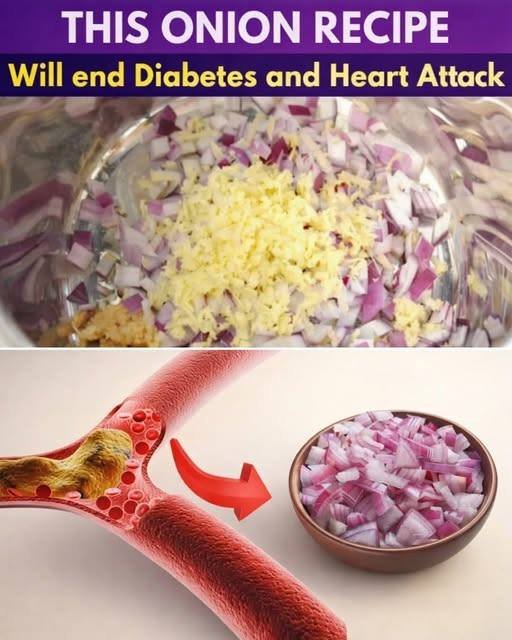
 May help support blood sugar regulation over time
 No. Never replace prescribed treatment without a doctor’s guidance.
 Yes — purple onions contain more antioxidants.


 Time
Time Serves
 Ingredients
 Instructions
 Optional Add-Ins & Tips
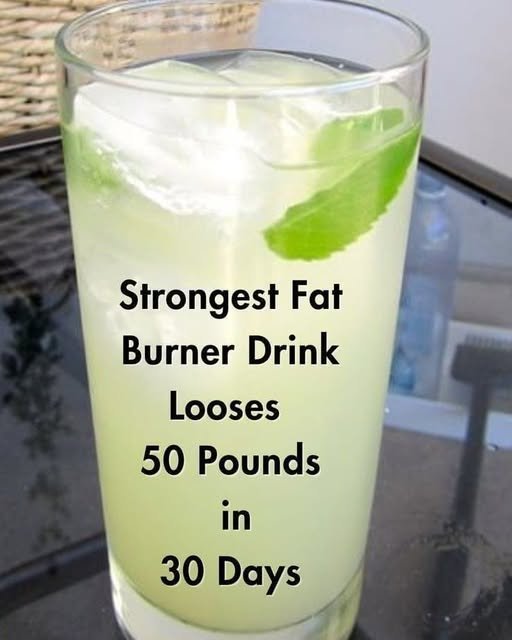
 Strong Fat-Burning Detox Drink — Full Recipe
 Q&A (350 Words Total Including Recipe Above)
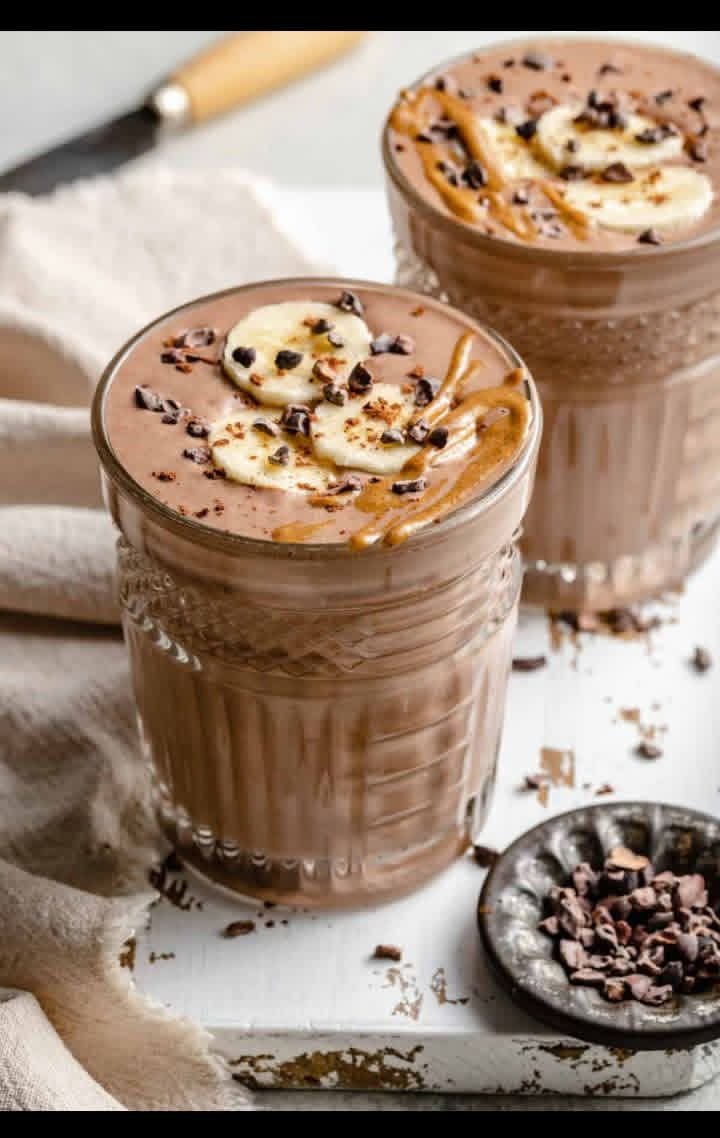
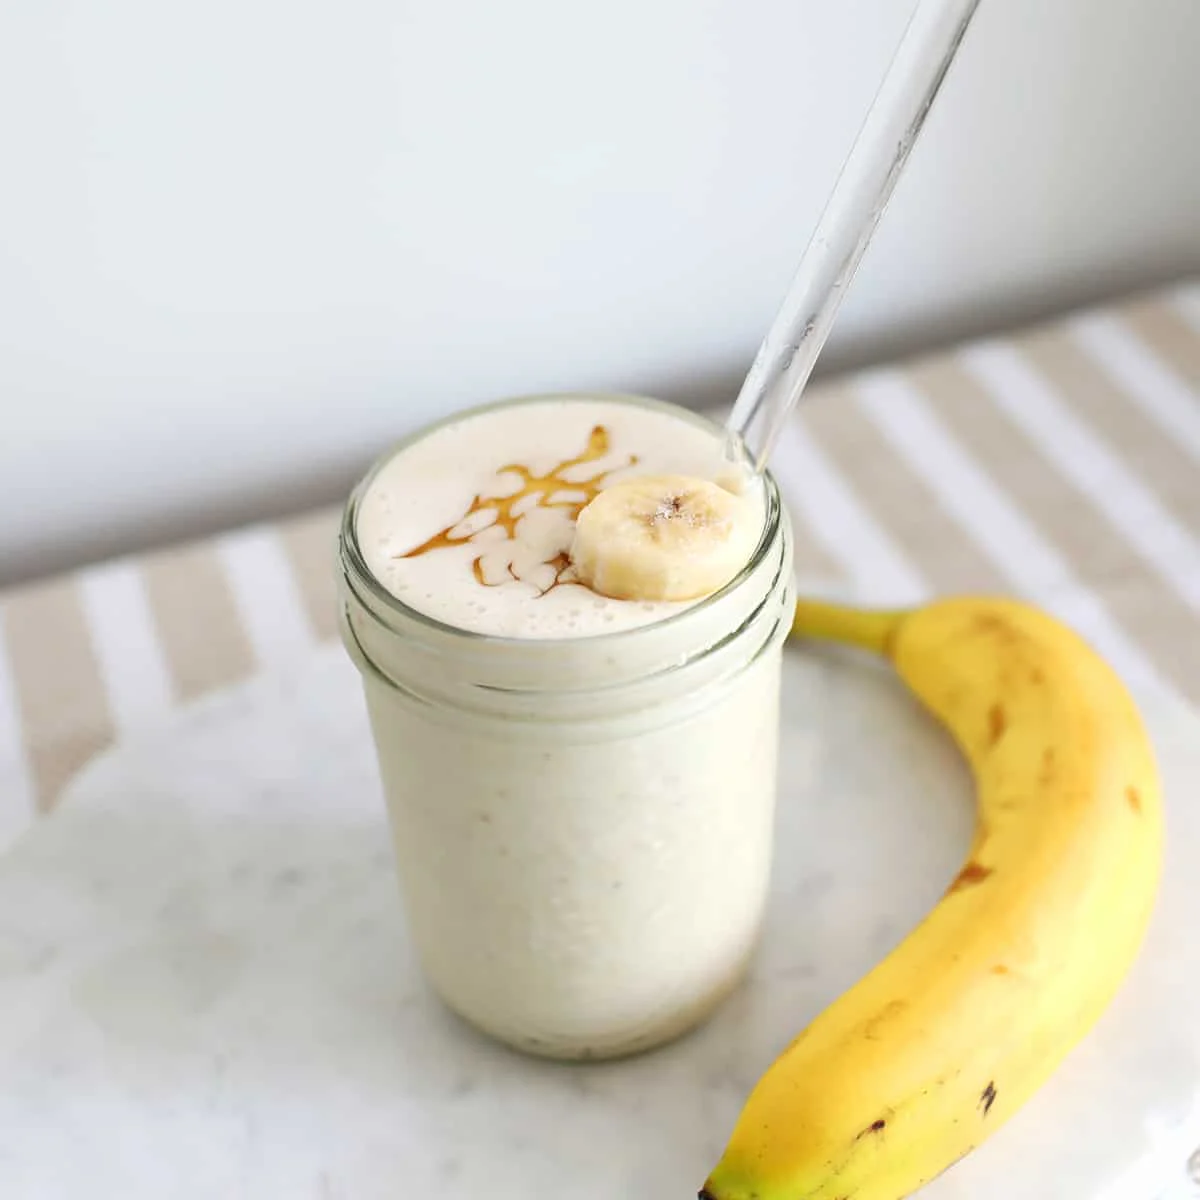
 Triple Berry & Oat Smoothie
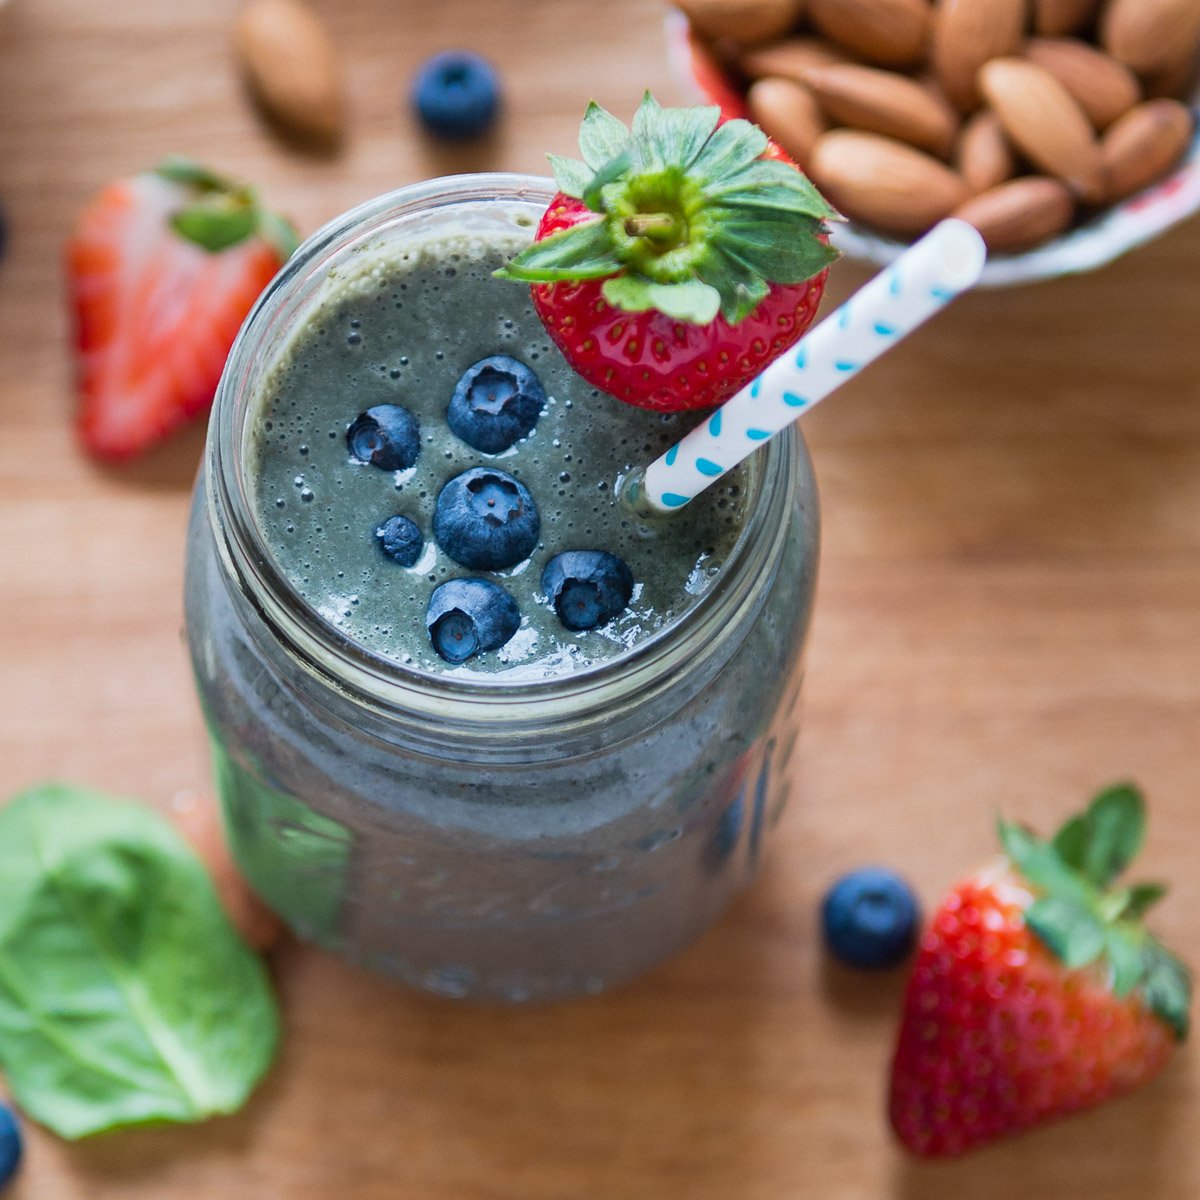
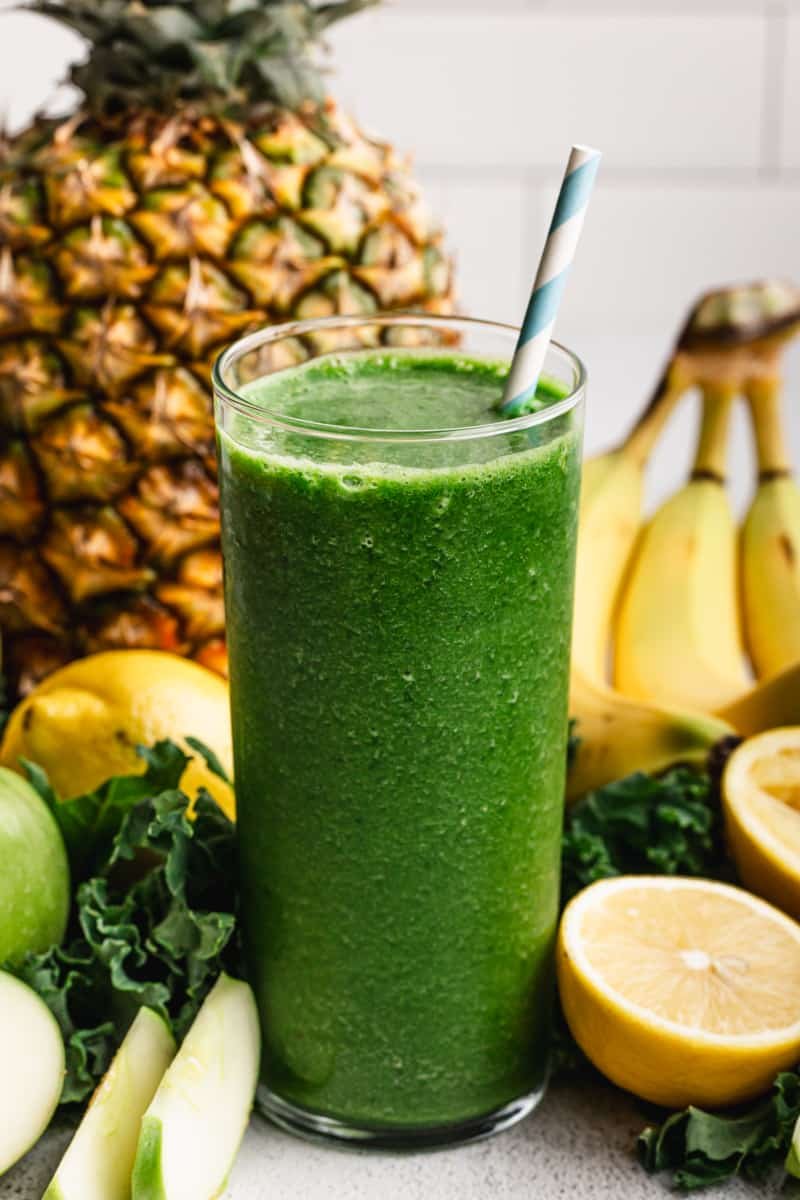
 Berry Almond Green Smoothie