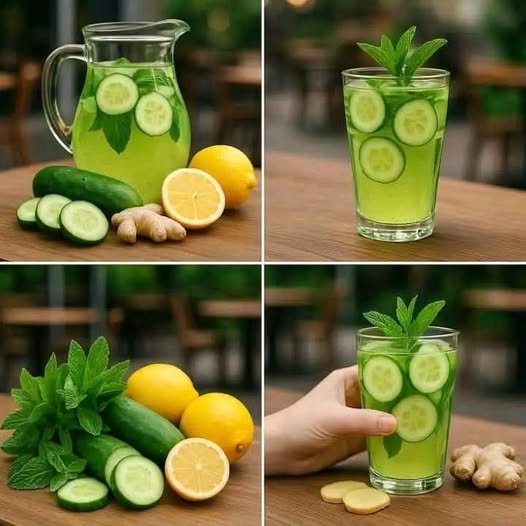
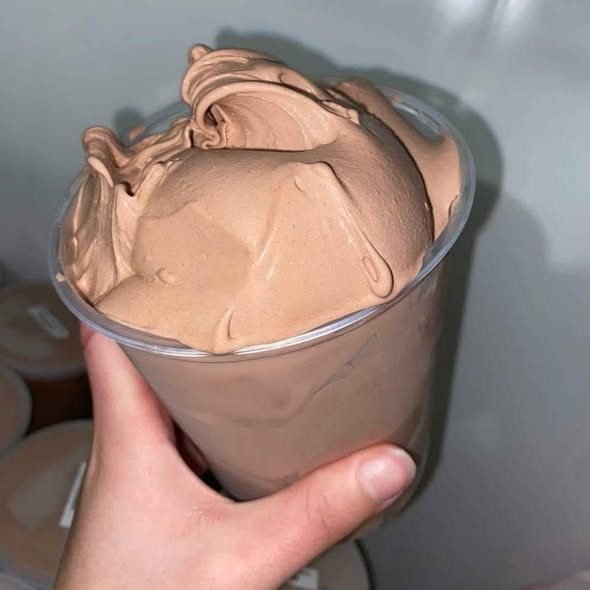
 3-Ingredient Sugar-Free Berry Whip
Making a sweet treat at home does not have to be hard. This 3-ingredient sugar-free berry whip is one of the easiest desserts you will ever make. It takes only two minutes from start to finish. There is no baking. There is no cooking. There is no long list of ingredients. All you need is a blender or food processor and three simple items.
The result is a light, creamy, fruity dessert that tastes like a mix between ice cream and mousse.
People love this recipe because it feels like a cheat dessert, but it is actually very healthy. It is sweet without added sugar and creamy without heavy ingredients. It is cold and refreshing, making it perfect for warm days. Kids love the bright color and soft texture, while adults love that it fits into low-carb, keto-style, and weight-loss plans.
This berry whip is perfect:
-
After a workout
-
For evening sugar cravings
-
For quick guests’ dessert
-
For anyone trying to reduce sugar
 Ingredients
You only need three ingredients:
-
1 cup frozen mixed berries
(strawberries, blueberries, raspberries, or a mix) -
½ cup unsweetened heavy cream or coconut cream
-
1–2 tablespoons powdered sugar-free sweetener
(erythritol, stevia, or monk fruit – adjust to taste)
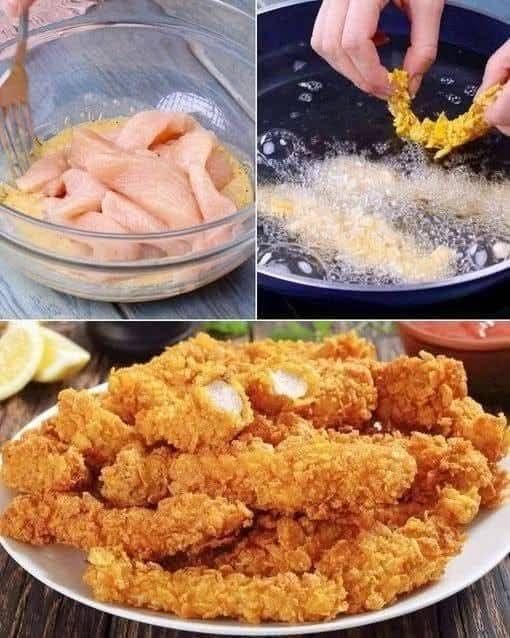
 Step-by-Step Method
Step 1
Remove berries from the freezer but do not thaw fully. They must stay frozen for a thick, fluffy texture.
Step 2
Place frozen berries into a blender or food processor.
Step 3
Add the heavy cream or coconut cream.
Step 4
Add 1 tablespoon sweetener.
Step 5
Blend. At first it may look crumbly. Stop and scrape sides if needed.
Step 6
Blend again until smooth, thick, and fluffy (about 1–2 minutes).
Step 7
Taste and add more sweetener if needed. Blend again briefly.
Step 8
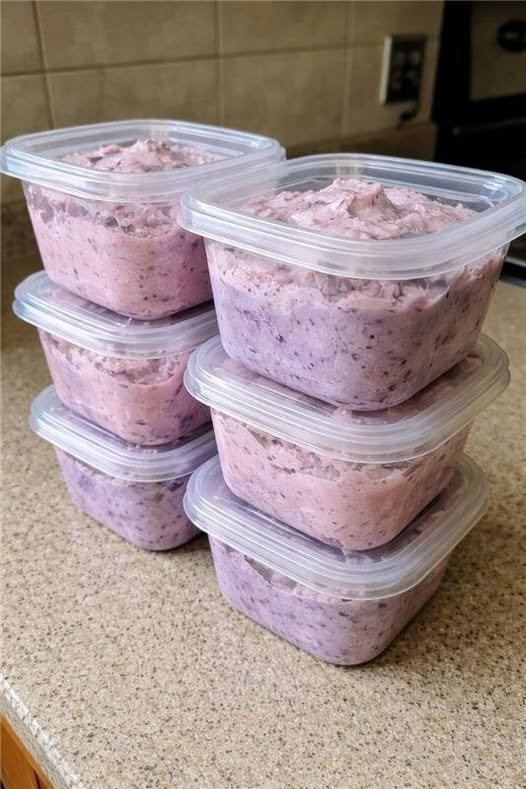
Scoop into bowls or glasses and serve immediately.
 Optional Step (Ice Cream Texture)
For firmer texture:
Freeze for 15–20 minutes before serving.
 Why This Recipe Is Special
-
Naturally sweet from berries
-
Low in carbs when using sugar-free sweetener
-
Keto and low-carb friendly
-
Gluten-free
-
Can be dairy-free with coconut cream
-
Helps reduce sugar cravings
-
Rich in antioxidants and vitamins
The frozen berries create a soft-serve texture, while the cream adds richness without heaviness. It melts in your mouth and feels indulgent while staying light.
 Extra Tips for Better Taste
-
Use only frozen fruit
-
Try different berry mixes
-
Add a few drops of vanilla extract
-
Add 1 tablespoon Greek yogurt for protein
-
Top with chia seeds, coconut, or nuts
-
Serve in clear glasses for presentation
-
Freeze into popsicle molds for kids
 Nutrition (Approximate)
Based on heavy cream + 1 tbsp erythritol.
Whole Recipe:
-
Calories: 320
-
Protein: 3 g
-
Fat: 30 g
-
Carbs: 12 g
-
Fiber: 4 g
-
Net Carbs: 8 g
-
Sugar: 6 g
Per Serving (2 servings):
-
Calories: 160
-
Protein: 1.5 g
-
Fat: 15 g
-
Carbs: 6 g
-
Fiber: 2 g
-
Net Carbs: 4 g
-
Sugar: 3 g
(Nutrition varies based on berries and sweetener used.)
 Disclaimer
This recipe is shared for general information and healthy lifestyle ideas. Everyone’s body and health needs are different. Results such as weight loss or blood sugar control may vary. Always consult a healthcare professional if you have medical or dietary concerns.
 Final Thoughts
This 3-ingredient sugar-free berry whip proves that healthy desserts can be simple, fast, and delicious. In just two minutes, you get a creamy, fruity treat that feels indulgent without guilt.
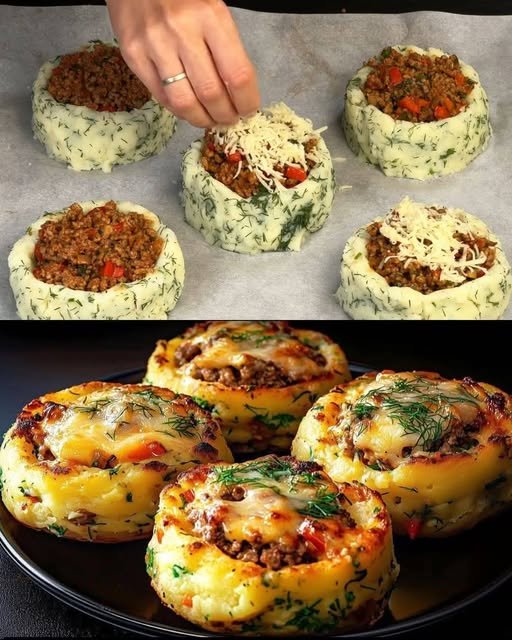
 Stuffed Mashed Potato Nests
 Prep Time: 25 minutes
 Bake Time: 15 minutes
 Serves: 4–6
 STEP 1: Cook the Potatoes
 Chef Tips
 Variations
 FAQs
FAQs


 Blood Sugar Support
 Hair & Skin Support
 Digestive Health
 Immune Boost
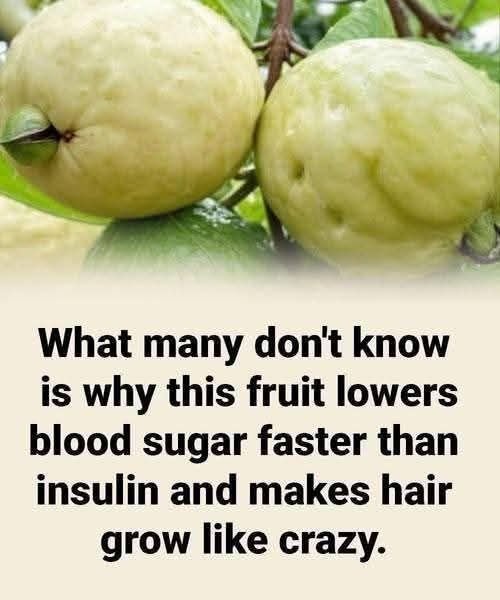
 No. No food can cure diabetes.