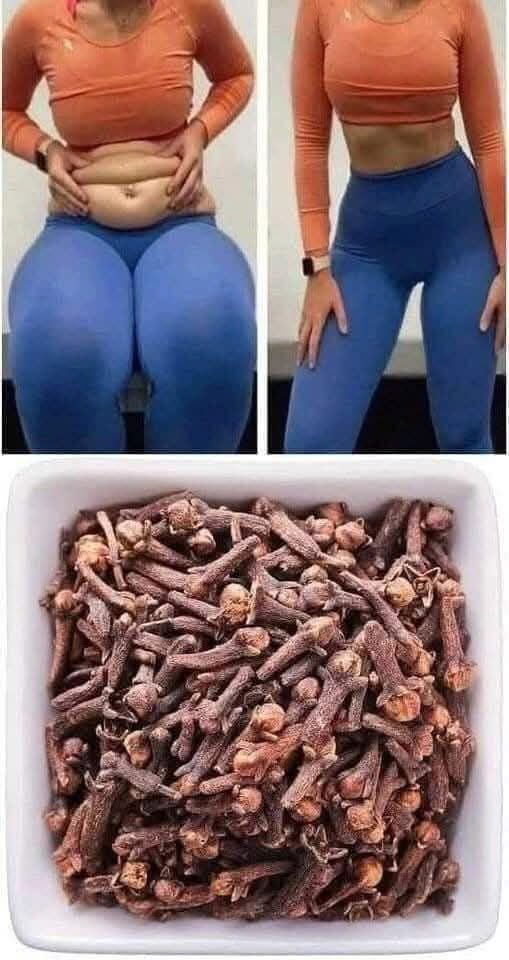
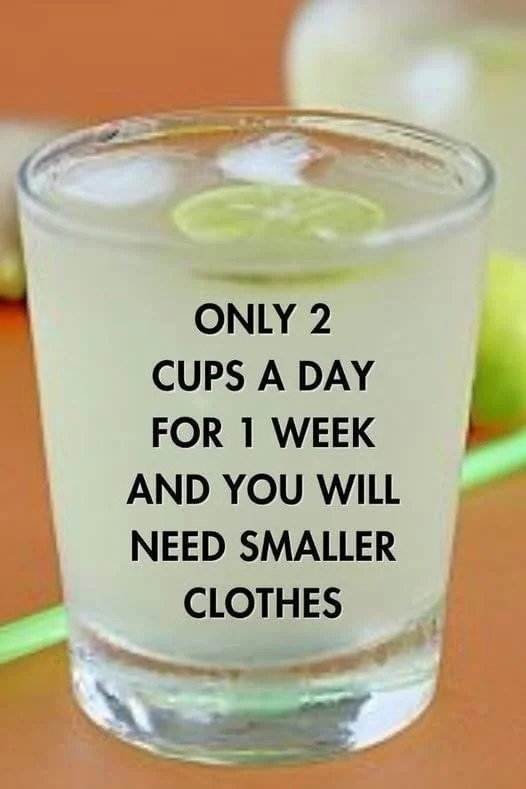
The Reality of Cloves and Weight Loss
Cloves are packed with antioxidants (especially eugenol) and can help with digestion or reducing inflammation. However, there is no scientific evidence that drinking clove water can cause significant weight loss on its own, especially at the rate of 19kg (about 42 lbs) in 30 days.
-
Unrealistic Expectations: Losing 19kg in a month is not only medically improbable through a single drink but would also be considered unsafe for most people. A sustainable, healthy rate of weight loss is generally 0.5kg to 1kg per week.
-
The “Magic Bullet” Trap: Viral posts like these often use dramatic before-and-after photos (which are frequently edited or represent long-term lifestyle changes) to promote simple “hacks” that don’t address diet or exercise.
How to Use Cloves Safely
If you enjoy the flavor and want to include cloves in your routine, they are a great addition to a balanced diet:
-
Antioxidant Boost: They have one of the highest antioxidant counts of any spice.
-
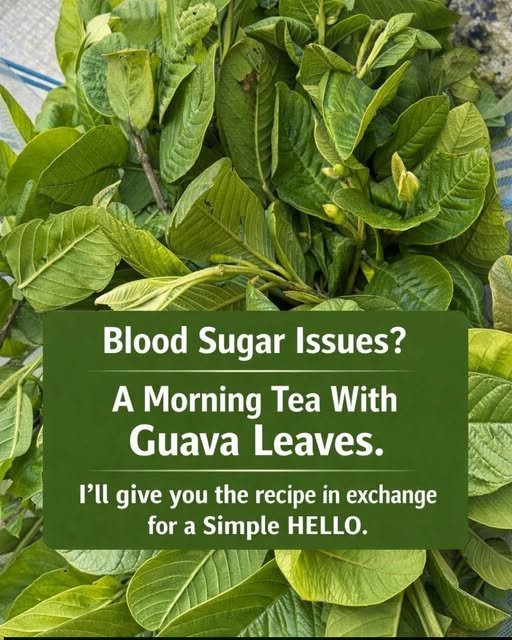
Blood Sugar: Some studies suggest they may help improve insulin sensitivity.
-
Oral Health: Clove oil is a well-known remedy for toothaches due to its numbing properties.
Note: Always check with a healthcare provider before starting any extreme “detox” or supplement routine, as high concentrations of clove can interfere with certain medications (like blood thinners).
 Note:
Note:


 Supports low-carb & keto diets
 Notes & Pro-Tips
 Nutritional Info & Benefits
 Common Q&A
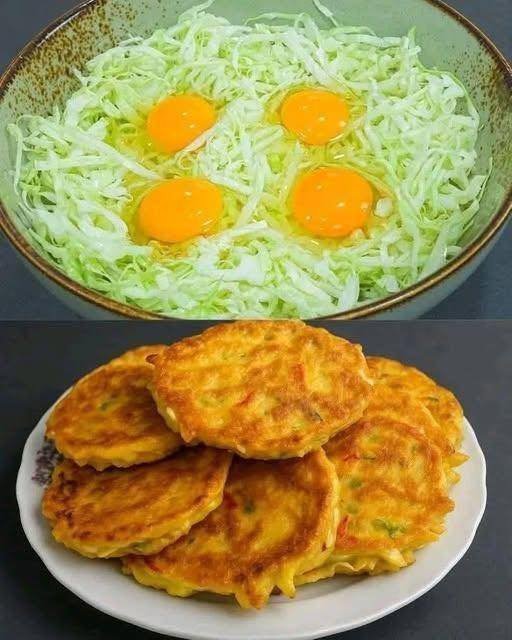
 Ingredients
 Instructions
 Servings
 Nutritional Info (per pancake, without toppings)
 Benefits
 Serve With:


 Health Benefits
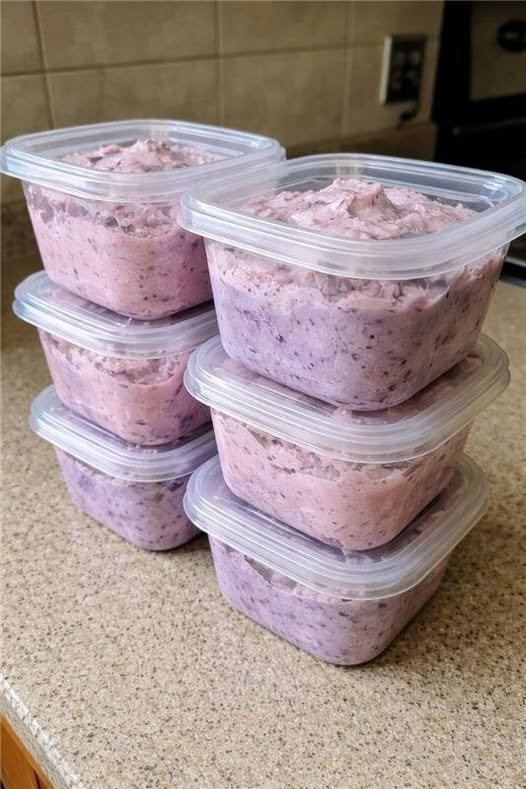
 3-Ingredient Sugar-Free Berry Whip
 Ingredients
 Optional Step (Ice Cream Texture)
 Why This Recipe Is Special
 Nutrition (Approximate)
 Final Thoughts