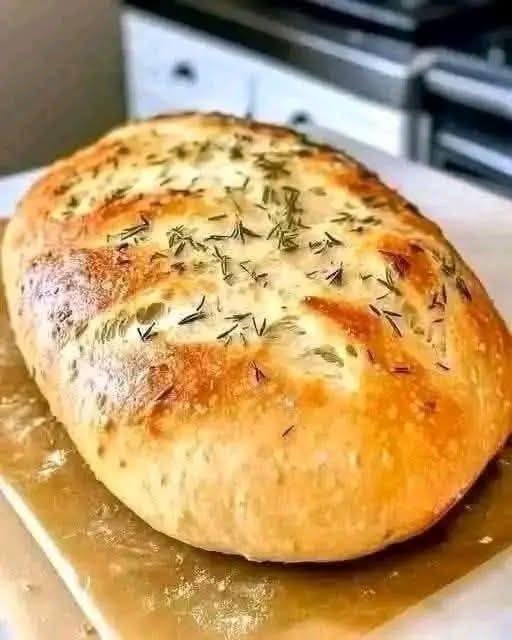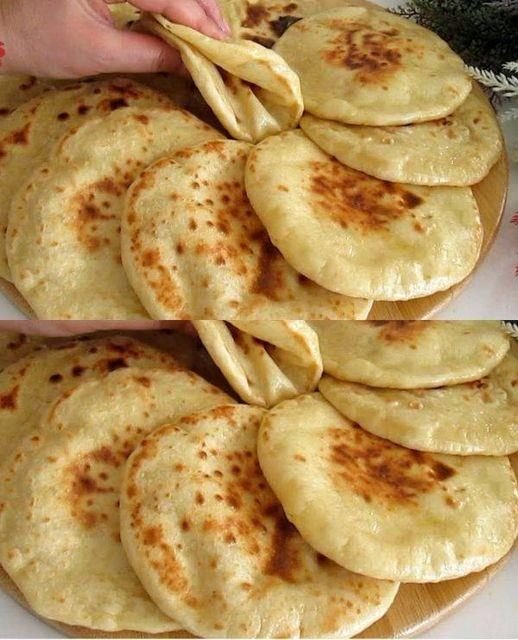
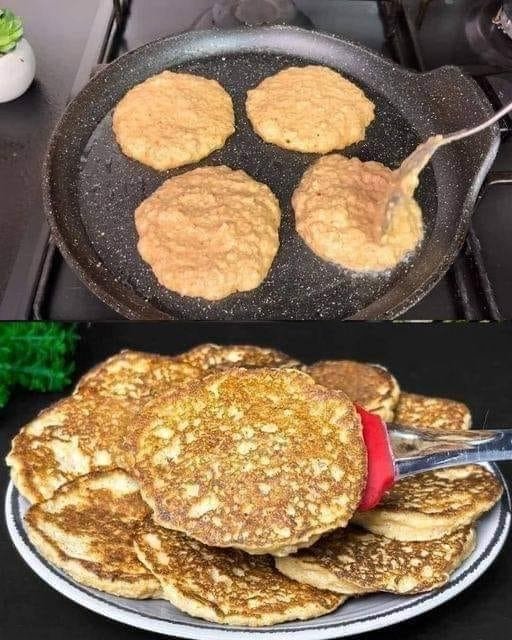
10-Minute No-Oven Soft Flatbreads
Prep time: 5 mins | Cook time: 5 mins | Yields: 6-8 small breads
Ingredients
-
2 cups All-purpose flour (plus a little extra for dusting)
-
1 cup Greek yogurt (Plain, full-fat works best for softness)
-
1 tsp Baking powder (This is the “magic” for the 10-minute rise)
-
1/2 tsp Salt
-
1 tbsp Olive oil or melted butter (optional, for the dough)
-
Butter or Garlic Oil (for brushing at the end)
Instructions
-
Mix the Dough: In a large bowl, whisk together the flour, baking powder, and salt. Make a well in the center and add the yogurt (and oil/butter if using).
-
Knead: Use a fork to bring the dough together, then switch to your hands. Knead for about 2–3 minutes until the dough is smooth. If it’s too sticky, add a sprinkle of flour; if too dry, add a teaspoon of yogurt.
-
Divide & Roll: Divide the dough into 6 to 8 equal pieces. Roll each piece into a ball. On a lightly floured surface, roll each ball into a circle about 1/4 inch thick.
-
Heat the Pan: Place a cast-iron skillet or non-stick frying pan over medium-high heat. You don’t need oil in the pan, but a tiny drop can help with browning.
-
Cook: Lay a flatbread in the hot pan. Wait for about 1–2 minutes until you see bubbles forming on the surface and the bottom has golden-brown spots.
-
Flip: Flip the bread and cook the other side for another minute. It should puff up slightly.
-
The Finishing Touch: As soon as they come off the heat, brush them with melted butter or olive oil.
Beginner Tips for Success
-
Keep them Warm: As you finish each bread, stack them on a plate and cover them with a clean kitchen towel. The steam will keep them incredibly soft and pliable, just like in your photo.
-
Don’t Over-Flour: Use just enough flour to keep the dough from sticking to your rolling pin. Too much extra flour can make the bread dry or dusty.
-
Flavor Boost: You can mix chopped parsley or minced garlic directly into the butter you brush on at the end for “instant garlic bread.”

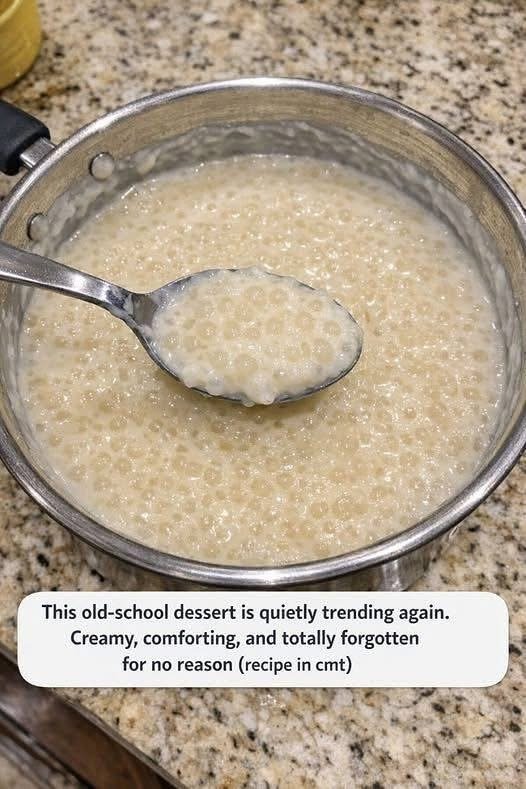
 Use whole milk for creaminess (low-fat works but less rich).


 Notes
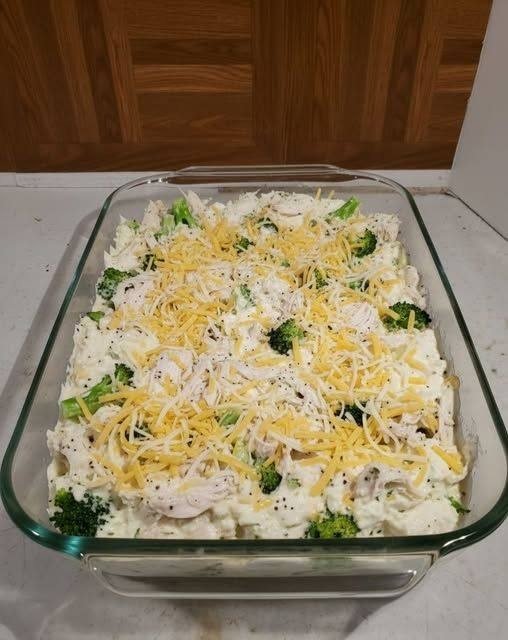
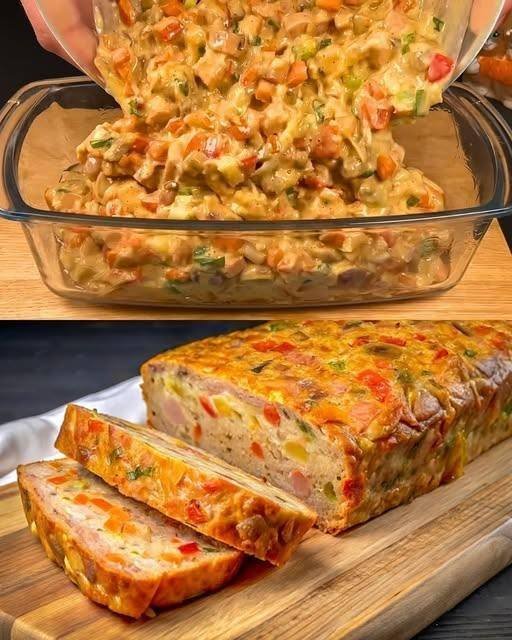
Notes High in protein from chicken