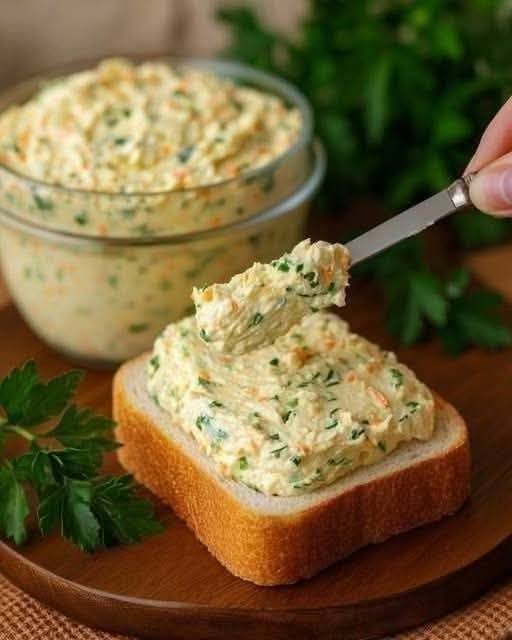
The Ultimate Garlic Cheese Pull-Apart Bread
Prep time: 10 mins | Bake time: 15–20 mins | Serves: 6–8
Ingredients
-
1 loaf Sourdough or Italian boule (crusty bread works best)
-
1/2 cup Unsalted butter, melted
-
2-3 cloves Garlic, finely minced
-
1 tsp Sea salt
-
1 tbsp Fresh parsley, finely chopped
-
1 1/2 cups Shredded cheese (a mix of Monterey Jack and Sharp Cheddar is best for the “pull”)
-
Optional: 2 green onions, thinly sliced
Instructions
-
Preheat & Prepare: Preheat your oven to 350°F (175°C). Line a baking sheet with foil or parchment paper for easy cleanup.
-
Cut the Bread: Using a serrated knife, cut the bread in a 1-inch diamond pattern. Cut deep into the loaf, but be careful not to cut all the way through to the bottom crust. You want the loaf to stay together as one piece.
-
Mix the Garlic Butter: In a small bowl, whisk together the melted butter, minced garlic, sea salt, and fresh parsley.
-
Butter the Cracks: Use a pastry brush or a small spoon to drizzle the garlic butter into every crevice of the bread. This ensures every bite is flavorful.
-
Stuff with Cheese: Use your fingers to gently pull the cracks open and stuff plenty of shredded cheese inside. Don’t be shy—the more cheese in the cracks, the better the result!
-
Wrap and Bake: Wrap the entire loaf loosely in foil. This allows the cheese to melt without the crust burning. Bake for 10 minutes.
-
Crisp it Up: Remove the foil from the top and bake for another 5–10 minutes until the cheese is bubbly and the top of the bread is golden and crisp.
-
Serve: Sprinkle with sliced green onions if desired. Serve immediately while the cheese is gooey.
A Tip for Success
If you want to prep this even further in advance, you can cut and butter the bread a few hours early, wrap it tightly, and simply add the cheese and bake right before your guests arrive.


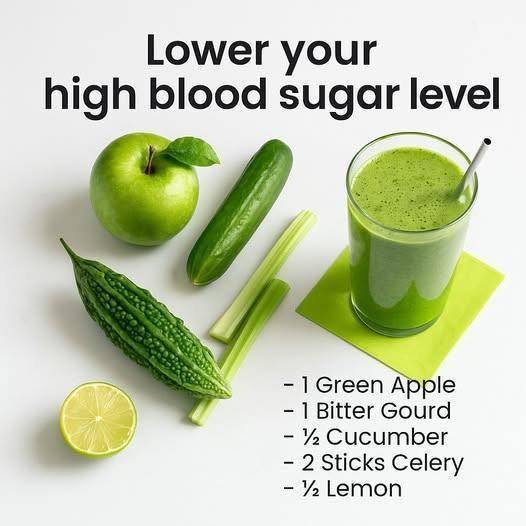
 “Diabetic-friendly” means lower in sugar and carbs — always monitor blood glucose and consult your healthcare provider for personal guidance.
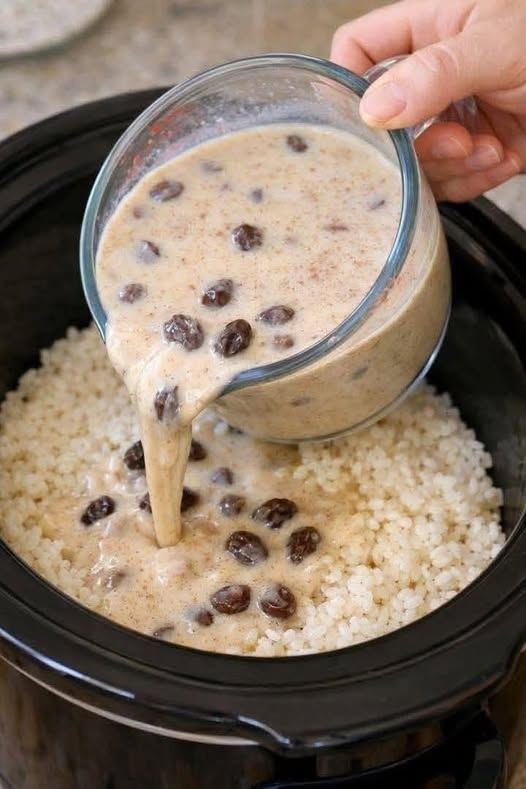
 Lower sugar than traditional cream rolls
 Add sugar-free strawberry puree swirl
 Mix in 1 tbsp unsweetened cocoa powder
 Add 1 tbsp coconut cream for tropical flavor
 Add ½ tsp instant espresso for mocha twist

 Tips for Best Results
 Keeps You Full Longer
 Supports Digestion
 Helps Control Blood Sugar
 Boosts Metabolism
 Heart Healthy