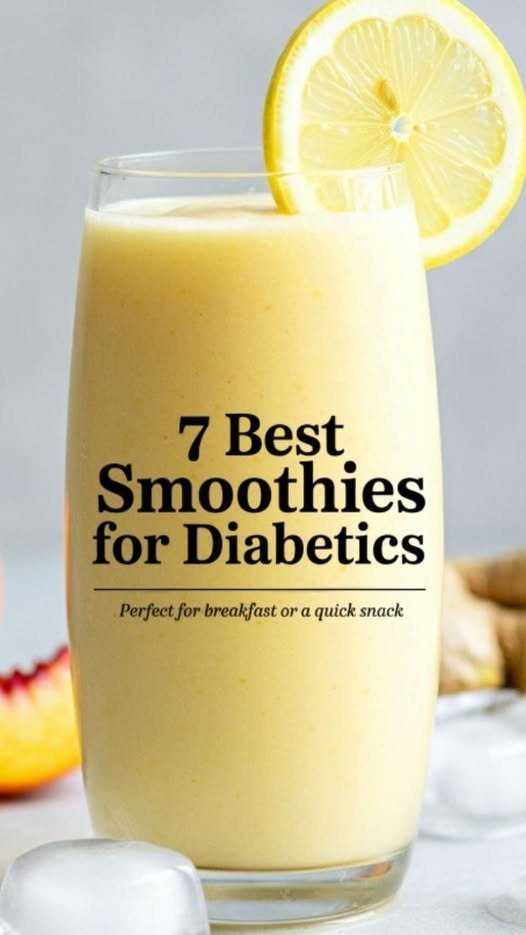
7 Best Smoothies for Diabetics
Tasty, Healthy & Low-Carb
Green Avocado Spinach Smoothie
Description
Creamy, filling, and packed with healthy fats that slow glucose absorption.
Ingredients
-
½ avocado
-
1 cup spinach
-
1 cup unsweetened almond milk
-
1 tbsp chia seeds
-
Ice cubes
Instructions
Blend all ingredients until smooth.
Notes & Tips
-
Add lemon juice for freshness
-
Very low glycemic load
Servings
1 glass
Nutrition (Approx.)
-
Calories: 210
-
Carbs: 8 g (net carbs ~4 g)
-
Fiber: 7 g
-
Fat: 15 g
Benefits
-
Improves insulin sensitivity
-
Keeps you full longer
Q&A
Q: Can I drink this daily?
A: Yes—excellent for breakfast or post-meal balance.
Berry Greek Yogurt Smoothie
Description
Sweet yet blood-sugar friendly thanks to fiber-rich berries.
Ingredients
-
½ cup blueberries
-
½ cup strawberries
-
¾ cup plain Greek yogurt (unsweetened)
-
1 tbsp flaxseed
-
Water or ice
Tips
-
Avoid honey or sugar
-
Choose full-fat yogurt for better control
Nutrition
-
Calories: 180
-
Carbs: 14 g
-
Fiber: 5 g
-
Protein: 12 g
Benefits
-
Supports gut health
-
Low glycemic fruit combo
Cinnamon Apple Almond Smoothie
Description
Tastes like apple pie without sugar spikes.
Ingredients
-
½ small green apple
-
1 tbsp almond butter
-
1 cup almond milk
-
½ tsp cinnamon
Nutrition
-
Calories: 190
-
Carbs: 15 g
-
Fiber: 4 g
Benefits
-
Cinnamon helps regulate blood sugar
-
Healthy fats slow digestion
Lemon Ginger Protein Smoothie
Description
Refreshing, anti-inflammatory, and excellent for mornings.
Ingredients
-
1 cup unsweetened coconut milk
-
1 scoop low-carb protein powder
-
1 tsp fresh ginger
-
Juice of ½ lemon
Nutrition
-
Calories: 170
-
Carbs: 6 g
-
Protein: 20 g
Benefits
-
Reduces insulin resistance
-
Aids digestion
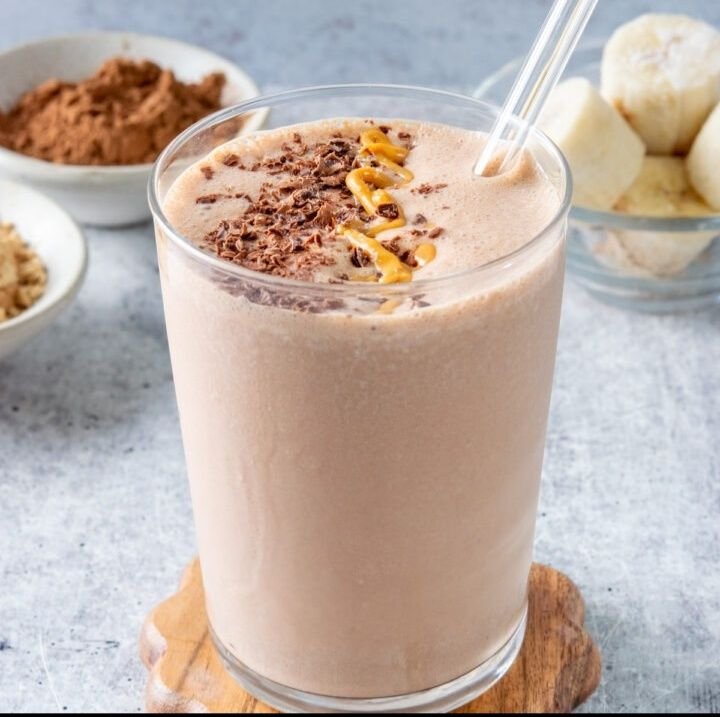
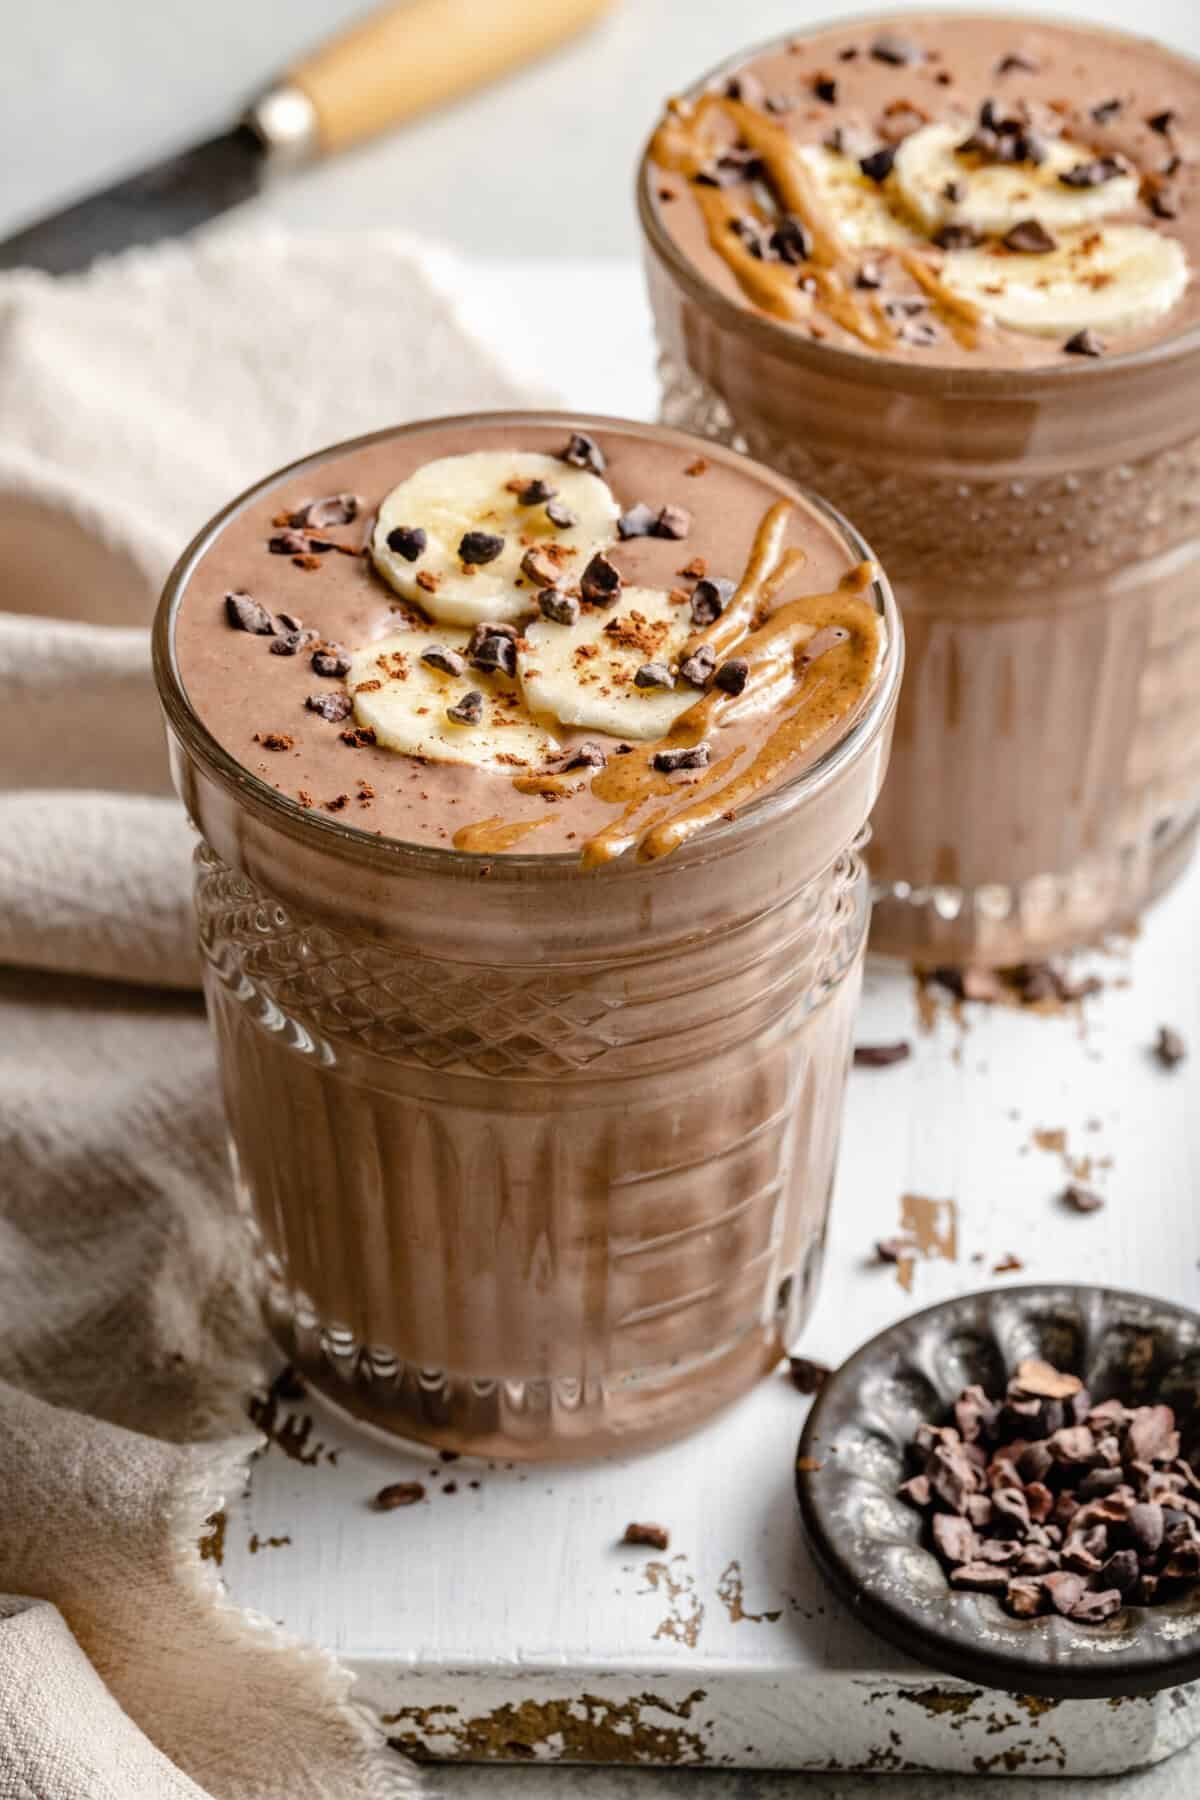
Chocolate Peanut Butter Smoothie (Sugar-Free)
Description
Dessert-like smoothie without the sugar crash.
Ingredients
-
1 tbsp natural peanut butter
-
1 tbsp unsweetened cocoa powder
-
1 cup almond milk
-
Stevia (optional)
Nutrition
-
Calories: 220
-
Carbs: 7 g
-
Fiber: 3 g
Benefits
-
Satisfies cravings
-
Keto-friendly
Cucumber Mint Smoothie
Description
Ultra-hydrating and refreshing, great for hot days.
Ingredients
-
1 cup cucumber
-
½ avocado
-
Mint leaves
-
Water or ice
Nutrition
-
Calories: 120
-
Carbs: 5 g
-
Fiber: 4 g
Benefits
-
Hydration
-
Anti-bloating
Peach Chia Smoothie (Low-Carb Portion)
Description
Light fruit flavor with fiber balance.
Ingredients
-
½ small peach
-
1 tbsp chia seeds
-
1 cup almond milk
Nutrition
-
Calories: 160
-
Carbs: 13 g
-
Fiber: 6 g
Benefits
-
Omega-3 fats
-
Slower glucose absorption
General Tips for Diabetic Smoothies
 Always pair fruit with fiber, fat, or protein Avoid fruit juice and sweeteners Use unsweetened milk alternatives Portion control is key
General Q&A
Q: Are smoothies safe for diabetics?
A: Yes—when low-carb, high-fiber, and properly portioned.
Q: Best time to drink?
A: Breakfast or as a meal replacement.
Q: Can I meal-prep smoothies?
A: Yes—prep ingredients and freeze, blend fresh.


 Introduction
 Look at the Recipe
 Ingredients Needed
 How to Make Our Zero Carb Carnivore Bread
 Storage & Serving Suggestions
 Tips & FAQs
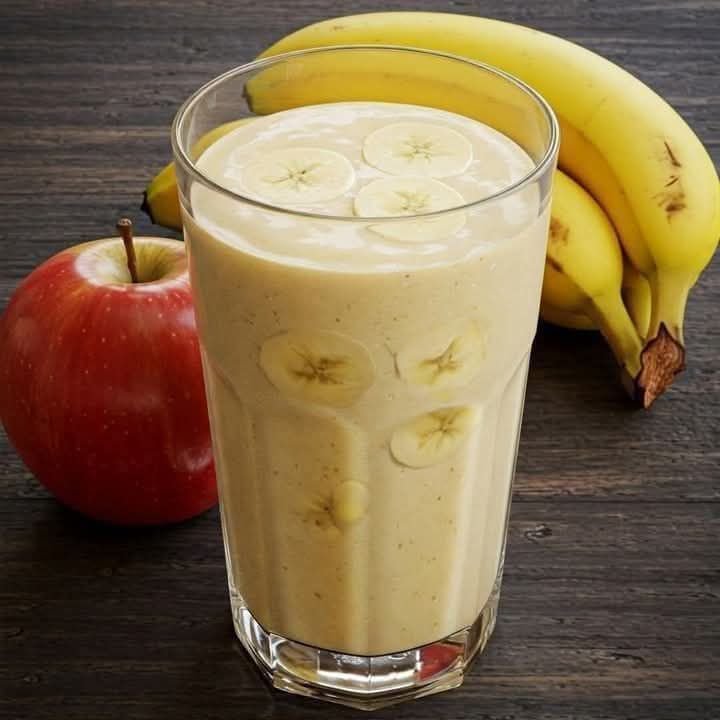
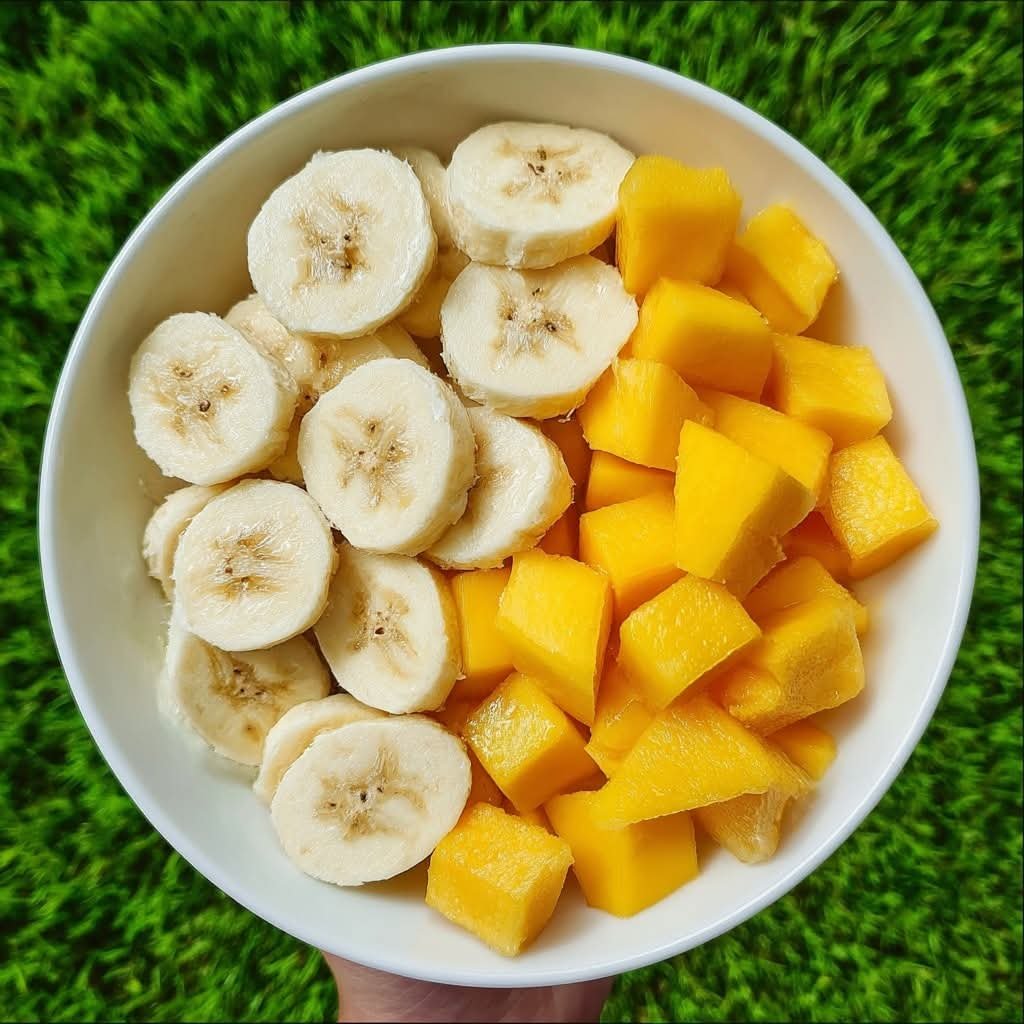
 Banana & Apple Silk Smoothie
 Introduction
 Ingredients
 Serving Suggestions
 Nutrition (Per Serving – Approximate)