Blueberry Cheesecake Rolls
A Quick, Easy, and Irresistibly Creamy Dessert
Blueberry Cheesecake Rolls are one of those simple recipes that feel fancy but require very little effort. They combine the rich, creamy flavor of cheesecake with the sweet burst of fresh blueberries, all wrapped in soft, flaky crescent roll dough. The result is a warm, golden pastry that’s perfect for breakfast, brunch, dessert, or even an afternoon snack with coffee or tea.
One of the best things about this recipe is how fast it comes together. With just a handful of ingredients and about 20 minutes from start to finish, you can have a tray of freshly baked rolls ready to enjoy. Whether you’re a beginner baker or someone who simply loves quick desserts, this recipe is practically foolproof.
These rolls are also incredibly versatile. While blueberries are the star of the recipe, you can easily substitute other fruits or add extra flavors to make the recipe your own. That flexibility makes it a great go-to dessert whenever you want something sweet without spending hours in the kitchen.
Why You’ll Love This Recipe
There are many reasons why Blueberry Cheesecake Rolls quickly become a favorite once people try them.
First, the recipe is extremely easy to prepare. There’s no complicated dough to make from scratch and no long waiting times. Crescent roll dough does most of the work for you, giving you a beautifully flaky pastry with minimal effort.
Second, the flavor combination is perfect. Cream cheese provides a rich and slightly tangy base, powdered sugar adds sweetness, and blueberries bring a juicy burst of natural flavor. When baked together, the filling becomes creamy and smooth while the pastry turns golden and crisp.
Another great feature of this recipe is that it’s relatively light compared to many desserts. Each roll contains around 133 calories, which makes it a treat you can enjoy without feeling overly indulgent.
Finally, these rolls are perfect for sharing. They look beautiful on a serving plate and taste even better when served warm.
Preparation Time
Prep Time: 10 minutes
Bake Time: 10–13 minutes
Total Time: About 20–25 minutes
Yield: 8 rolls
Ingredients
To make these delicious Blueberry Cheesecake Rolls, you only need a few simple ingredients that are easy to find in most grocery stores.
3 ounces cream cheese (softened, ⅓ less fat works well)
½ teaspoon vanilla extract
2½ tablespoons powdered sugar
1 tube crescent roll dough (8 ounces, 8 rolls)
⅔ cup fresh blueberries
Optional ingredients for extra flavor:
1 teaspoon lemon zest
Extra powdered sugar for dusting
1 tablespoon melted butter for brushing the tops
Kitchen Tools Needed
Mixing bowl
Electric mixer or whisk
Baking sheet
Parchment paper or baking mat
Spoon or spatula
Step-by-Step Instructions
Step 1: Preheat the Oven
Start by preheating your oven to 375°F (190°C). Preparing the oven ahead of time ensures the rolls bake evenly and develop a golden, flaky crust.
Line a baking sheet with parchment paper or a silicone baking mat to prevent sticking and make cleanup easier.
Step 2: Prepare the Cheesecake Filling
In a medium mixing bowl, combine the softened cream cheese, vanilla extract, and powdered sugar.
Use an electric mixer on low speed to blend the ingredients until smooth and creamy. If you don’t have a mixer, you can whisk or stir vigorously with a spoon until the mixture becomes soft and lump-free.
The finished filling should be thick, smooth, and easy to spread.
Step 3: Prepare the Crescent Roll Dough
Open the tube of crescent roll dough and carefully unroll it onto a clean surface.
Separate the dough along the perforated seams so you have 8 triangular pieces.
Arrange each triangle with the wide end closest to you and the pointed tip facing away.
Step 4: Add the Cheesecake Filling
Spread about one tablespoon of the cream cheese mixture over the bottom third of each triangle.
Be careful not to spread the filling too close to the edges, as it may leak out during baking.
Step 5: Add the Blueberries
Place a small row of fresh blueberries on top of the cream cheese layer.
Try to distribute the berries evenly so each roll gets a good amount of fruit without overfilling.
Step 6: Roll the Pastries
Starting from the wide end of the triangle, gently roll the dough toward the pointed tip.
As you roll, the cream cheese filling and blueberries will be enclosed inside the pastry.
Place each finished roll on the prepared baking sheet with the seam side down.
Leave a little space between each roll so they can expand while baking.
Step 7: Bake the Rolls
Place the baking sheet in the preheated oven.
Bake for 10 to 13 minutes, or until the crescent rolls turn golden brown and puffed.
The pastry should look crisp on the outside while the filling remains soft and creamy inside.
Step 8: Cool and Serve
Remove the rolls from the oven and allow them to cool for about 5 minutes.
If desired, lightly dust them with powdered sugar for a bakery-style finish.
Serve warm for the best flavor and texture.
Tips for Perfect Blueberry Cheesecake Rolls
Use softened cream cheese so the filling blends smoothly. Cold cream cheese can create lumps in the mixture.
Avoid overfilling the dough. Too much filling can cause the rolls to open while baking.
Fresh blueberries work best, but frozen blueberries can be used if they are thawed and drained first.
If you want a glossy finish, brush the tops of the rolls with melted butter before baking.
Delicious Variations
One of the best things about this recipe is how easily it can be customized.
Mixed Berry Rolls
Use a combination of blueberries, raspberries, and blackberries for a more colorful filling.
Strawberry Cheesecake Rolls
Replace blueberries with diced fresh strawberries for a sweeter flavor.
Lemon Blueberry Rolls
Add a teaspoon of lemon zest to the cream cheese mixture to brighten the flavor.
Apple Cheesecake Rolls
Swap blueberries for thin apple slices and sprinkle a little cinnamon over the filling.
Chocolate Cheesecake Rolls
Add a few mini chocolate chips to the cream cheese filling for a rich dessert version.
Storage Instructions
If you happen to have leftovers, store them in an airtight container.
At room temperature, they will stay fresh for 1–2 days.
In the refrigerator, they can last up to 4 days. When reheating, place them in the oven or air fryer for a few minutes to restore their crisp texture.
You can also freeze baked rolls for up to 2 months. Simply thaw and reheat when ready to enjoy.
Nutritional Information (Per Roll)
Calories: 133
Carbohydrates: 18 grams
Sugar: 7 grams
Fat: 6 grams
Saturated Fat: 3 grams
Protein: 3 grams
Fiber: 0 grams
These numbers may vary slightly depending on the brand of ingredients used.
Serving Ideas
Blueberry Cheesecake Rolls taste wonderful on their own, but they can also be paired with other foods to create a more complete treat.
Serve them with:
Fresh fruit salad
Hot coffee or tea
Vanilla ice cream
Whipped cream
A drizzle of honey or glaze
They’re especially perfect for brunch tables, holiday breakfasts, and casual gatherings.
Final Thoughts
Blueberry Cheesecake Rolls prove that delicious desserts don’t need to be complicated. With only a few ingredients and less than half an hour of your time, you can create a warm, flaky pastry filled with creamy cheesecake and juicy blueberries.
Whether you’re baking for your family, preparing a quick brunch treat, or simply craving something sweet, this recipe is a wonderful choice. The combination of creamy filling, sweet berries, and golden pastry makes every bite satisfying and comforting.


 Tips & Notes
 Nutritional Info (Per Serving)
 The Benefits
 Common Questions
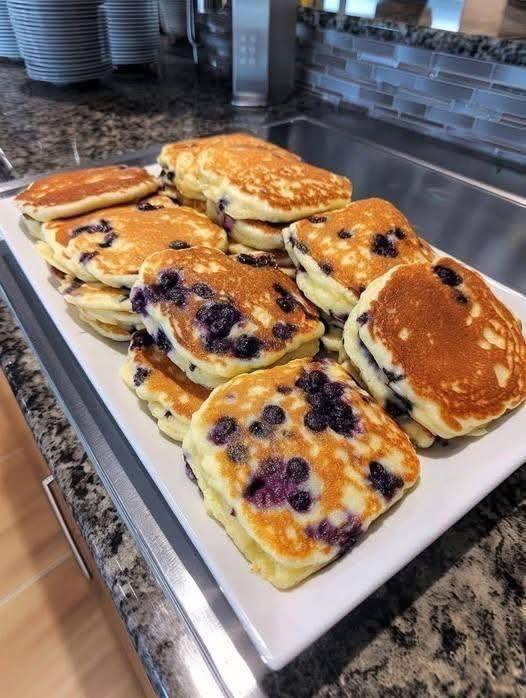


 Creamy Banana & Spinach Power Smoothie