Meat & Cheese Börek Rolls
 Description
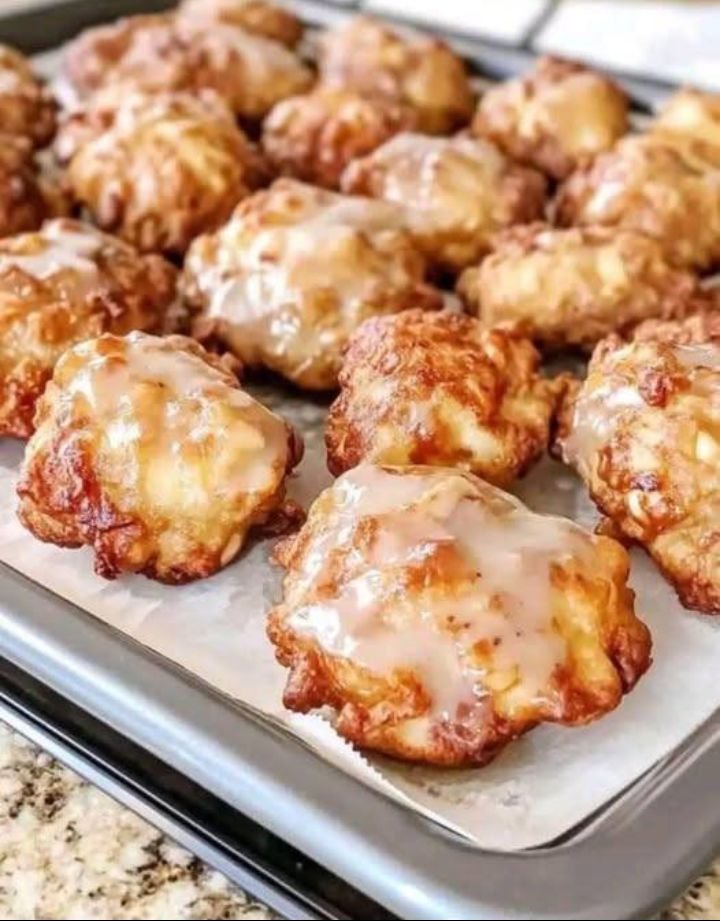
Meat & Cheese Börek Rolls are crispy, golden pastries filled with seasoned minced meat and melted cheese, wrapped in thin filo dough (or spring roll sheets). Originating from Turkish and Middle Eastern cuisine, börek rolls are popular as snacks, appetizers, breakfast items, and tea-time treats. These rolls are crunchy outside, juicy inside, and packed with savory flavors.
 Ingredients (Serves 4–6)
For Filling:
Minced beef or chicken – 250 g
Onion (finely chopped) – 1 medium
Garlic (minced) – 2 cloves
Black pepper – ½ tsp
Paprika or chili flakes – ½ tsp
Salt – ¾ tsp (adjust to taste)
Cumin powder – ½ tsp
Fresh parsley (chopped) – 2 tbsp
Cooking oil – 1 tbsp
For Cheese Layer:
Mozzarella or cheddar cheese (grated) – 1 cup
Feta cheese (optional, crumbled) – ¼ cup
For Rolls:
Filo pastry sheets or spring roll wrappers – 10–12 sheets
Melted butter or oil – ½ cup
For Topping:
Egg yolk – 1
Sesame or nigella seeds – 1 tbsp
 Instructions
Step 1: Prepare Meat Filling
Heat oil in a pan.
Add onion and garlic, sauté until soft.
Add minced meat and cook until browned.
Add salt, pepper, paprika, and cumin.
Cook until moisture evaporates.
Stir in parsley. Let cool.
Step 2: Assemble Börek Rolls
Lay one filo sheet flat.
Brush lightly with melted butter.
Place meat mixture along one edge.
Sprinkle cheese on top.
Roll tightly into a log shape.
Repeat with remaining sheets.
Step 3: Bake or Fry
Baking Method:
Preheat oven to 180°C (350°F).
Brush rolls with egg yolk.
Sprinkle sesame seeds.
Bake 25–30 minutes until golden.
Frying Method:
Heat oil and shallow-fry until golden brown.
 Servings
Makes 10–12 rolls
Serves 4–6 people
 Nutritional Information (Per Roll – Approx.)
Calories: 180 kcal
Protein: 8 g
Fat: 10 g
Carbohydrates: 14 g
Fiber: 1 g
Calcium: 120 mg
(Values may vary based on ingredients and cooking method.)
 Tips for Perfect Börek
Use fresh filo pastry for best crispiness.
Always cool the meat filling before rolling.
Brush butter lightly — too much makes soggy rolls.
Freeze before baking for extra flaky texture.
Add spinach or mushrooms for variety.
 Notes
Notes
Can be air-fried at 180°C for 15 minutes.
Freeze unbaked rolls up to 2 months.
Best served hot with yogurt dip or garlic sauce.
 Health Benefits
High Protein: Supports muscle growth and energy.
Calcium Rich: From cheese, supports bone health.
Balanced Meal: Provides carbs, protein, and fats.
Good for Kids: Nutritious and tasty snack.
 Q & A Section
Q1: Can I make this recipe without meat?
 Yes! Replace meat with spinach, potatoes, mushrooms, or mixed vegetables.
Q2: Can I freeze börek rolls?
Yes, freeze before baking for up to 2 months.
Q3: What cheese is best for börek?
Mozzarella, cheddar, feta, or Turkish beyaz peynir work best.
Q4: Can I air fry these rolls?
Yes, air fry at 180°C for 12–15 minutes.
Q5: How do I keep börek crispy?
Avoid overfilling and brush butter lightly.


 Banana Oat Pancakes – Healthy & Fluffy Breakfast Recipe
 Ingredients (Serves 2–3)
 How to Make Banana Oat Pancakes (Step-by-Step)
 Servings
 Nutritional Information (Per Serving Approx.)
 Bonus Variations