7-Day Plan | Balanced & Nourishing
Core Mediterranean Principles
Olive oil as the main fat (moderate amounts)
Lots of vegetables, legumes, and fruit
Fish 2–3× per week
Minimal red meat
Whole grains, not refined
Meals eaten slowly and mindfully
DAY 1
Breakfast
Greek yogurt (plain) with sliced fruit + a drizzle of honey
Handful of nuts
Lunch
Chickpea, cucumber, tomato & olive salad
Olive oil + lemon dressing
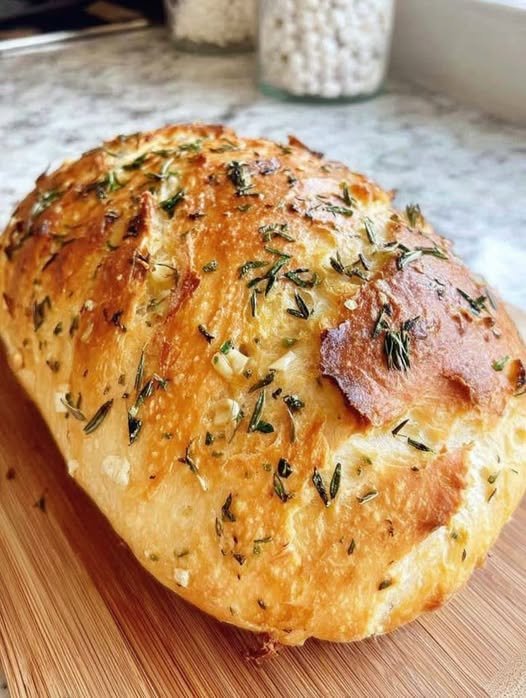
Whole-grain bread (small slice)
Dinner
Grilled salmon
Steamed greens (spinach or broccoli)
Roasted potatoes with olive oil & herbs
Snack (optional)
Fruit or a few almonds
DAY 2
Breakfast
Whole-grain toast with mashed avocado & tomato
Boiled egg
Lunch
Lentil soup (lentils, carrots, onion, garlic, olive oil)
Side salad
Dinner
Roasted vegetables (zucchini, peppers, onion)
Feta sprinkled on top
Small portion of quinoa or brown rice
DAY 3
Breakfast
Oatmeal cooked with water or milk
Add fruit + cinnamon
Lunch
Tuna salad (olive oil, lemon, herbs)
Served over greens
Dinner
Grilled chicken
Tomato & cucumber salad
Roasted sweet potatoes
DAY 4
Breakfast
Greek yogurt with berries
Seeds (chia or sunflower)
Lunch
Whole-grain wrap with hummus, veggies, and greens
Dinner
Baked fish with herbs & lemon
Sautéed vegetables
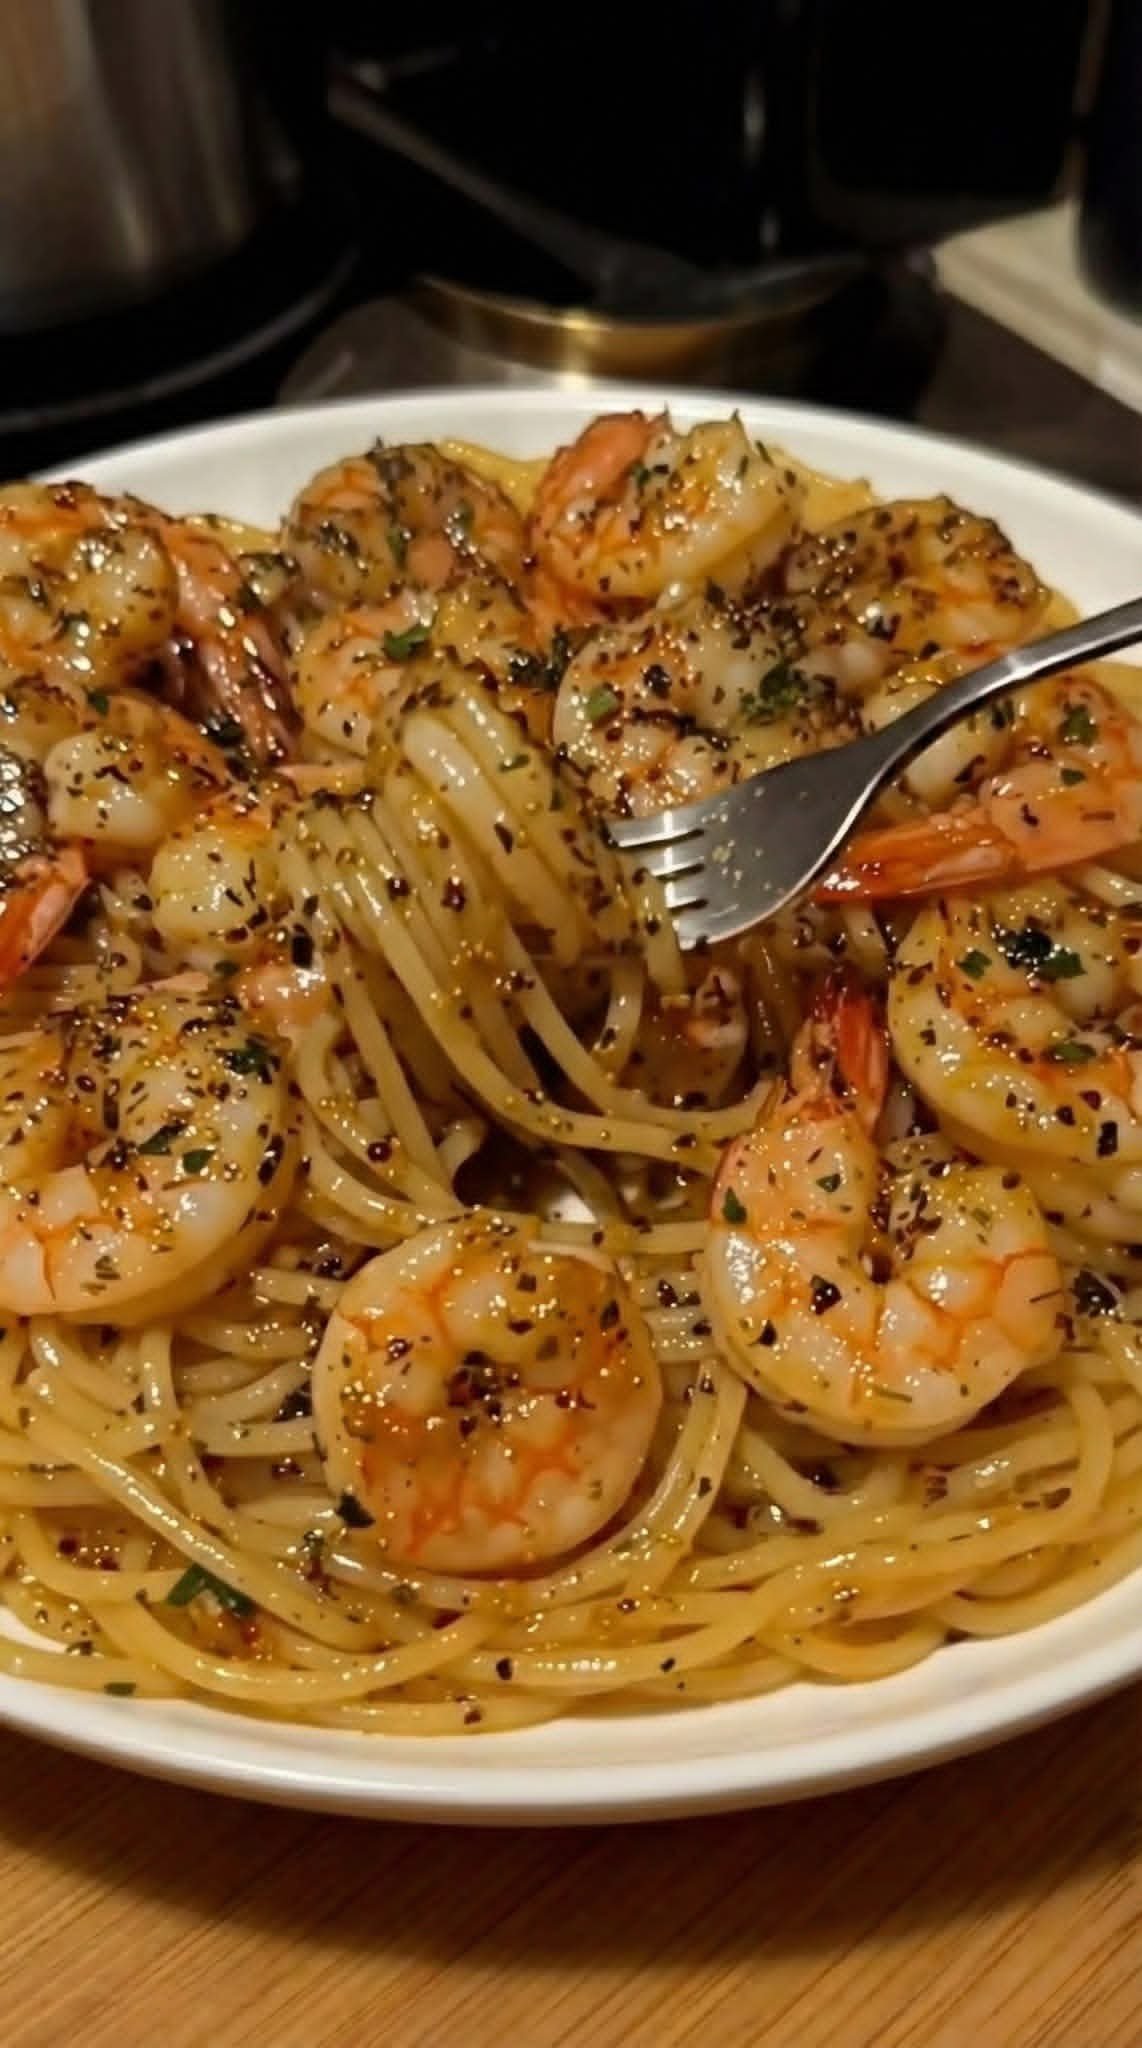
Small portion of whole-grain pasta
DAY 5
Breakfast
Fruit bowl + handful of nuts
Lunch
Mediterranean bean salad (white beans, olive oil, herbs, lemon)
Dinner
Stuffed peppers (rice, vegetables, herbs, olive oil)
Yogurt on the side
DAY 6
Breakfast
Toast with olive oil & tomato
Boiled egg
Lunch
Vegetable soup with beans
Whole-grain bread (small piece)
Dinner
Grilled shrimp or fish
Large mixed salad
Olive oil vinaigrette
DAY 7
Breakfast
Oatmeal or yogurt with fruit
Lunch
Leftover veggie & grain bowl
Dinner
Eggplant or zucchini stew (tomato-based)
Feta or yogurt topping
Snacks (Choose 1–2 per day if needed)
Fresh fruit
Yogurt
A handful of nuts
Veggies with hummus
Portion Guidance (Important)
Olive oil: 1–2 tablespoons per meal
Protein: palm-sized
Grains: ½–1 cup cooked
Vegetables: fill half your plate
Nutritional Benefits
❤️ Supports heart health
🧠 Helps brain focus and mood
🥗 High fiber = better digestion
⚖️ Encourages natural weight balance (not extremes)
Why This Works for Weight Loss
High satiety (you feel full)
No forbidden foods
Easy to maintain long-term
Q & A
Q: Will I lose weight without counting calories?
Yes—many people do by focusing on portions, whole foods, and consistency.
Q: Can I eat pasta?
Yes! Just small portions, whole-grain when possible, and paired with veggies.
Q: Is olive oil okay for weight loss?
Yes—when used moderately, it helps fullness and heart health.
Q: How fast will I see results?
Usually within 2–4 weeks with consistency and regular movement.
Gentle Reminder (Especially Important)
Healthy weight loss is slow, steady, and kind to your body.
If you ever feel tired, hungry all the time, or stressed about food, that’s a sign to adjust—not restrict more.

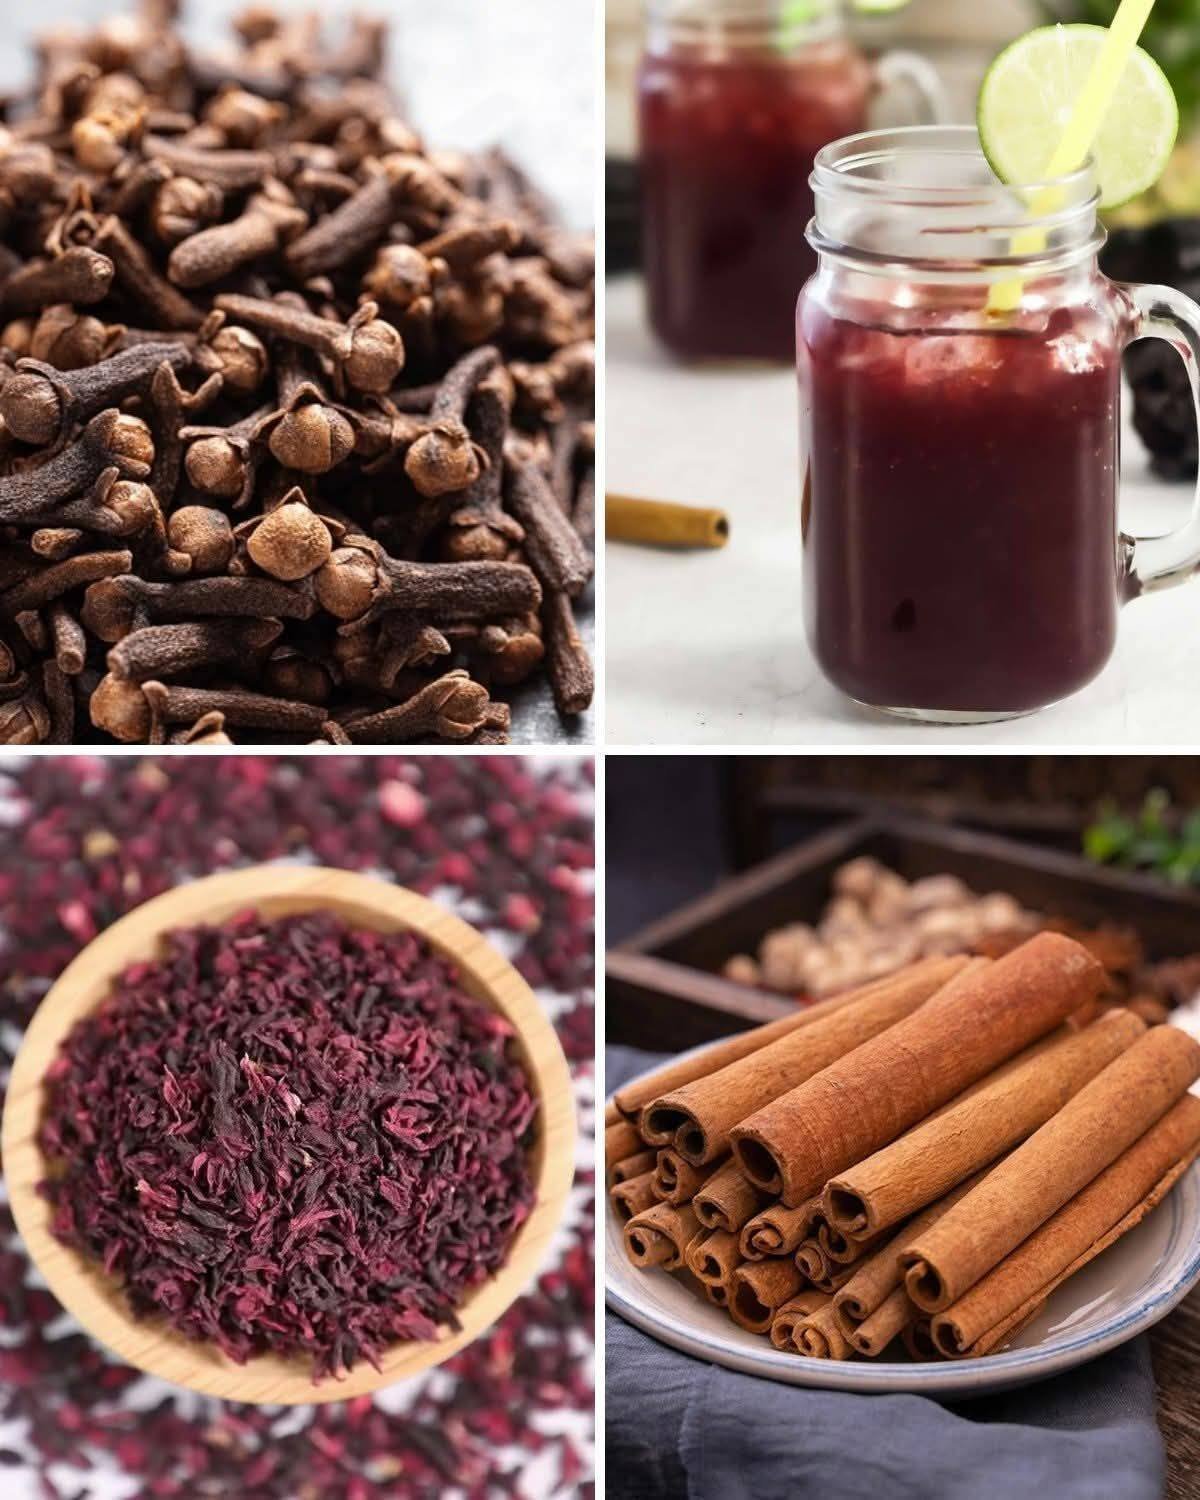
 For stronger flavor: Use more hibiscus or simmer longer