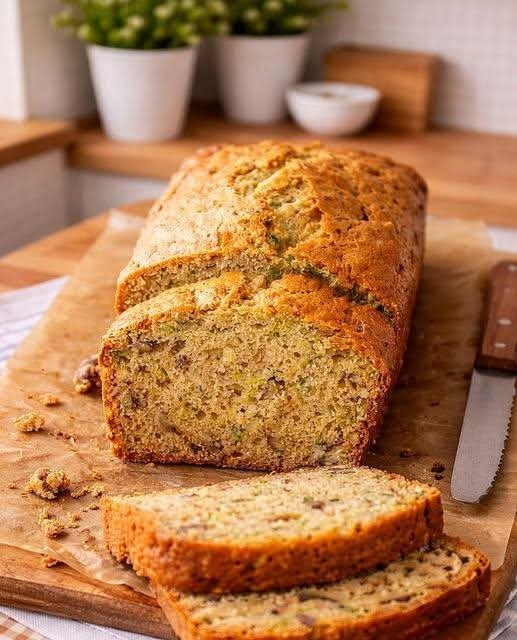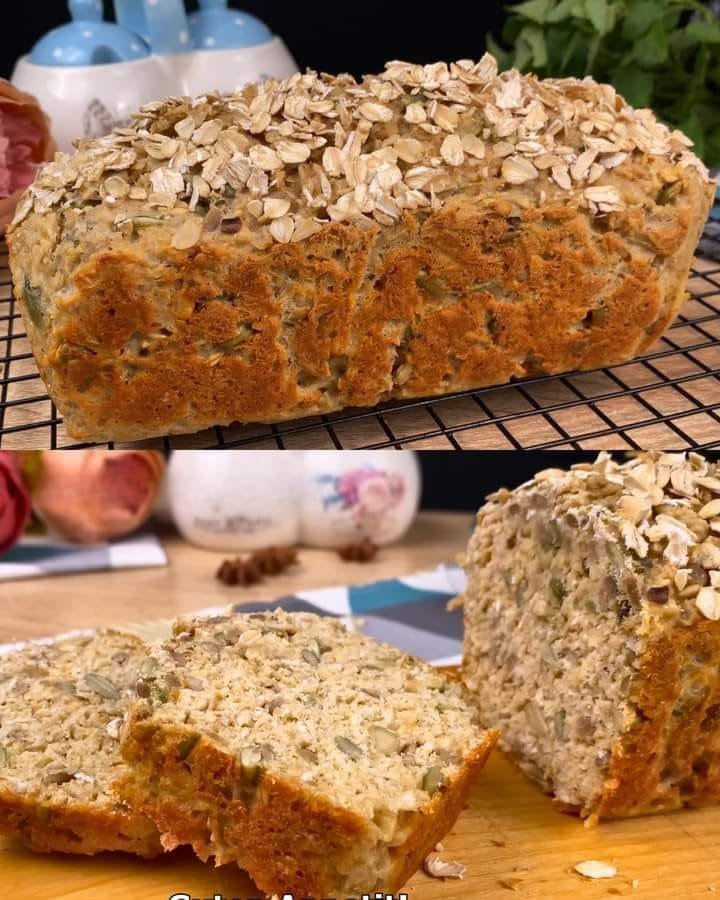
Oatmeal and Apple Breakfast Cakes
Prep Time: 15 minutes
Bake Time: 35–40 minutes
Yield: 8–10 small cakes (or 6–8 larger ones)
Ingredients
1 cup (90 g) oatmeal (rolled oats work best)
150 ml (⅔ cup) warm milk (dairy or plant-based)
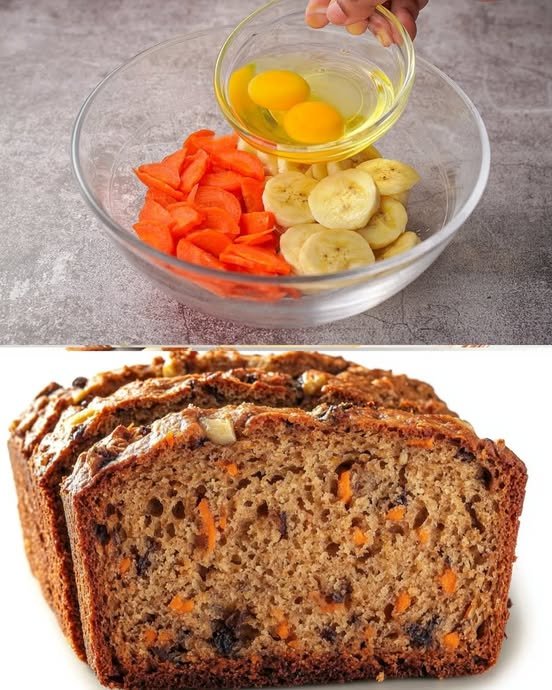
2 medium apples, peeled and diced
20 g (1½ tablespoons) butter, melted
½ teaspoon vanillin powder or 1 teaspoon pure vanilla extract
2 large eggs
Instructions
1. Soak the Oats
Place the oatmeal in a large mixing bowl.
Pour the warm milk over the oats and stir briefly to combine.
Let the mixture sit for about 10 minutes. This softens the oats and creates a naturally moist structure for the cakes without needing flour.
2. Prepare the Apple Mixture
Peel and dice the apples into small, uniform cubes.
In a separate bowl, whisk the eggs with the melted butter and vanillin/vanilla extract until well combined.
3. Combine All Ingredients
Add the egg and butter mixture to the soaked oats and stir until evenly combined.
Gently fold in the diced apples until they are evenly distributed throughout the batter.
4. Fill the Molds
Preheat your oven to 350°F (180°C).
Grease a silicone muffin tin, a loaf pan, or a rectangular bar mold.
Distribute the batter evenly into the molds, filling them almost to the top. These cakes do not rise significantly, so a nearly full mold ensures a good shape.
5. Bake and Cool
Bake for 35–40 minutes, or until the tops are golden brown and a toothpick inserted in the center comes out clean.
Let the cakes cool in the mold for at least 10 minutes before removing. This allows them to firm up and prevents them from breaking apart.
Serving Suggestions
Serve warm for a cozy breakfast.
Store cooled cakes in an airtight container in the refrigerator for up to 4 days.
Optional toppings: a drizzle of honey, a sprinkle of cinnamon, or a smear of nut butter.
Tips for Best Results
Use a sweet, crisp apple variety like Fuji or Honeycrisp for natural sweetness and texture.
For added flavor, stir in ½ teaspoon cinnamon or nutmeg with the oats.
If you want a slightly firmer texture, add 1–2 tablespoons of finely ground oats or almond flour.