Servings: 8
Total Time: 50 minutes
Difficulty: Easy
Calories per Serving: 180 kcal
Macros per Serving: Protein 12g / Carbs 7g / Fat 10g / Fiber 3g

Introduction
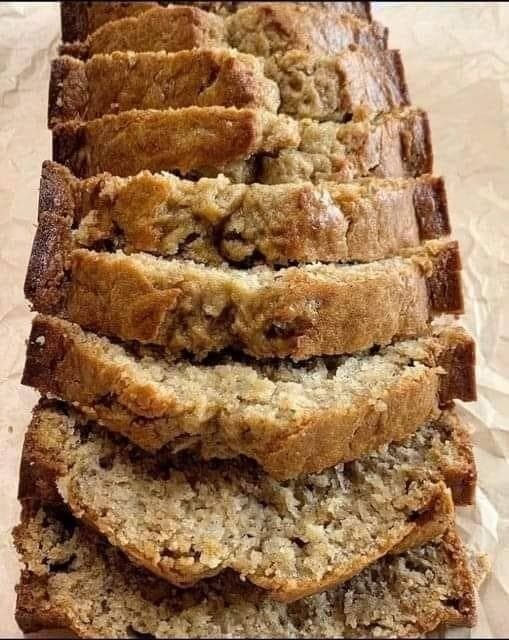
If you love the sweet, comforting taste of banana bread but want to stay on track with your keto, low-carb, or Weight Watchers goals, this Keto & Low-Carb Cottage Cheese Banana Bread is your perfect match. Packed with protein and natural flavor, it gives all the indulgence of classic banana bread without the carb overload.
The secret ingredient? Creamy cottage cheese! It keeps the bread moist, tender, and full of protein, making it ideal for breakfast, a snack, or a guilt-free dessert.
Enjoy the soft, slightly sweet, and protein-rich texture that fits seamlessly into your low-carb and high-protein lifestyle, while still satisfying your cravings.
Look at the Recipe
- Sensory Appeal: Moist, tender crumb with a golden crust
- Flavor Highlight: Sweet banana flavor balanced with a subtle tang from cottage cheese
- Key Benefit: High-protein, low-carb, and Weight Watchers–friendly
Ingredients Needed
Wet Ingredients
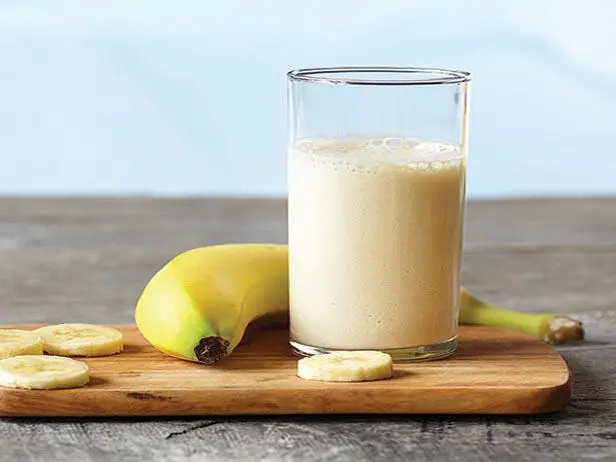
- 1 cup mashed ripe banana (about 2 small bananas)
- 1 cup cottage cheese (full-fat or low-fat depending on preference)
- 3 large eggs
- 1 tsp vanilla extract
- 3 tbsp melted coconut oil or butter
Dry Ingredients
- 1 cup almond flour
- ½ cup coconut flour
- 1 tsp baking powder
- ½ tsp baking soda
- ½ tsp salt
- 1–2 tbsp low-carb sweetener (like erythritol or monk fruit, optional for extra sweetness)
Optional Add-ins
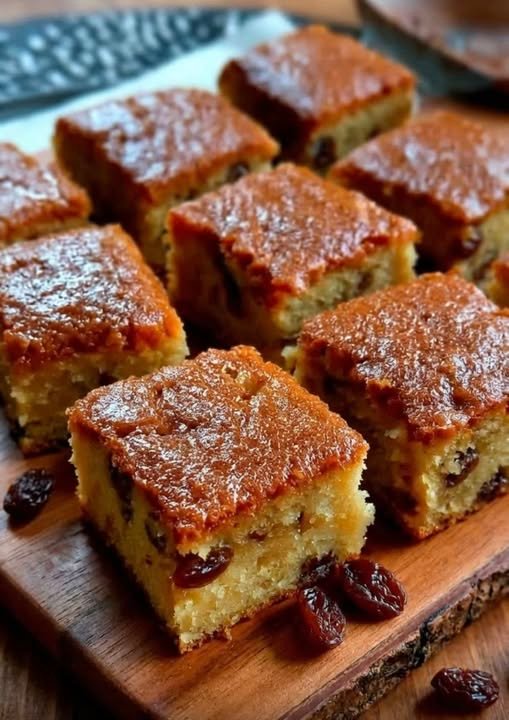
- ½ cup sugar-free chocolate chips
- ¼ cup chopped walnuts or pecans
How to Make Our Keto & Low-Carb Cottage Cheese Banana Bread
- Preheat Oven & Prep Pan: Preheat oven to 350°F (175°C). Grease a 9×5-inch loaf pan or line with parchment paper.
- Blend Wet Ingredients: In a blender or food processor, combine banana, cottage cheese, eggs, vanilla, and melted coconut oil. Blend until smooth and creamy.
- Mix Dry Ingredients: In a large bowl, whisk almond flour, coconut flour, baking powder, baking soda, salt, and sweetener until well combined.
- Combine Wet & Dry: Pour wet ingredients into dry ingredients and gently fold together until no lumps remain. If using add-ins, fold them in now.
- Bake: Transfer batter to prepared loaf pan and bake for 40–50 minutes, or until a toothpick inserted in the center comes out clean.
- Cool & Slice: Let the bread cool completely before slicing. This ensures a moist texture and easier serving.
Storage & Serving Suggestions
- Storing: Keep in an airtight container at room temperature for up to 2 days, or in the fridge for up to 5 days.
- Freezing: Slice and freeze individually for quick breakfasts or snacks.
- Serving Pairings: Enjoy plain, with a smear of almond butter, or topped with fresh berries for extra flavor and fiber.
Tips & FAQs
Q: Can I use Greek yogurt instead of cottage cheese?
A: Yes! Use thick Greek yogurt for a similar texture and protein boost.
Q: How do I make it sweeter without adding sugar?
A: Use a low-carb sweetener like erythritol, monk fruit, or stevia.
Q: Can I make this nut-free?
A: Simply omit almond flour and use sunflower seed flour instead, adjusting the quantity slightly.
Q: Can I add chocolate chips or nuts?
A: Absolutely! Sugar-free chocolate chips or chopped walnuts enhance flavor and texture.
Q: Is this recipe Weight Watchers friendly?
A: Yes! Using almond and coconut flours keeps the carb count low while the protein content is high, keeping your points minimal.


 Tips:
Tips:

 Tip: Drizzle a little honey or caramel sauce on top for extra flavor.