Baked Chicken Alfredo Calzones
Yields: 4 Calzones | Prep time: 20 mins | Bake time: 15–20 mins
Ingredients
The Dough & Filling:
-
1 lb (450g) Pizza dough (store-bought or homemade), at room temperature
-
1 cup Cooked chicken breast, shredded or diced
-
1 ½ cups Shredded mozzarella cheese (divided)
-
¼ cup Parmesan cheese, grated
-
½ cup Thick Alfredo sauce (plus extra for dipping)
-
1 cup Fresh baby spinach, chopped (optional)
-
2 cloves Garlic, minced
The Topping:
-
2 tbsp Butter, melted
-
½ tsp Garlic powder
-
1 tsp Fresh parsley, chopped (for garnish)
Step-by-Step Instructions
1. Preheat and Prep
Preheat your oven to 400°F (200°C). Line a large baking sheet with parchment paper or a silicone baking mat. If you have a pizza stone, place it in the oven while it preheats.
2. Mix the Filling
In a medium mixing bowl, combine the shredded chicken, Alfredo sauce, minced garlic, Parmesan cheese, and chopped spinach. Stir in ½ cup of the mozzarella.
Pro Tip: Make sure your Alfredo sauce is thick; if it’s too watery, the dough might become soggy.
3. Portion the Dough
Divide your pizza dough into 4 equal pieces. On a lightly floured surface, roll each piece into a circle roughly 6–7 inches in diameter.
4. Assemble the Calzones
-
Place about ¼ of the chicken mixture onto one half of each dough circle, leaving a 1-inch border around the edge.
-
Top the mixture with another generous sprinkle of the remaining mozzarella cheese.
-
Fold the empty half of the dough over the filling to create a half-moon shape.
5. Seal the Edges
Tightly pinch the edges together. You can use your fingers to “roll and tuck” the edge or simply press down firmly with the tines of a fork to crimp them shut. This prevents the cheese from leaking out.
6. Add the Topping
Mix the melted butter and garlic powder. Brush the tops of the calzones generously with the garlic butter. Using a sharp knife, cut 2 small slits on the top of each calzone to allow steam to escape.
7. Bake
Place the calzones on the prepared baking sheet. Bake for 15 to 20 minutes, or until the crust is a deep golden brown and the cheese inside is bubbling.
8. Garnish and Serve
Remove from the oven and immediately brush with any remaining garlic butter. Sprinkle with fresh parsley and extra Parmesan. Let them rest for 5 minutes before serving (the filling will be very hot!).
Serving Suggestion
Serve these with a side of warm Alfredo sauce or a simple marinara for dipping.


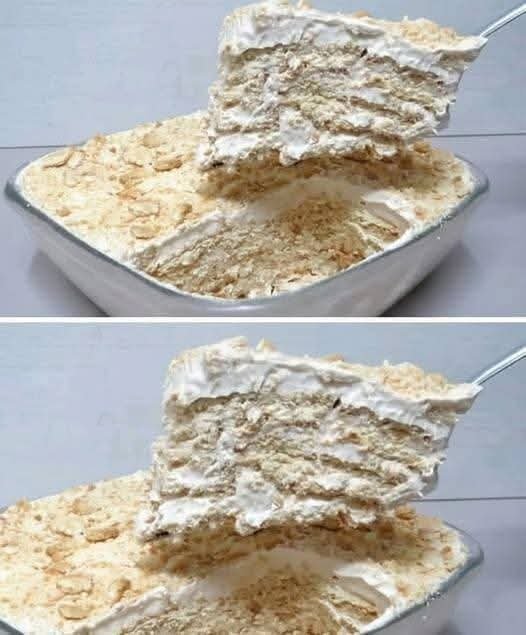
 Homemade White Bread
 Ingredients
 Instructions
 Tips
Tips


 Introduction
 Ingredients
 Instructions
 Serving Suggestions
 Storage
 Nutrition (Per Serving – Approximate)