Hello, everyone! Welcome back to our cooking blog, where we share delicious recipes every week. Today, we’re preparing a creamy dessert. So, grab your pen and paper to jot down the ingredients, and let’s dive into this easy, step-by-step recipe that’s perfect for breakfast, appetizers, or even to accompany fresh salads!
Chocolate-making kit
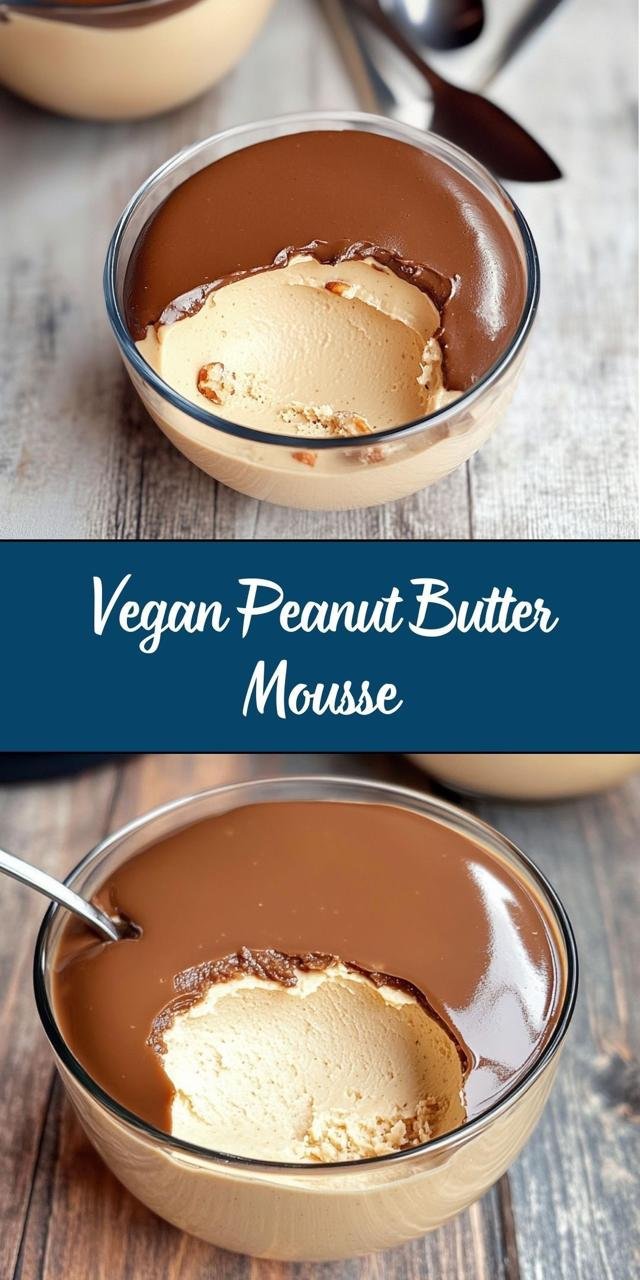
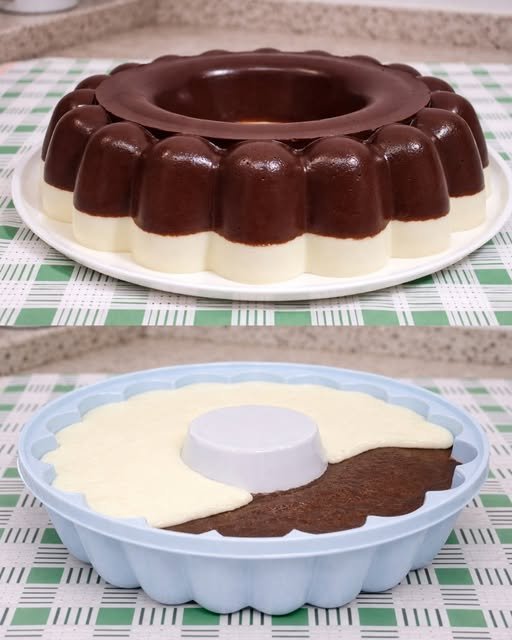
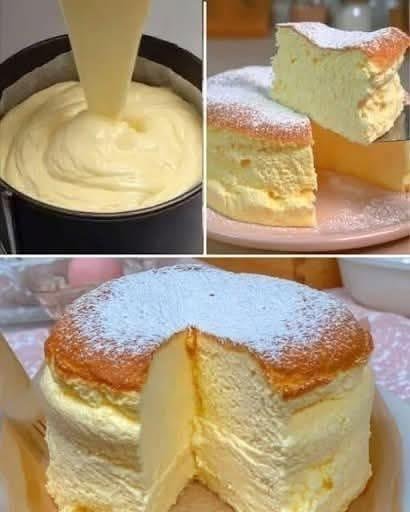
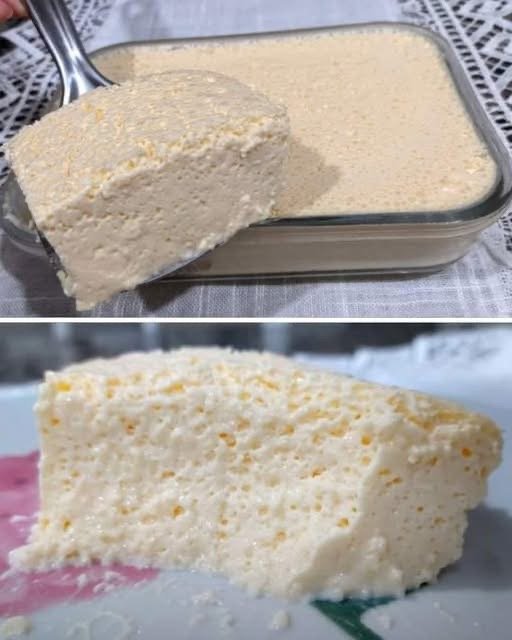
How to Make Chocolate and Milk Powder Pudding
This easy no-bake chocolate and milk powder pudding is a rich, creamy dessert with a smooth texture and irresistible flavor. You don’t need cooking classes or costly meal delivery services to prepare something delicious at home. With a bit of planning and our detailed meal prep guide, you can create amazing dishes with confidence and ease.
Recipe Ingredients:
Chocolate Pudding Layer
- 200 ml whole milk (6.8 fl oz)
- 1 can sweetened condensed milk – 395 g (13.9 oz)
- 1 carton heavy cream – 200 g (7.0 oz)
- 1 cup cocoa powder (50% cacao)—approx. 120 g (4.2 oz)
- 1 packet unflavored gelatin – 12 g (0.42 oz)
- 5 tablespoons water – 75 ml (2.5 fl oz)
Milk Powder Pudding Layer
- 200 ml whole milk (6.8 fl oz)
- 1 can sweetened condensed milk – 395 g (13.9 oz)
- 1 carton heavy cream – 200 g (7.0 oz)
- 1 cup milk powder – approx. 100 g (3.5 oz)
- 1 packet unflavored gelatin – 12 g (0.42 oz)
- 5 tablespoons water – 75 ml (2.5 fl oz)
Instructions:
Step 1: Prepare the Chocolate Layer
Discover more
sweetened condensed milk
Pudding
cocoa powder
In a small bowl, hydrate the unflavored gelatin with 5 tablespoons (75 ml / 2.5 fl oz) of water and let it sit for 5 minutes. Microwave for 15 seconds until fully dissolved and set aside.
Dessert decorating supplies
In a blender, combine the milk, sweetened condensed milk, heavy cream, cocoa powder, and dissolved gelatin, then blend for 2 minutes until completely smooth and creamy.
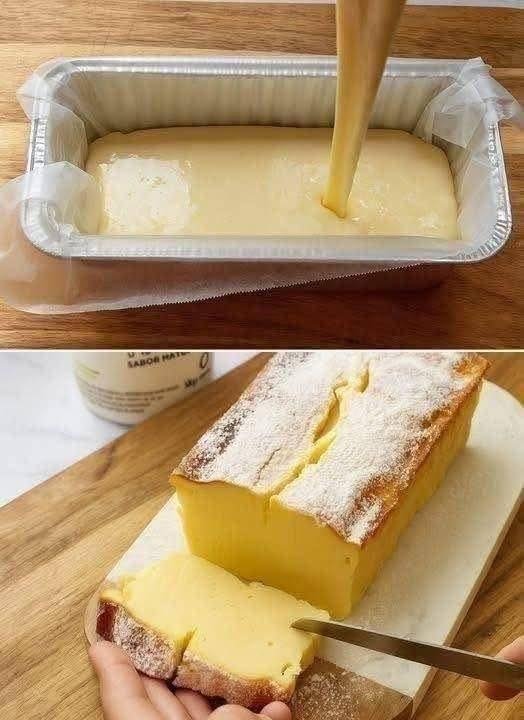
Lightly grease a Bundt pan or glass mold with oil, pour the mixture into the mold, and refrigerate for 30 minutes, or until slightly firm.
Step 2: Prepare the Milk Powder Layer
Hydrate the gelatin again with 5 tablespoons (75 ml / 2.5 fl oz) of water and microwave for 15 seconds until dissolved.
Kitchen gadget reviews
In a blender, combine the milk, sweetened condensed milk, heavy cream, milk powder, and dissolved gelatin, then blend for 2 minutes until smooth and creamy.
Carefully pour this mixture over the chocolate layer and refrigerate for at least 3 hours, or until fully set.
Serving
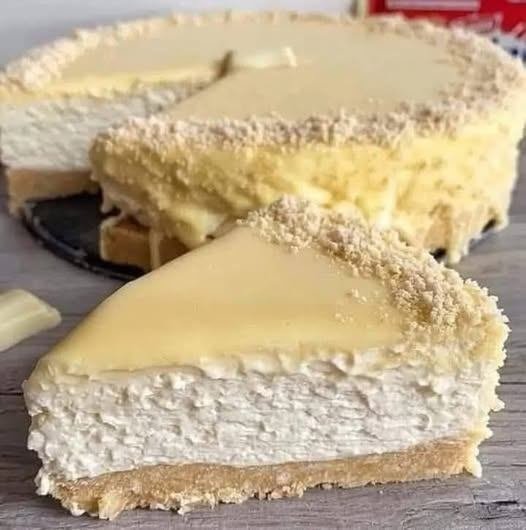
Once fully chilled, gently unmold and serve. The result is a beautiful layered pudding with a rich chocolate base and a creamy milk powder top.
Pro Tips
- For clean layers, make sure the first layer is slightly firm before adding the second.
- Use high-quality cocoa powder for deeper chocolate flavor and premium dessert results.
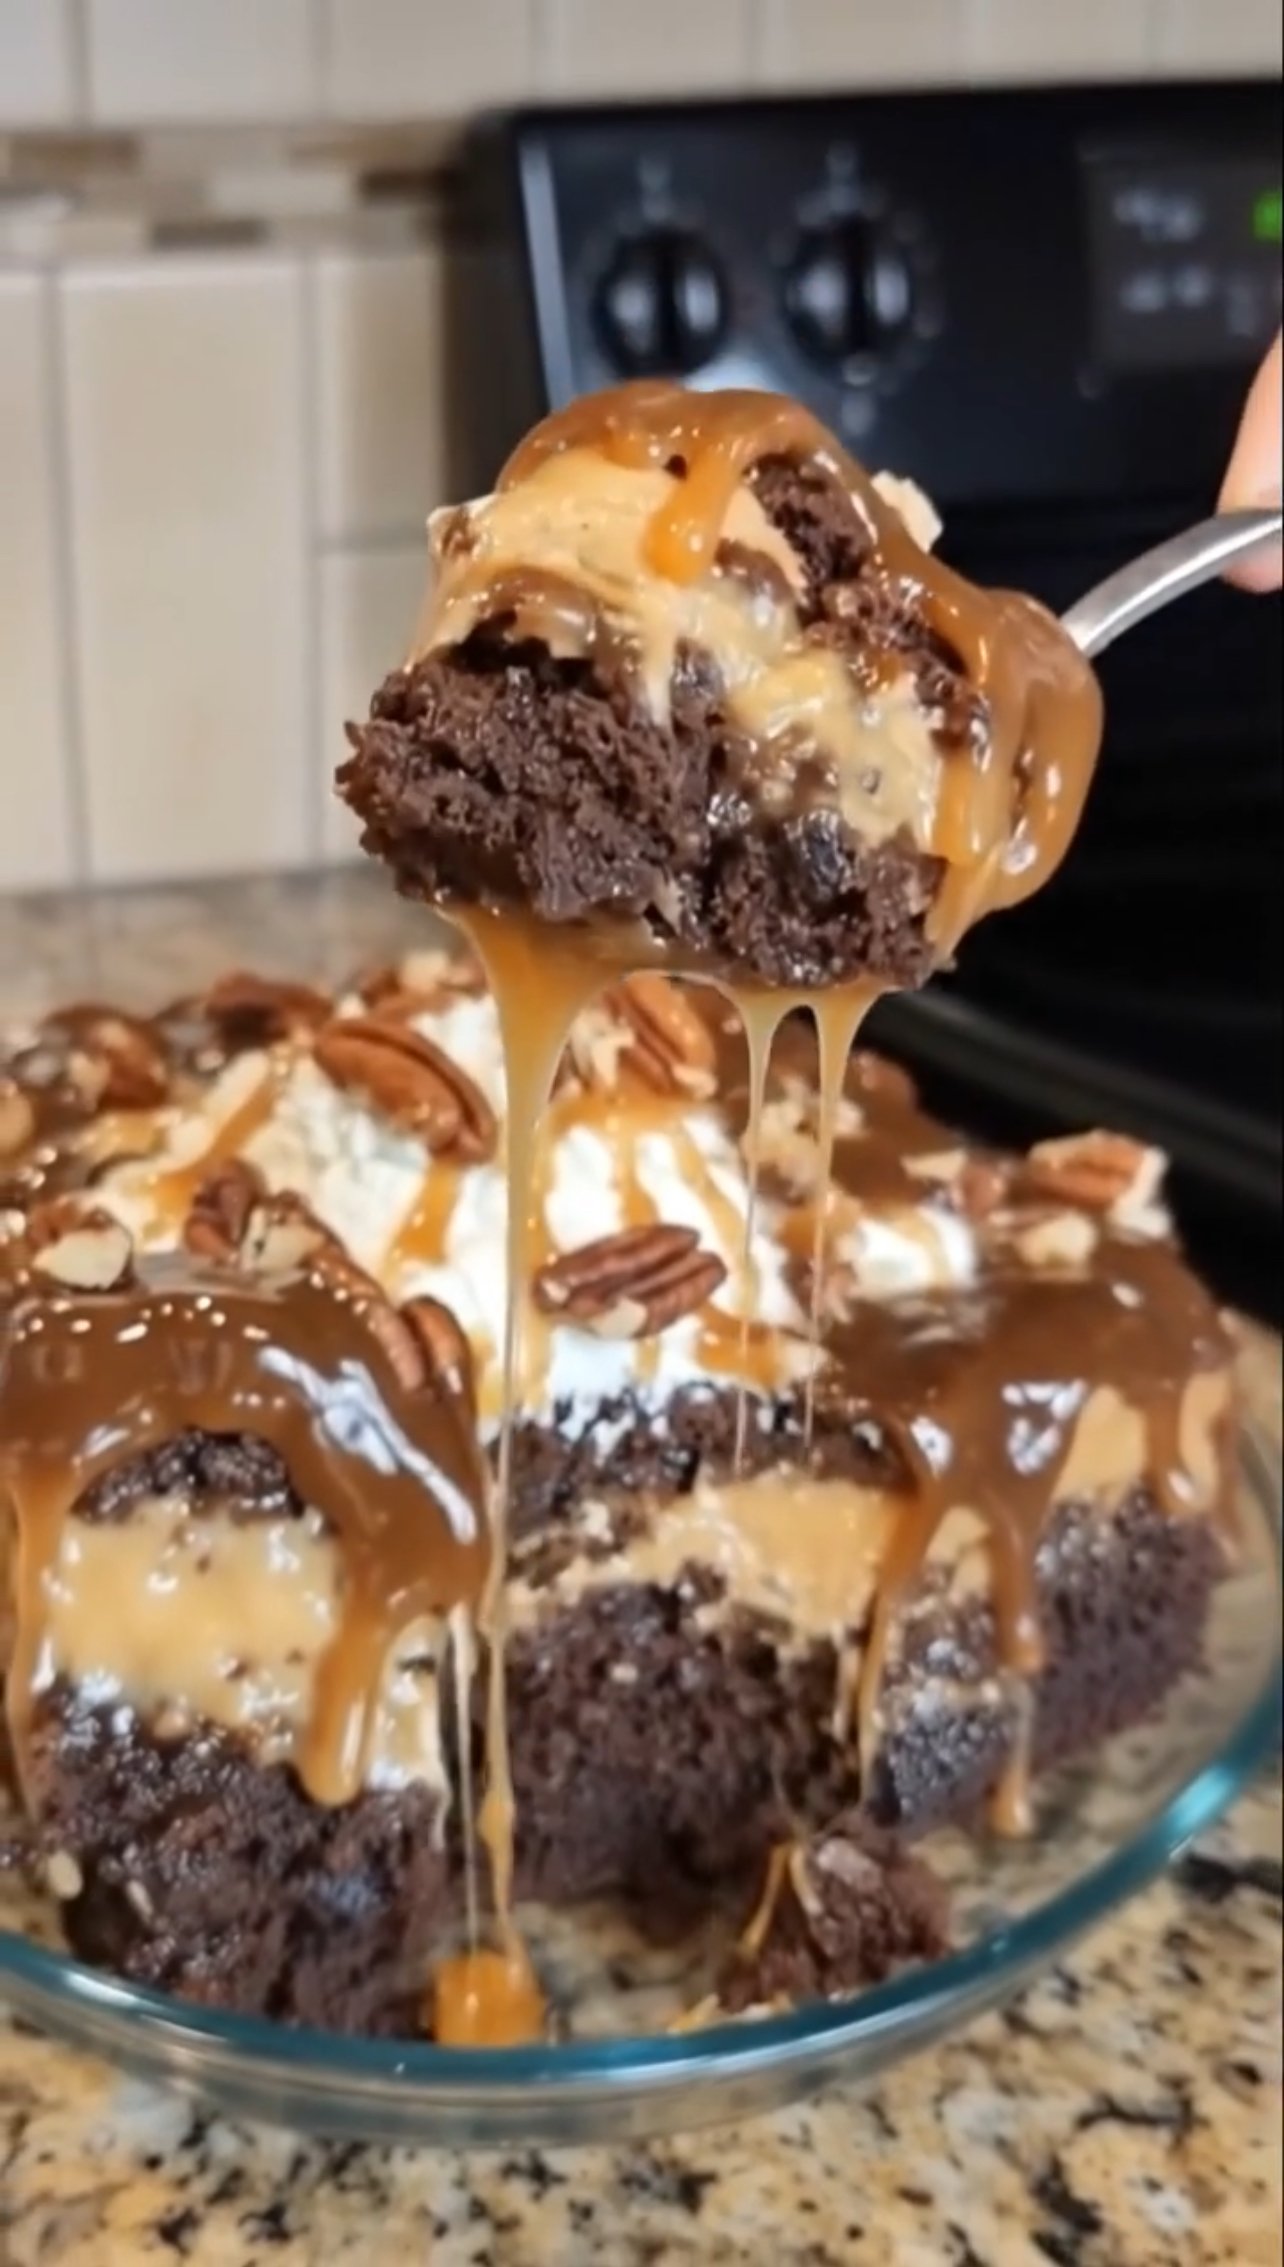
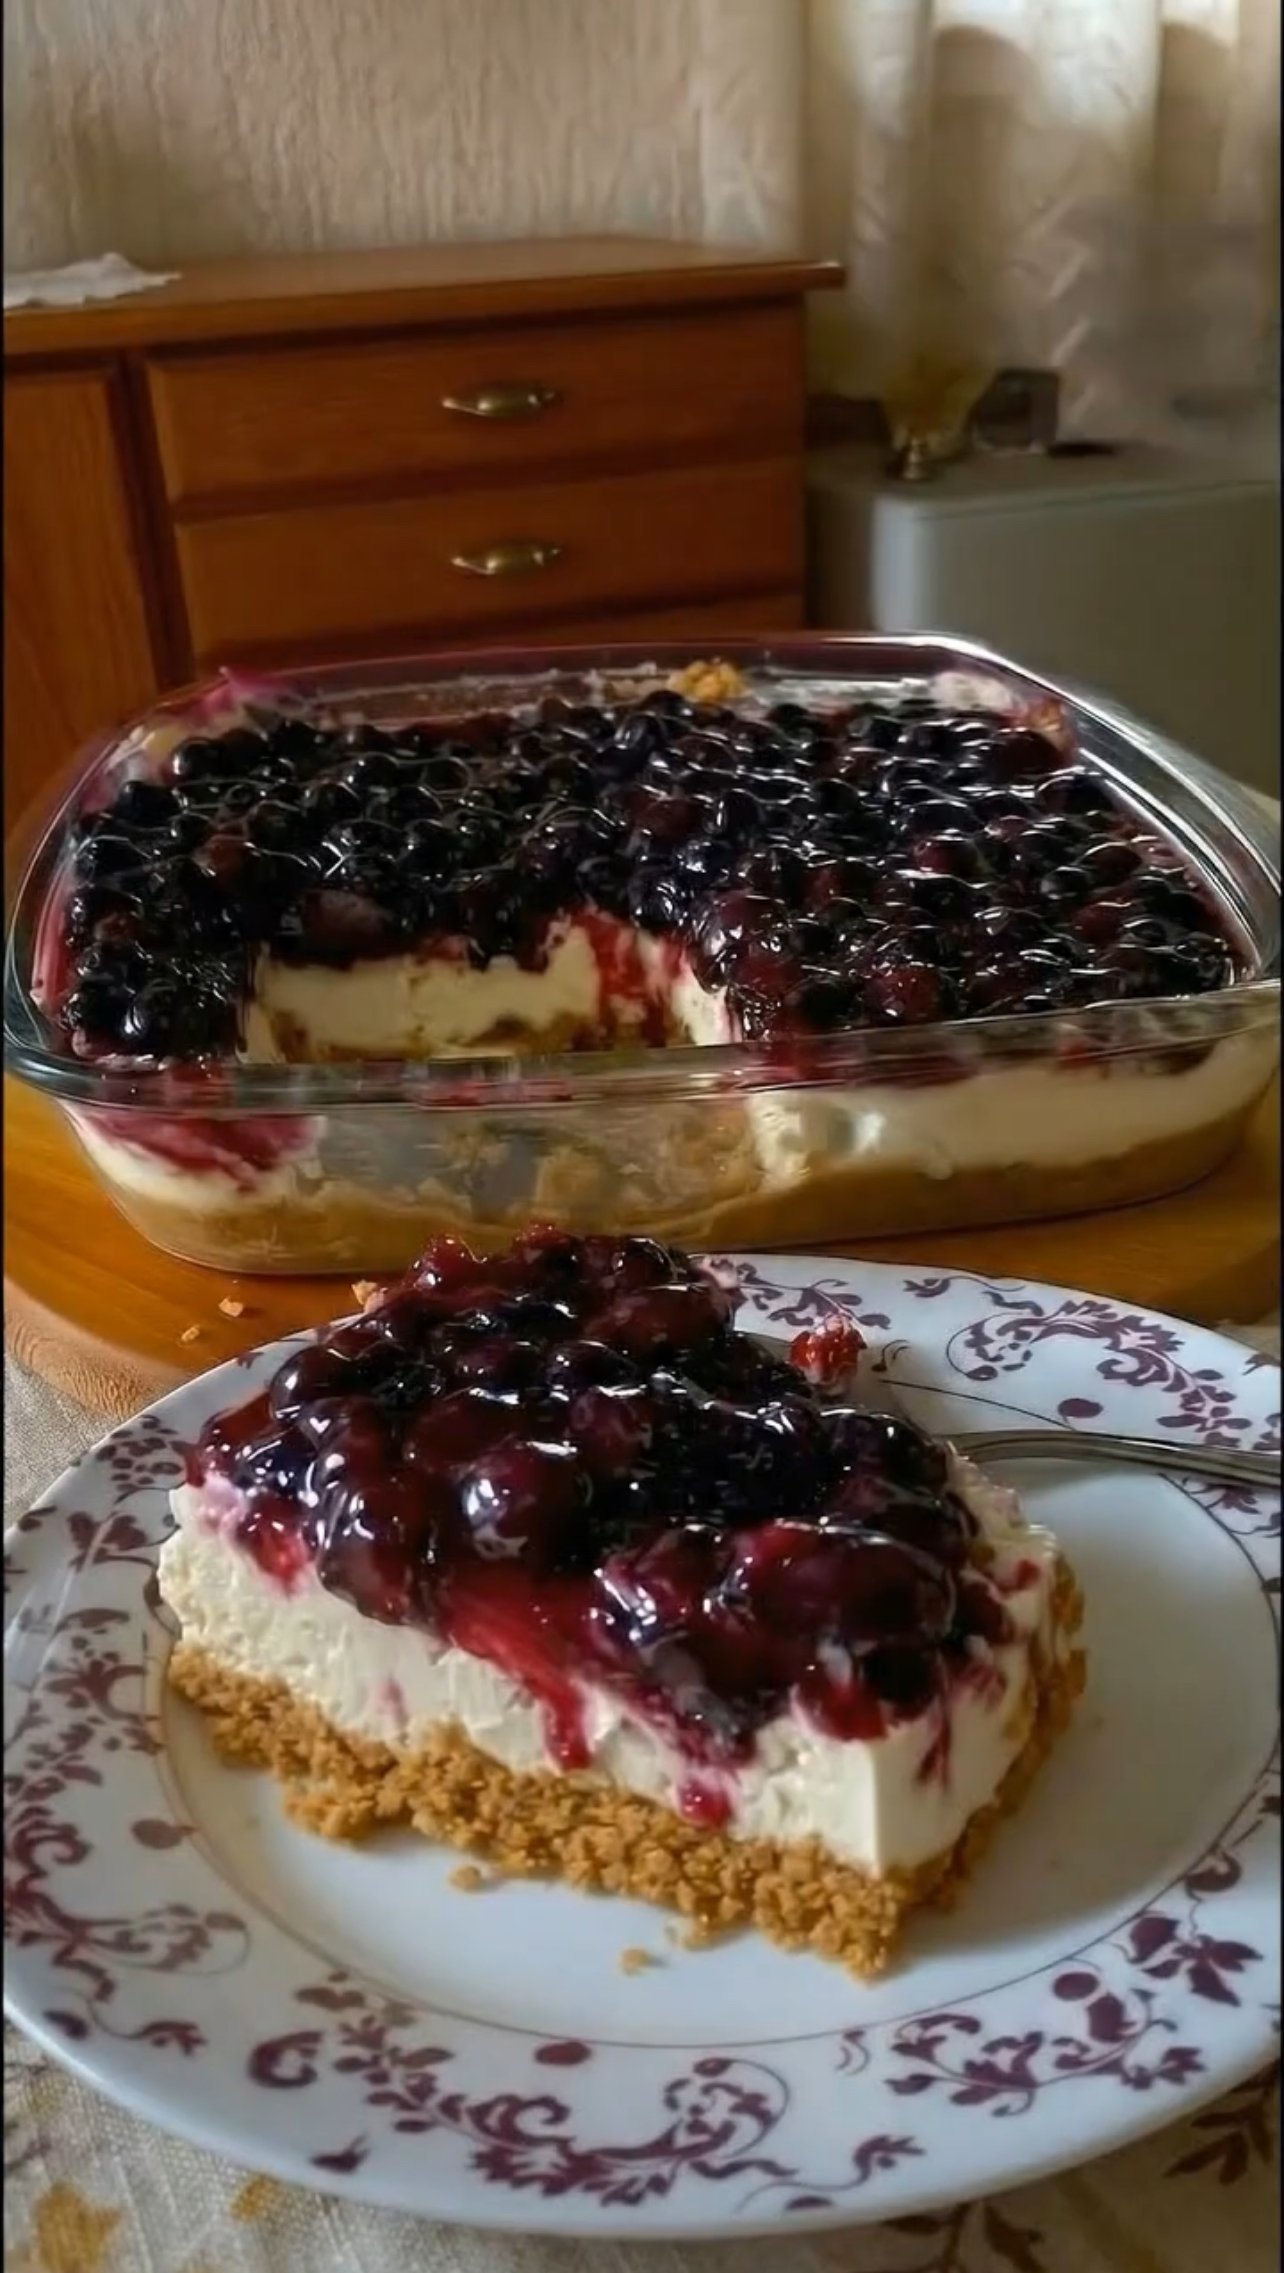
- Garnish with chocolate syrup, chocolate shavings, or fresh strawberries for a professional presentation.


 Recipe Overview
 Ingredients
 Instructions
 Notes & Tips
 Nutritional Info (Per 2-tablespoon serving)
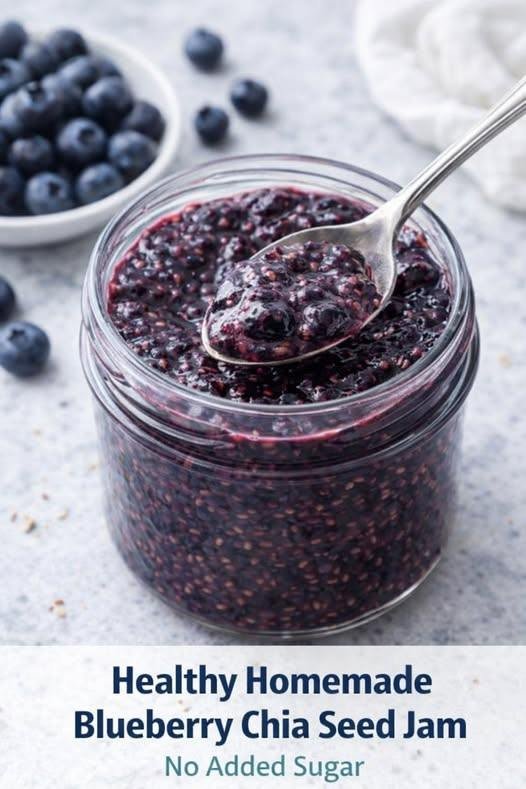
 Benefits of This Jam
 Q&A
Q&A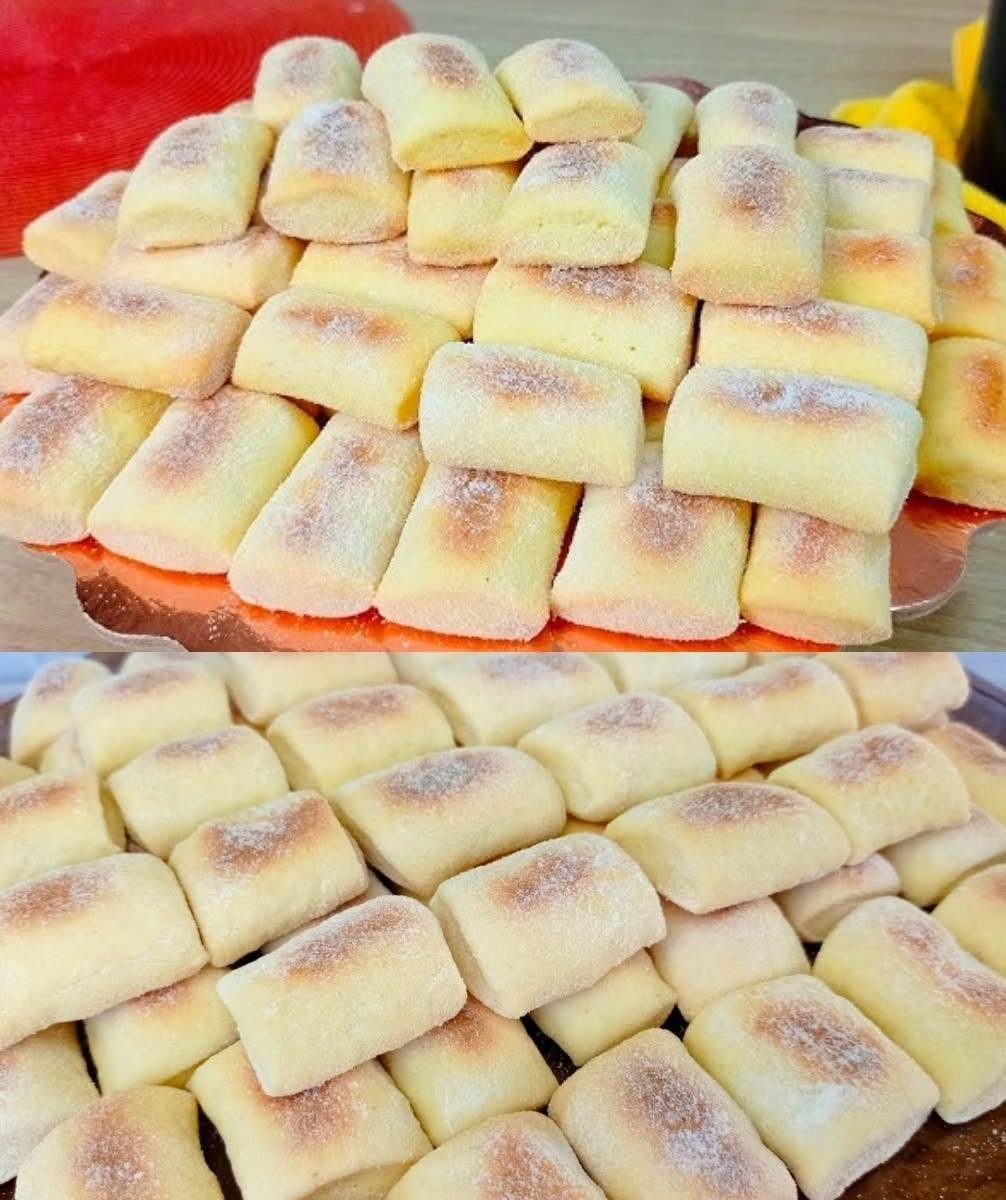


 “Diabetic-friendly” means lower in sugar and carbs — always monitor blood glucose and consult your healthcare provider for personal guidance.
 Lower sugar than traditional cream rolls
 Add sugar-free strawberry puree swirl
 Mix in 1 tbsp unsweetened cocoa powder
 Add 1 tbsp coconut cream for tropical flavor
 Add ½ tsp instant espresso for mocha twist