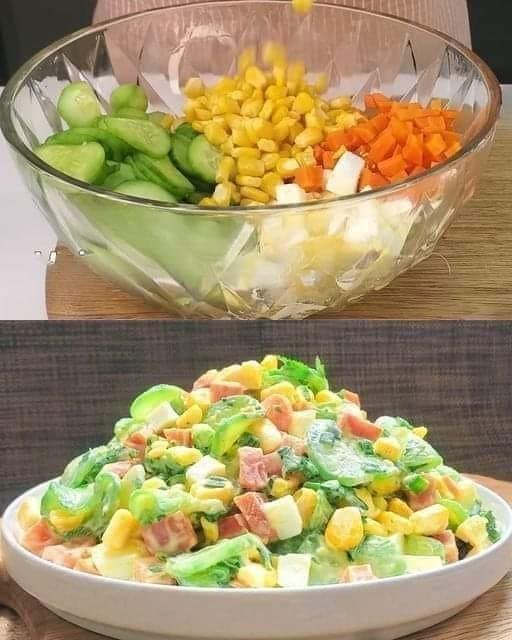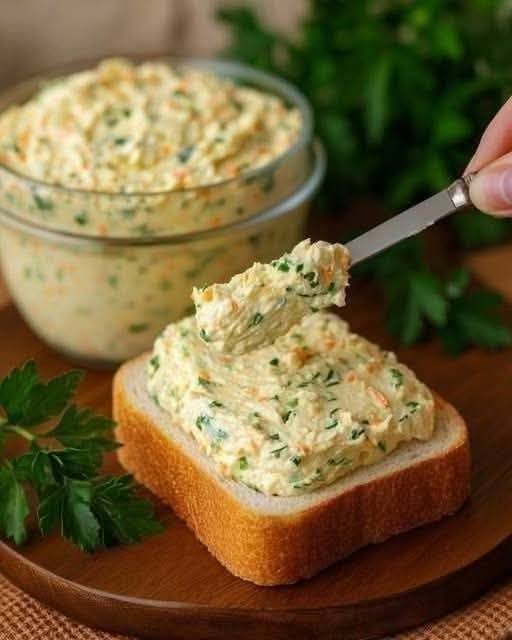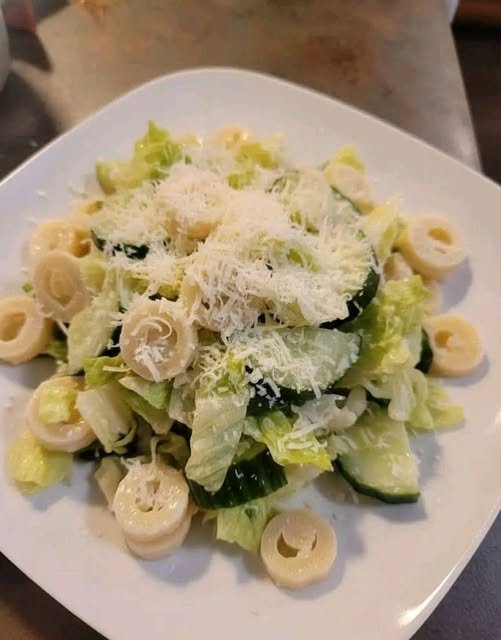
Creamy Lettuce, Cucumber, and Olive Salad with Grated Cheese
This refreshing and creamy salad is a simple yet satisfying dish that brings together crisp lettuce, cool cucumbers, tender olives, and a generous sprinkle of finely grated cheese. It is perfect as a light meal, a side dish for lunch, or an elegant starter for dinner. The creamy dressing gently coats each ingredient, creating a smooth and flavorful bite every time.
Ingredients
-
4 cups chopped fresh lettuce (romaine or iceberg work well)
-
1 large cucumber, thinly sliced
-
1 cup pitted green olives, sliced into rounds
-
1/2 cup finely grated cheese (such as parmesan or a mild hard cheese)
-
1/3 cup plain yogurt or mayonnaise
-
2 tablespoons olive oil
-
1 tablespoon fresh lemon juice
-
1 small clove garlic, very finely minced (optional)
-
1/2 teaspoon salt, or to taste
-
1/4 teaspoon black pepper
-
1 teaspoon dried herbs (such as oregano or parsley)
Instructions
Begin by washing the lettuce thoroughly under cool running water. Shake off excess moisture and pat dry with a clean towel to keep the salad crisp. Chop the lettuce into bite-sized pieces and place them in a large mixing bowl.
Next, slice the cucumber into thin rounds. If the cucumber has large seeds, you may remove them for a smoother texture, though this step is optional. Add the sliced cucumber to the bowl with the lettuce. Then, slice the pitted green olives into neat rings and mix them in gently so they distribute evenly.
In a separate small bowl, prepare the creamy dressing. Combine the yogurt or mayonnaise with olive oil and fresh lemon juice. Stir until smooth and well blended. Add the minced garlic if using, along with salt, black pepper, and dried herbs. Mix again until the dressing is creamy and aromatic.
Pour the dressing over the salad mixture. Toss gently using a large spoon so that all the vegetables are lightly coated without crushing them. Taste and adjust seasoning if needed.
Transfer the salad to a serving plate and finish by sprinkling the finely grated cheese generously over the top. Serve immediately for the freshest flavor and best texture. This salad pairs wonderfully with warm bread, grilled vegetables, or simple rice dishes, making it a versatile and delightful addition to any meal.


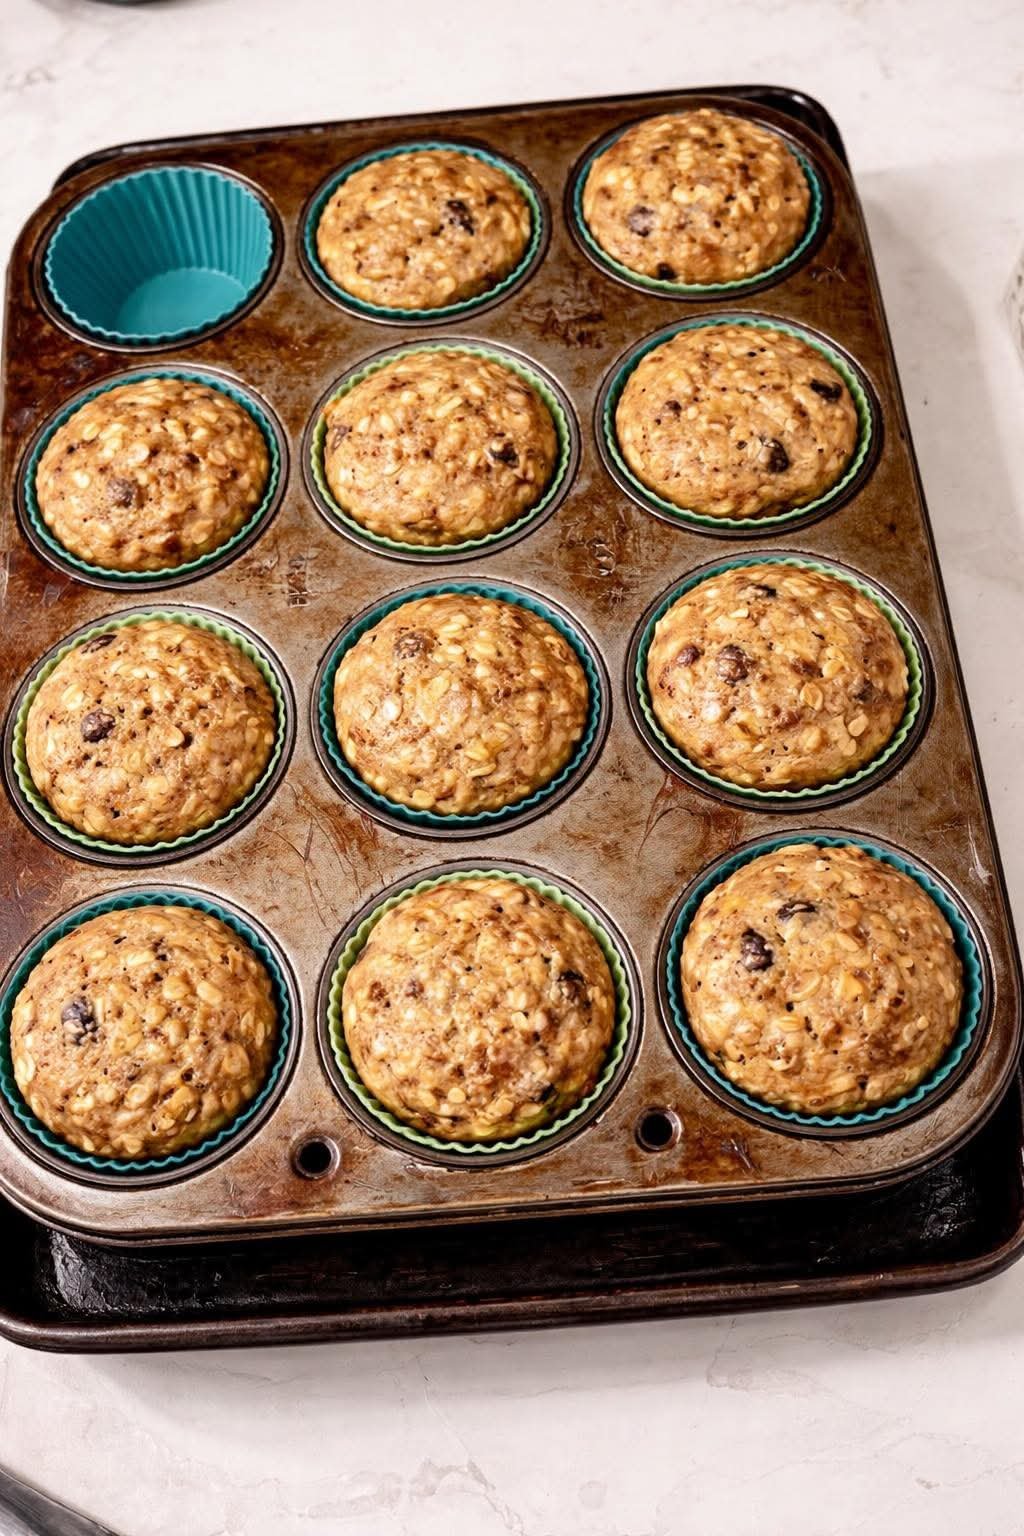
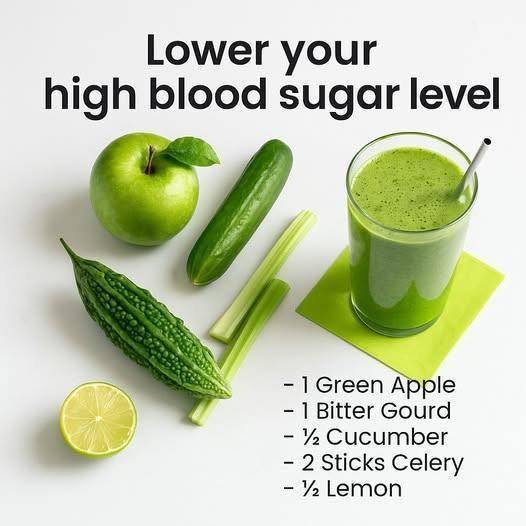
 “Diabetic-friendly” means lower in sugar and carbs — always monitor blood glucose and consult your healthcare provider for personal guidance.
 Lower sugar than traditional cream rolls
 Add sugar-free strawberry puree swirl
 Mix in 1 tbsp unsweetened cocoa powder
 Add 1 tbsp coconut cream for tropical flavor
 Add ½ tsp instant espresso for mocha twist


 Tips for Best Results
 Keeps You Full Longer
 Supports Digestion
 Helps Control Blood Sugar
 Boosts Metabolism
 Heart Healthy