
 Garlic Parmesan Roasted Potatoes
Description
Garlic Parmesan Roasted Potatoes are crispy on the outside, fluffy on the inside, and packed with savory flavor. Roasted to golden perfection with olive oil, fresh garlic, and herbs, then finished with nutty Parmesan cheese, this dish makes an irresistible side for almost any meal—from weeknight dinners to holiday spreads.
 Prep & Cook Time
-
Prep Time: 10 minutes
-
Cook Time: 35–40 minutes
-
Total Time: 45–50 minutes
 Servings
4 servings
 Ingredients
-
2 lbs (900 g) baby potatoes or Yukon Gold potatoes, halved
-
3 tbsp olive oil
-
4 cloves garlic, minced
-
½ tsp salt (adjust to taste)
-
½ tsp black pepper
-
1 tsp Italian seasoning (or dried rosemary & thyme)
-
½ tsp paprika (optional, for extra flavor)
-
½ cup freshly grated Parmesan cheese
-
2 tbsp fresh parsley, finely chopped (optional garnish)
 Instructions
-
Preheat oven to 400°F (200°C). Line a baking sheet with parchment paper or lightly grease it.
-
Prepare potatoes: Wash and dry the potatoes thoroughly. Cut them into even halves for uniform cooking.
-
Season: In a large bowl, toss potatoes with olive oil, minced garlic, salt, pepper, Italian seasoning, and paprika until evenly coated.
-
Roast: Spread potatoes cut-side down in a single layer on the baking sheet.
-
Bake: Roast for 30–35 minutes, flipping once halfway, until golden brown and fork-tender.
-
Add Parmesan: Remove from oven, sprinkle Parmesan cheese evenly over the potatoes, and return to the oven for 5 more minutes until melted and lightly crisp.
-
Garnish & serve: Sprinkle with fresh parsley and serve hot.
 Recipe Notes
-
Freshly grated Parmesan melts better and tastes richer than pre-shredded cheese.
-
Baby potatoes give the crispiest results, but any waxy potato works well.
-
For extra crispiness, soak potatoes in cold water for 20 minutes, then dry thoroughly before roasting.
 Tips for Best Results
-
Don’t overcrowd the pan – space allows browning instead of steaming.
-
Cut-side down roasting helps achieve a crispy texture.
-
Add cheese near the end to prevent burning.
-
Use a hot oven (400°F or higher) for maximum crisp.
 Nutritional Information (Per Serving – Approximate)
-
Calories: 260 kcal
-
Carbohydrates: 32 g
-
Protein: 7 g
-
Fat: 12 g
-
Saturated Fat: 3 g
-
Fiber: 4 g
-
Sodium: 420 mg
-
Calcium: 150 mg
 Health Benefits
-
Potatoes provide potassium, vitamin C, and fiber for digestion and heart health.
-
Garlic supports immune function and has anti-inflammatory properties.
-
Olive oil contains healthy monounsaturated fats.
-
Parmesan cheese adds calcium and protein for bone strength.
 Q & A
Q & A
Q: Can I make this recipe vegan?
A: Yes! Replace Parmesan with nutritional yeast or a dairy-free cheese alternative.
Q: Can I air-fry these potatoes?
A: Absolutely. Cook at 380°F (190°C) for 18–22 minutes, shaking halfway.
Q: Can I prepare these ahead of time?
A: You can parboil and season the potatoes ahead, then roast fresh for best texture.
Q: What dishes pair well with this recipe?
A: Grilled chicken, steak, baked fish, roasted vegetables, or a fresh green salad.
Q: How do I store leftovers?
A: Store in an airtight container in the refrigerator for up to 3 days. Reheat in the oven or air fryer for crispiness.


 Cabbage Fritters
 Description
 Notes
Notes Nutritional Information (Approx. per serving)
 Health Benefits


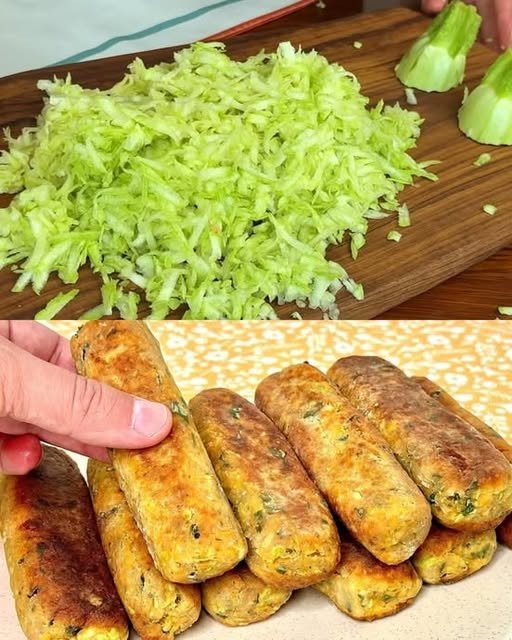


 Ingredients (8 pieces)
 Variations


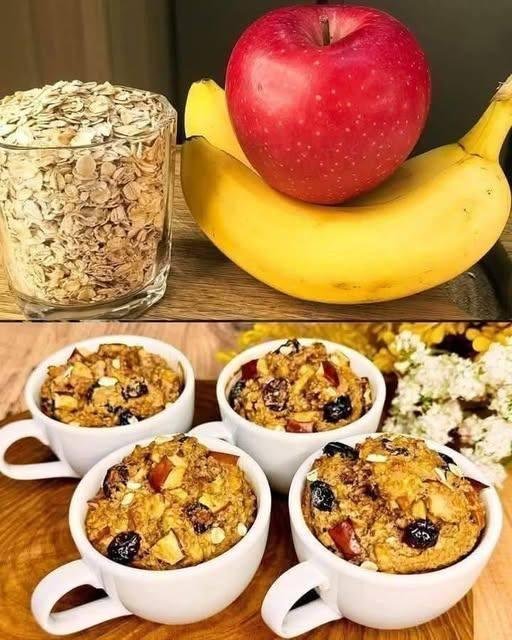
 No refined sugar