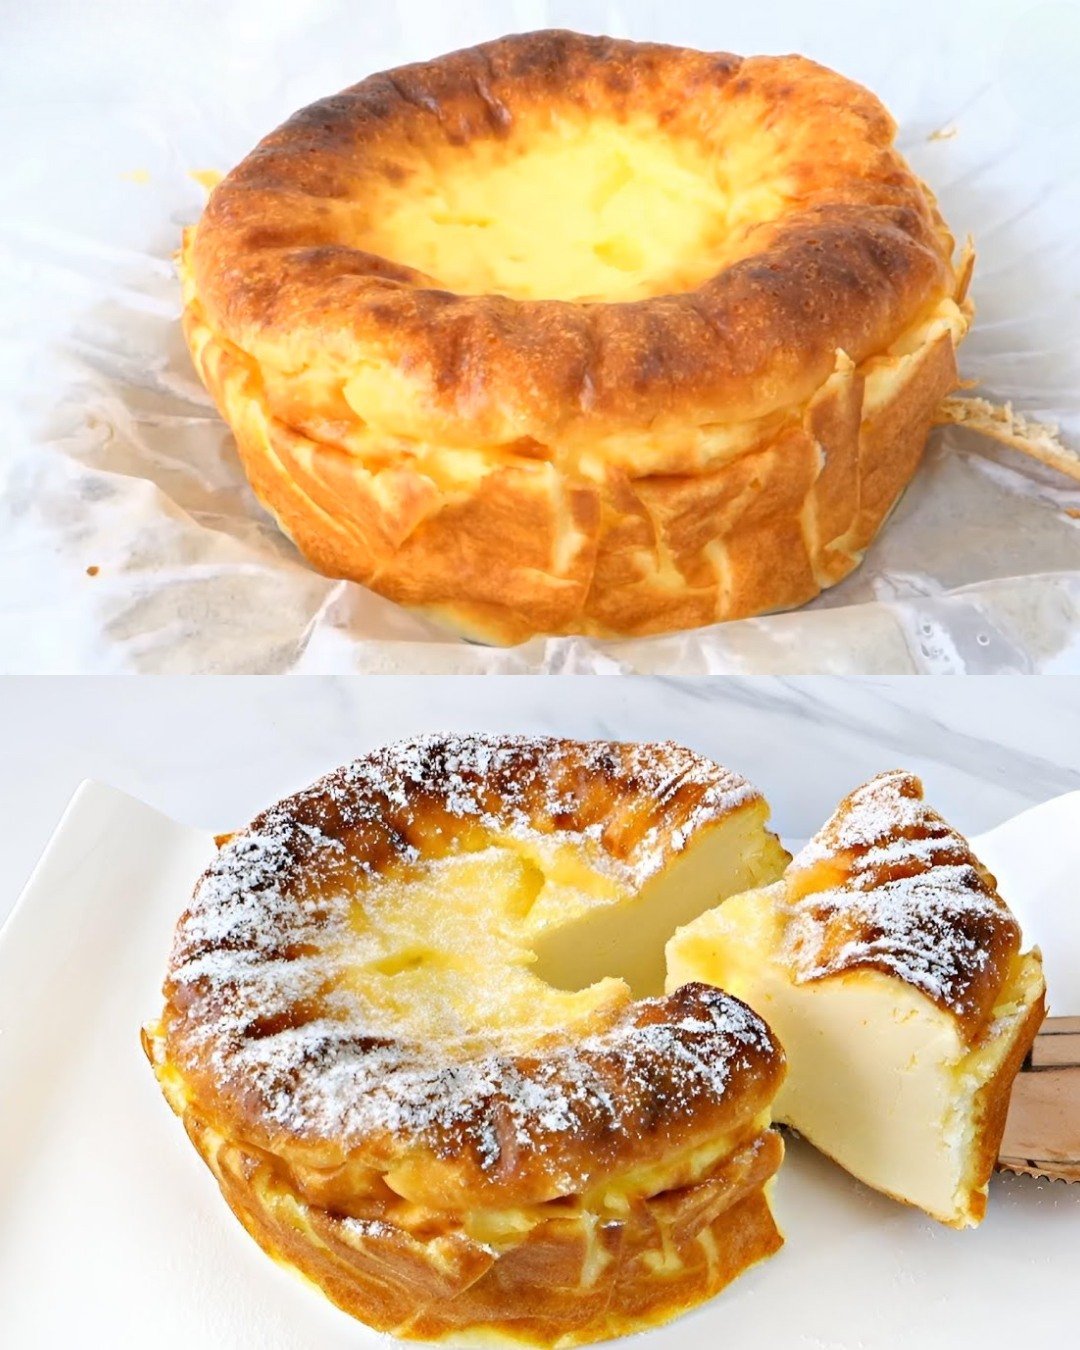
Dual-Flavor Ring Tea Cake
Prep Time: 5 minutes
Bake Time: 35–40 minutes
Pan: Round cake pan with heat-safe glass in center
A soft vanilla and chocolate cake baked together in a beautiful ring shape, perfect for tea time or light dessert.
🧺 Ingredients
For the Base Batter
-
3 large eggs
-
1 cup (200 g) granulated sugar
-
1 cup (200 ml) milk
-
½ cup (100 ml) vegetable oil (or any neutral oil)
-
2¾ cups (350 g) all-purpose flour, sifted
-
2 teaspoons (10 g) baking powder
-
1 pinch (1 g) vanillin or 1 teaspoon vanilla extract
-
Butter, for greasing the pan
For the Chocolate Batter
-
2 tablespoons cocoa powder
-
2 tablespoons water
👩🍳 Instructions
1️⃣ Prepare the Base Batter
Mix Eggs and Sugar
In a large mixing bowl, combine the eggs and sugar. Whisk until the mixture becomes pale and slightly airy in texture.
Add Liquid Ingredients
Pour in the milk, vegetable oil, and vanillin or vanilla extract. Whisk until fully blended and smooth.
Add Dry Ingredients
Gradually add the sifted flour and baking powder.
Stir gently using a whisk or spatula until the batter becomes smooth and free of large lumps.
Mix only until combined to keep the cake soft and tender.
2️⃣ Create Two Flavors
Divide the Batter
Transfer half of the batter into a second bowl so you now have two equal portions.
Prepare Cocoa Mixture
In a small cup, mix the cocoa powder with the water until it forms a smooth paste.
Make Chocolate Batter
Add the cocoa paste to one bowl of batter. Stir gently until the color is even and rich.
Now you have:
✔ One vanilla batter
✔ One chocolate batter
3️⃣ Prepare the Pan & Create the Pattern
Grease the Pan
Lightly coat the inside of a round cake pan with butter.
Place the Center Glass
Butter the outside of a heat-safe glass or jar.
Place it gently in the middle of the pan to create the ring shape.
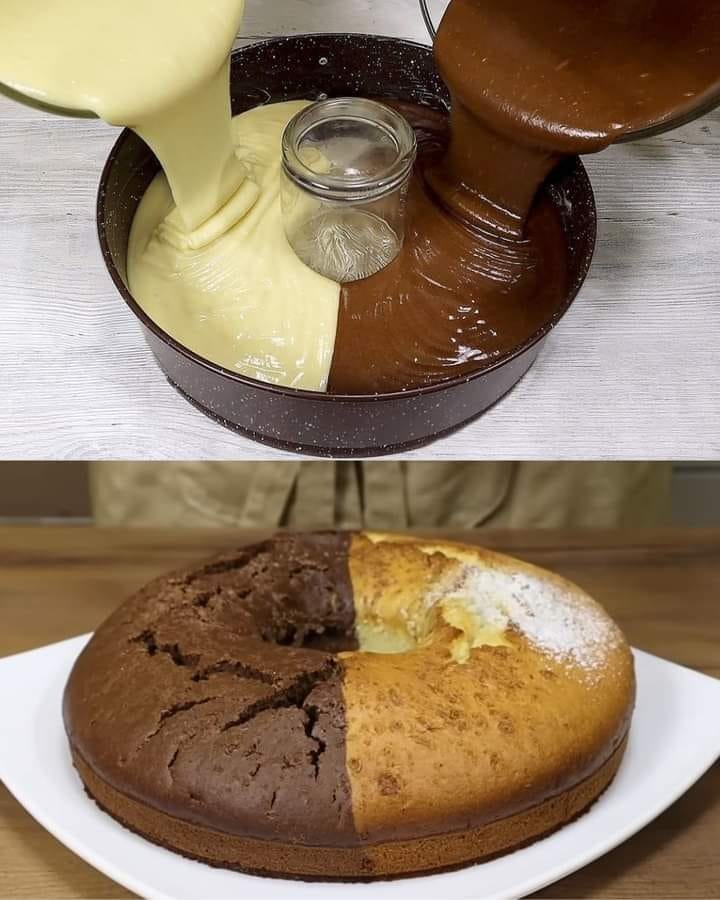
Pour the Batters
Slowly pour the vanilla batter on one side of the pan and the chocolate batter on the opposite side at the same time.
The batters will meet in the center while remaining mostly separate, creating a two-tone effect.
4️⃣ Bake the Cake
Preheat Oven
Set oven to 350°F (180°C).
Bake
Place the pan in the oven and bake for 35–40 minutes, until the cake is fully cooked and lightly golden.
Check for Doneness
Insert a toothpick into the thickest area of the cake.
If it comes out clean, the cake is ready.
5️⃣ Cool & Remove
Let the cake cool in the pan for about 10 minutes.
Gently twist and lift the glass from the center.
Run a knife carefully around the edge of the pan and turn the cake out onto a serving plate.
Allow to cool completely before decorating.
🍽️ Serving Ideas
-
Dust the vanilla side with powdered sugar
-
Drizzle the chocolate side with melted chocolate or ganache
-
Serve with tea, coffee, or warm milk
💡 Helpful Tips
✔ Add orange or lemon zest for fragrance
✔ Use yogurt instead of milk for extra softness
✔ Keep batters thick so the pattern stays defined
✔ Stores well for 2–3 days in an airtight container


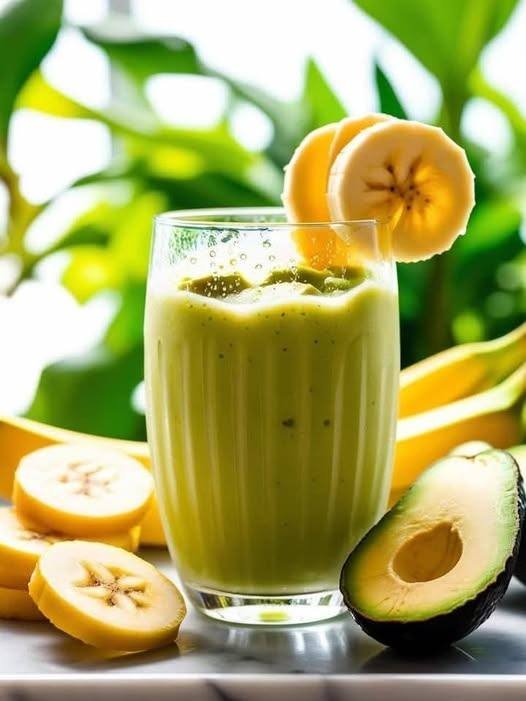
 No. No food can cure diabetes.
 Yes, in moderate portions and without added sugar.

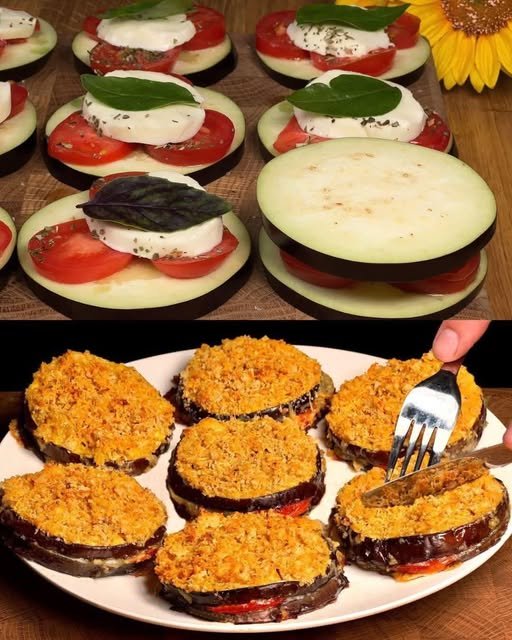
 Ingredients
 Step-by-Step Instructions
 Step 1: Prepare the Eggplant
 Step 2: Make the Egg Coating
 Step 3: Coat the Slices
 Step 4: Assemble the Layers
 Step 5: Bake
 Step 6: Serve
 Helpful Tips
 Use Panko for extra crunch


 Step 2: Whisk Wet Ingredients
 Step 3: Combine with Dry Ingredients
 Step 4: Add Mix-ins (Optional)
 Step 5: Fill Muffin Cups
 Step 7: Cool
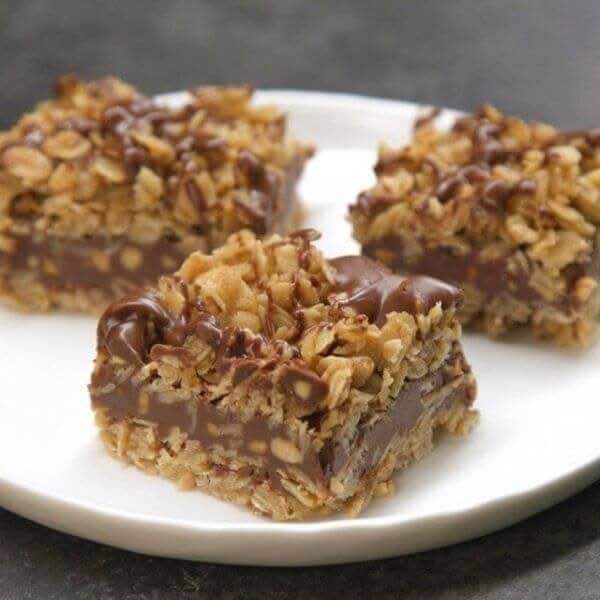
 Whole oats support digestion and heart health
 Carrots & apples provide vitamins and antioxidants
 Dried fruit offers natural energy and sweetness
 No added sugar or flour—clean and balanced