Introduction:
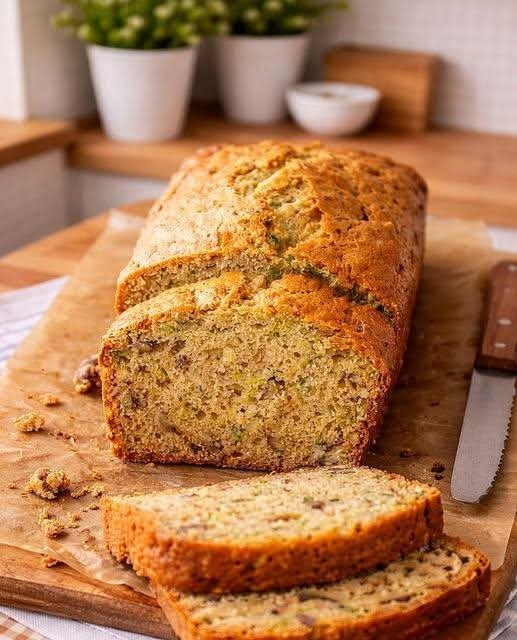
If you’re looking for a savory bread that’s easy to make and bursting with flavor, this Herb & Cheese Quick Bread is the perfect choice. Quick breads are ideal for when you want a homemade loaf without the hassle of yeast or extended rising times. This recipe is packed with fresh herbs like parsley and thyme, combined with a savory mix of cheeses to create a moist, tender loaf that’s delicious on its own or served alongside your favorite soups and salads. The best part? It comes together in about an hour, making it an excellent option for last-minute dinner additions or an afternoon snack. Whether you’re a beginner baker or a seasoned pro, this recipe is sure to become a go-to in your kitchen.
Ingredients:
Dry Ingredients:
- 2 cups all-purpose flour
- 1 tbsp baking powder
- 1 tsp garlic powder
- 1/2 tsp salt
- 1/4 tsp black pepper
Wet Ingredients:
- 1 cup whole milk
- 2 large eggs
- 1/4 cup olive oil
Add-ins:
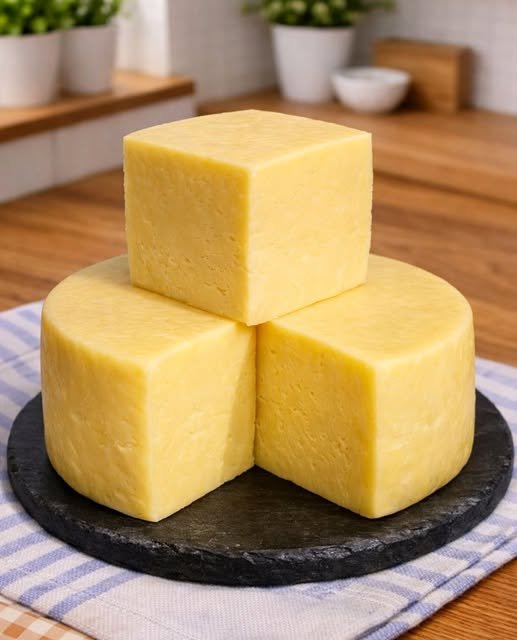
- 1 cup shredded cheddar cheese
- 1/2 cup grated Parmesan cheese
- 2 tbsp fresh parsley, chopped
- 1 tbsp fresh thyme, chopped (or 1 tsp dried thyme)
- 1 tbsp fresh chives, chopped
Optional Topping:
- 2 tbsp melted butter for brushing the top
Directions:
Step 1: Preheat and Prepare
- Preheat the Oven: Preheat your oven to 350°F (175°C). Grease a 9×5-inch loaf pan or line it with parchment paper.
- Prepare the Ingredients: Shred the cheddar cheese and grate the Parmesan. Chop the fresh herbs and set them aside.
Step 2: Mix the Dry Ingredients
- Combine Dry Ingredients: In a large mixing bowl, whisk together the flour, baking powder, garlic powder, salt, and black pepper until well combined.
Step 3: Mix the Wet Ingredients
- Combine Wet Ingredients: In a separate bowl, whisk together the milk, eggs, and olive oil until smooth.
Step 4: Combine and Add the Cheese and Herbs
- Mix Everything Together: Pour the wet ingredients into the dry ingredients, stirring gently until just combined. Be careful not to overmix.
- Add the Cheese and Herbs: Fold in the shredded cheddar, grated Parmesan, parsley, thyme, and chives. The batter will be thick.
Step 5: Bake the Bread
- Transfer to the Pan: Spoon the batter into the prepared loaf pan and smooth the top.
- Bake: Bake for 45-50 minutes, or until a toothpick inserted into the center comes out clean and the top is golden brown.
- Cool: Let the bread cool in the pan for 10 minutes before transferring it to a wire rack to cool completely.
Step 6: Optional Topping
- Brush with Butter: If desired, brush the top of the warm bread with melted butter for extra richness.
How to Prepare:
- Storage: Store any leftover bread wrapped tightly at room temperature for up to 2 days, or in the refrigerator for up to 5 days.
- Serving Suggestion: Serve warm with butter or alongside soups, stews, or a fresh salad.
Preparation Time:
- Prep Time: 15 minutes
- Cook Time: 45-50 minutes
- Total Time: 1 hour 5 minutes
Servings:
- Yields: 8-10 slices
FAQs:
1. Can I use other types of cheese?
- Yes! Feel free to swap out the cheddar and Parmesan for other cheeses like Gruyère, mozzarella, or even feta for a different flavor.
2. Can I make this bread gluten-free?
- You can substitute all-purpose flour with a gluten-free baking mix. Make sure it includes a binder like xanthan gum for the best texture.
3. Can I use dried herbs instead of fresh?
- Absolutely! If using dried herbs, reduce the quantity to about 1/3 of the fresh herbs called for in the recipe.
4. How can I make this bread more flavorful?
- You can add more garlic powder or even include some sautéed onions or roasted garlic for a deeper flavor.
5. Can I freeze this bread?
- Yes! Once the bread is fully cooled, wrap it tightly in plastic wrap and then in aluminum foil. It will stay fresh in the freezer for up to 3 months. Thaw at room temperature before serving.
Conclusion:
This Herb & Cheese Quick Bread is not only incredibly easy to make but also packed with flavor from the fresh herbs and a delicious mix of cheeses. It’s a versatile bread that pairs perfectly with hearty soups, stews, or even served on its own with a bit of butter. The best part is, you don’t need any yeast or long rising times—this quick bread is ready to enjoy in just about an hour. Whether you’re baking it for a special occasion or simply to enjoy a savory snack, this recipe is sure to be a hit with family and friends.