No-Beat German Apple Pie
Prep time: 15 minutes | Bake time: 35–40 minutes
Detailed Ingredients
-
The Fruit Base: * 3 large apples (peeled and cut into small bite-sized pieces)
-
½ cup (75g) raisins
-
2 teaspoons cinnamon powder
-
-
The Dry Mix:
-
1 cup (130g) wheat flour
-
½ cup (100g) granulated sugar
-
1 teaspoon baking powder
-
-
The Liquid Binder:
-
3 large eggs
-
1 tablespoon extra sugar (for the eggs)
-
100g butter (melted and slightly cooled)
-
-
Optional Garnish: * Icing sugar for dusting
-
Flaked almonds (optional)
-
-
Step-by-Step Instructions
1. Prepare the Fruit
In a large mixing bowl, combine your chopped apples, raisins, and cinnamon. Toss them thoroughly until every piece of apple is coated in cinnamon. This ensures the flavor is distributed throughout the pie.
2. Prep the Baking Mold
Grease a 9-inch (23cm) springform pan or glass baking dish with butter. For easier removal, you can line the bottom with parchment paper. Spread the cinnamon-apple and raisin mixture evenly across the bottom of the pan.
3. Create the Dry Layer
In a separate medium bowl, whisk together the wheat flour, ½ cup sugar, and baking powder until well combined. The Secret Step: Sprinkle this dry flour mixture directly and evenly over the raw apples in the pan. Do not stir it in. You want a flat layer of dry ingredients sitting on top of the fruit.
4. Prepare the Liquid Layer
In another bowl, crack the 3 eggs and add the 1 tablespoon of extra sugar. Whisk vigorously (by hand or with a fork) for about 1-2 minutes until the eggs are pale and very frothy.
5. Assemble the “No-Beat” Layers
-
Slowly pour the frothy egg mixture over the dry flour layer in the pan.
-
Immediately follow by drizzling the 100g of melted butter evenly over the entire surface.
-
Important: Use a spoon to gently spread the liquid to any “dry spots” where you can still see white flour. The liquids will seep down through the flour and fruit during baking to create the dough.
6. Bake to Perfection
Place the pan in a preheated oven at 180°C (350°F). Bake for 35–40 minutes. The pie is done when the top is a deep golden brown and a toothpick inserted into the center comes out clean (though it will feel moist due to the apples).
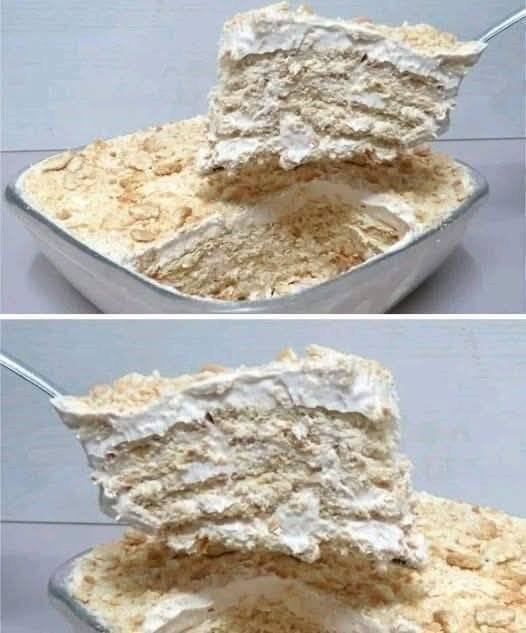
7. Cool and Serve
Allow the pie to cool in the mold for at least 15 minutes. This is critical as it allows the “custard” formed by the eggs and butter to set. Dust generously with icing sugar before slicing.
-

 Ingredients
 Instructions
 Recipe Notes