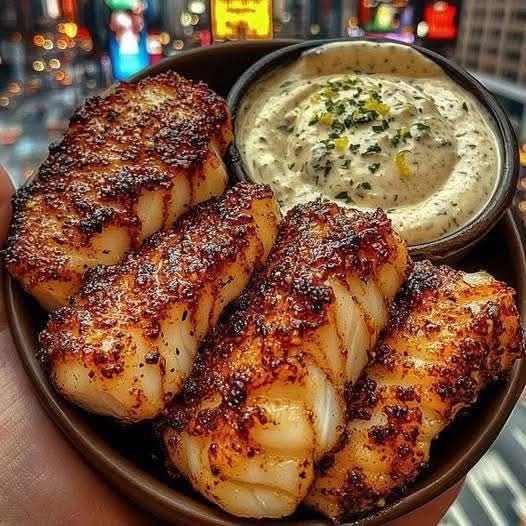
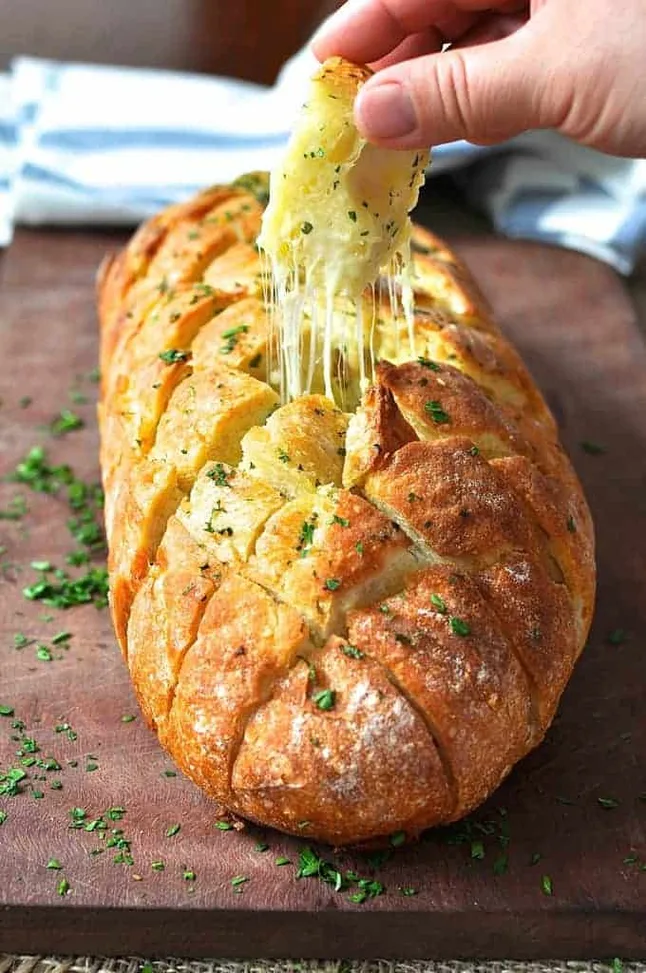
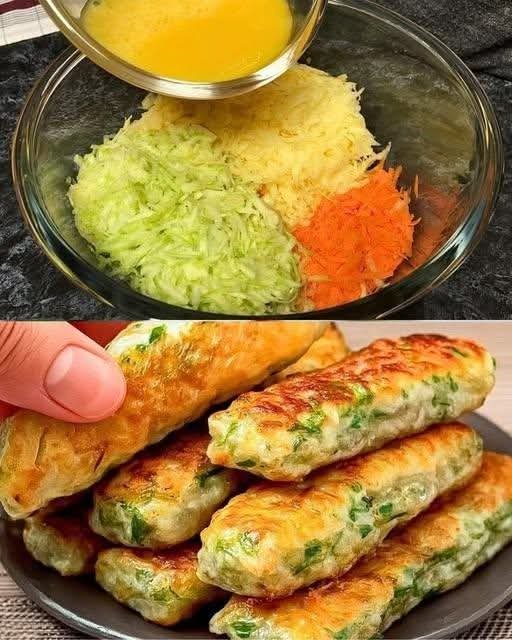
Crispy Two-Cheese Flatbread
A thin baked cheese flatbread with a bubbly surface and a deeply golden crust — ideal for slicing and dipping.
Prep Time: 5 minutes
Bake Time: 15–18 minutes
Yield: About 12–16 squares
🧾 Ingredients
• 1 cup shredded mozzarella cheese
• 1 cup finely grated Parmesan cheese
• 1 large egg, lightly beaten
• ½ teaspoon garlic powder
• ½ teaspoon dried oregano or Italian seasoning
Optional topping:
• Red pepper flakes
• Everything-style seasoning
• Sesame or poppy seeds
👩🍳 Instructions
1. Preheat the Oven
Preheat oven to 200°C (400°F).
Line a large baking sheet with:
• Parchment paper
or
• A silicone baking mat
This prevents sticking and allows the cheese to crisp evenly.
2. Combine the Cheese Mixture
In a medium mixing bowl, add:
• Shredded mozzarella
• Grated Parmesan
• Garlic powder
• Dried herbs
Stir until evenly blended.
3. Add the Egg
Pour the lightly beaten egg into the cheese mixture.
Mix thoroughly until:
• All cheese is coated
• The mixture holds together
• No dry patches remain
The egg helps the flatbread hold its shape after baking.
4. Shape the Flatbread
Transfer the mixture to the prepared baking sheet.
Using a spatula or the back of a spoon:
• Press into a thin rectangle or circle
• About ¼ inch (6 mm) thick
• Smooth the surface evenly
Compact it well so it bakes uniformly.
5. Add Optional Topping
Sprinkle your chosen seasoning lightly over the top.
Press gently so it sticks to the surface.
6. Bake
Place the tray in the center of the oven.
Bake for 15–18 minutes, watching closely near the end.
You want:
• Deep golden edges
• Bubbling surface
• Light browning across the top
Do not underbake or it will remain soft instead of crisp.
7. Rest and Slice
Remove from oven and let rest on the tray for 3–5 minutes.
This allows the cheese to firm up and become sliceable.
Transfer to a cutting board and slice into:
• Squares
or
• Thin strips
Use a sharp knife or pizza cutter.
⭐ Tips for Best Results
✔ Use firm, shredded mozzarella instead of fresh soft cheese for better browning.
✔ Spread thin for crisp texture.
✔ Let it cool slightly before cutting — it crisps as it rests.
✔ If edges brown faster, rotate the pan halfway through baking.
🍅 Serving Ideas
Serve with:
• Warm tomato sauce
• Creamy herb dip
• Chili sauce
• Yogurt-based dip
• Garlic butter
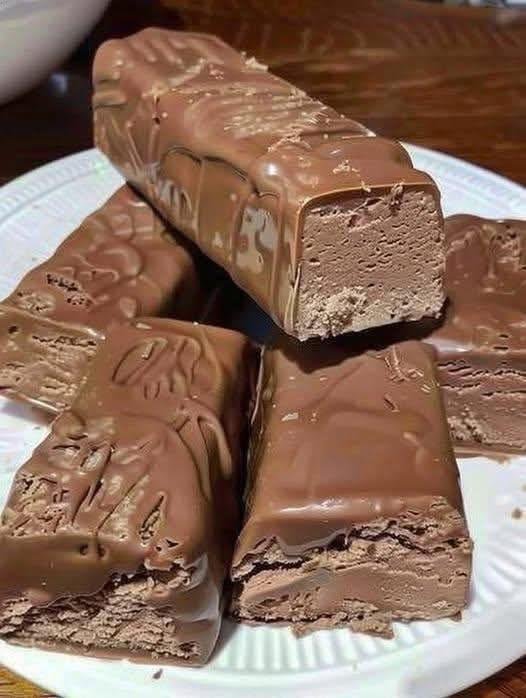


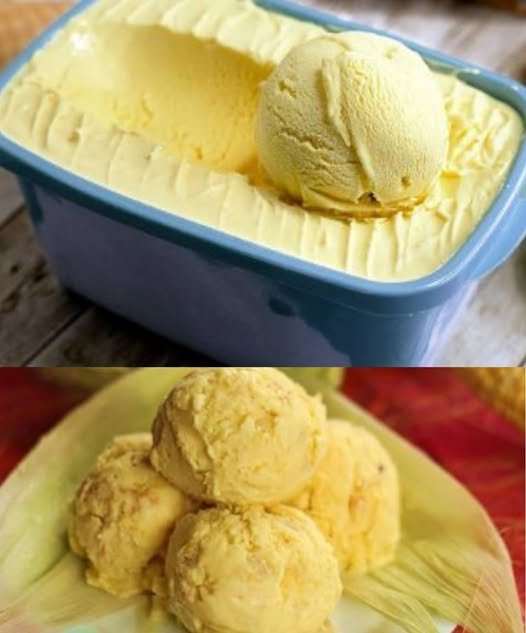
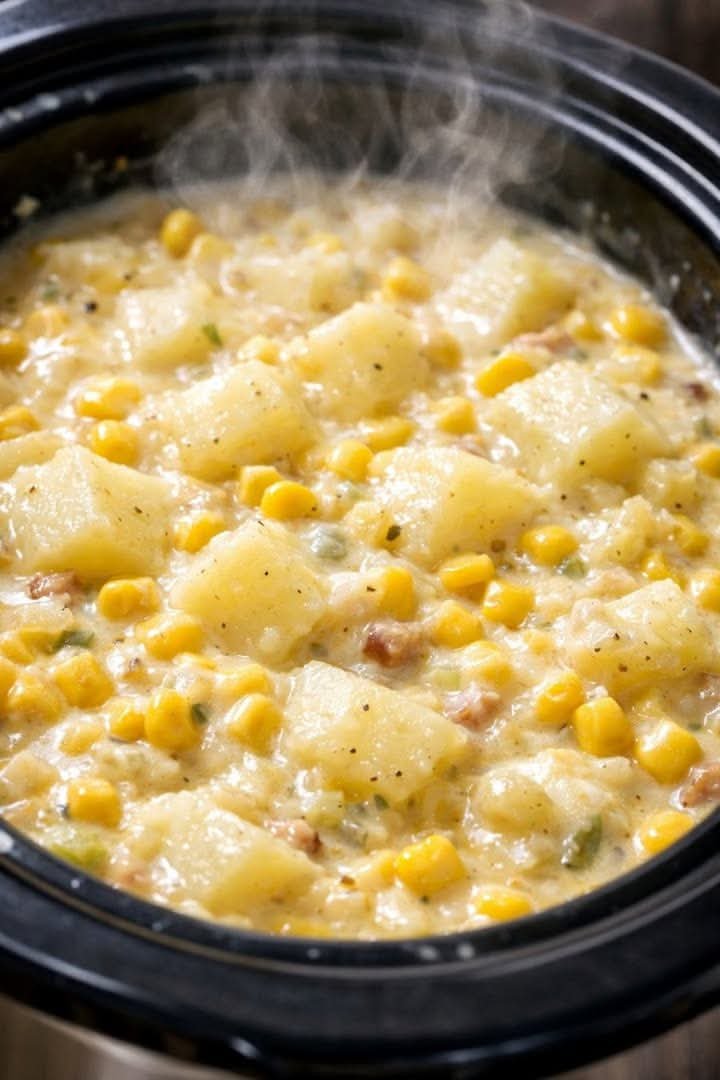
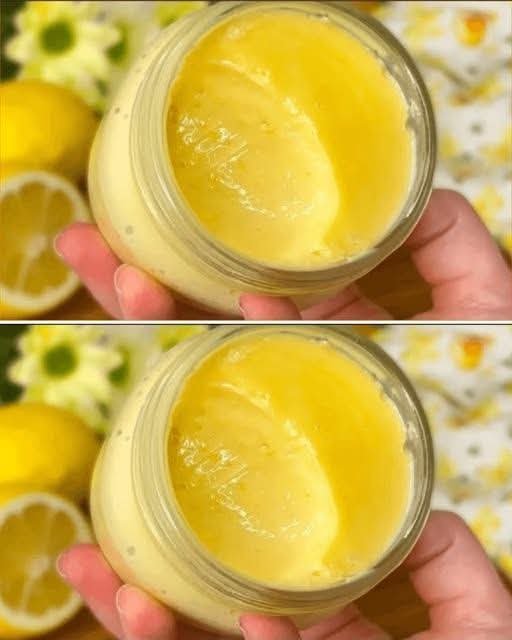
 Sweet Corn Ice Cream Recipe