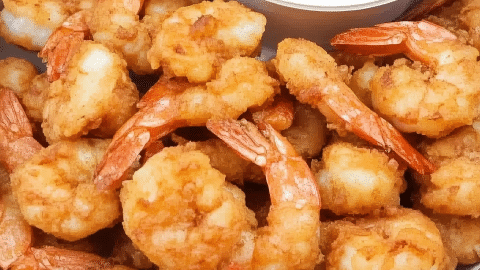
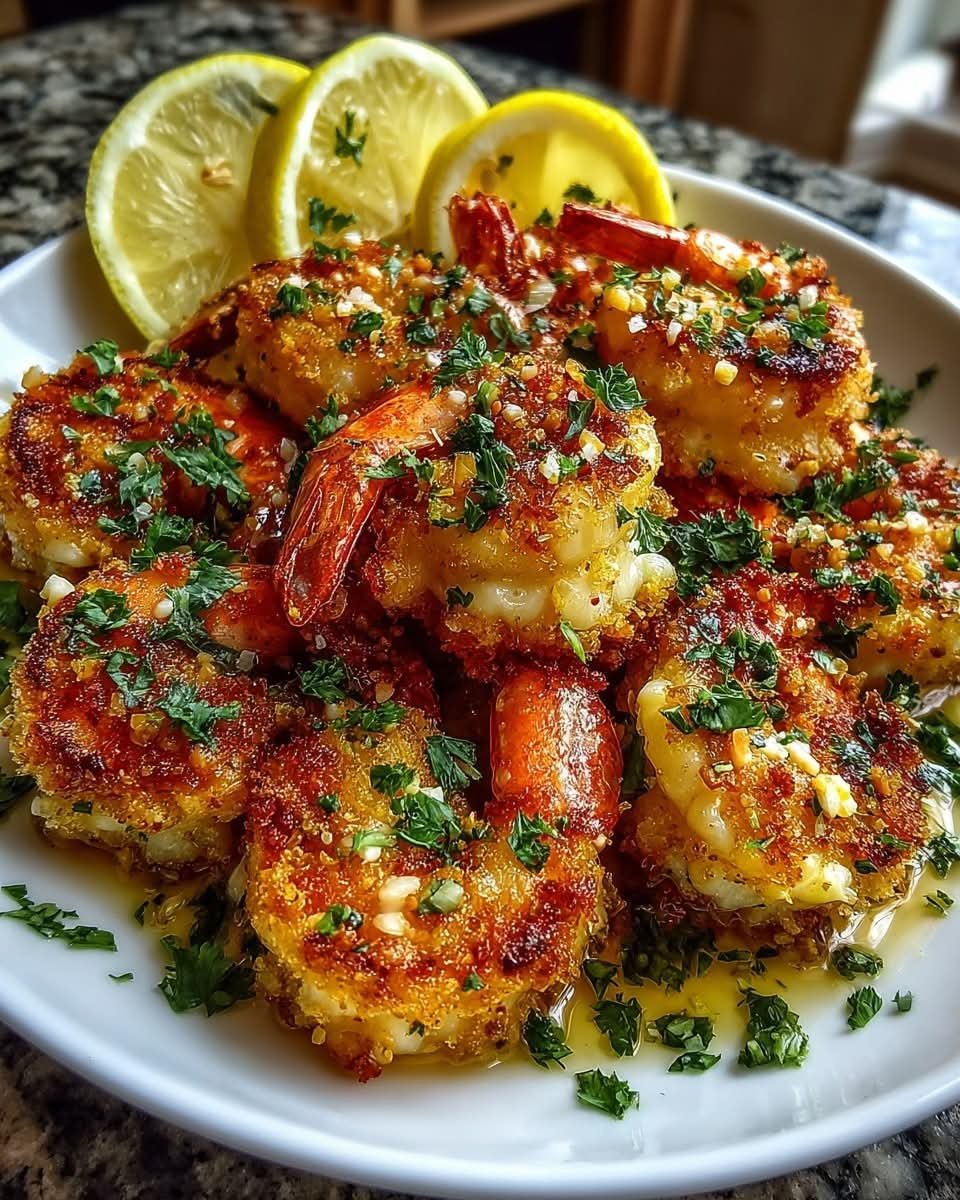
Crispy Golden Pan-Fried Crustaceans
Oh my goodness, if you are a seafood lover, you know there is nothing better than perfectly cooked, crispy, golden crustaceans! This recipe for Crispy Golden Pan-Fried Crustaceans is my absolute favorite, especially when I’m craving that amazing restaurant flavor but need dinner on the table in, like, twenty minutes flat.
Sometimes, dining out just isn’t an option when that seafood craving hits, but you definitely don’t have to struggle at home. This recipe is for beginners! It’s ridiculously easy, requiring only a handful of ingredients and minimal prep. The simple seasoning mix and the deep-sided skillet are the secrets to achieving that undeniable, satisfying crunch without any fancy equipment.
The entire process—from coating the little pink beauties to frying them up golden brown—takes less than fifteen minutes of active time. It’s truly a 30-minute meal hero and a huge hit with all my picky eaters, who love dipping them in everything from tartar sauce to simple garlic butter. Trust me, once you master this simple technique, you’ll never settle for takeout crustaceans again!
Why You’ll Love This Recipe
Super Quick: Ready from start to finish in about 15 minutes.
Family Favorite: The crunchy texture is approved by both kids and adults.
Simple Ingredients: Requires only three main components plus oil and pepper.
Perfect Crunch: Frying guarantees a crispy, golden, non-soggy exterior.
Versatile Base: Easily customized with different savory spice blends.
Ingredients You’ll Need
Pink, shelled, and cleansed crustaceans that serve as the delicate, quick-cooking protein.
Universal refined grain powder that creates the base for the crisp breading.
Specialized seasoned crystalline minerals and coarse ground peppercorns that provide the necessary salty, savory flavor profile.
Neutral liquid oil used for deep frying to achieve the golden, crunchy exterior.
How It’s Made
This preparation is a simple two-stage process. First, the dry ingredients are placed into a container and vigorously shaken to ensure the powders are completely blended. The raw, shelled crustaceans are then added to the dry blend and thoroughly coated. A neutral liquid oil is heated in a deep skillet, and the coated crustaceans are carefully dropped in and fried in batches until they turn golden brown. The finished pieces are placed on absorbent material to drain before serving hot.
Tips, Variations & Storage
Tip: Always pat the raw crustaceans completely dry before coating them in the dry mixture. This ensures the breading sticks evenly and remains light, rather than becoming chunky or too thick.
Substitution: If you need a different flavor profile, swap the specialized seasoned crystalline minerals for Cajun seasoning, lemon pepper, or a simple mix of pungent bulb powders and salt.
Add-ins: For a healthier crunch without frying, the coated crustaceans can be lightly spritzed with oil and air-fried until golden and crispy.
Dietary Swap: If avoiding wheat, substitute the universal refined grain powder with a mixture of almond and coconut flour for a lighter, grain-free coating.
Storage: Store any cooled leftovers in an airtight container in the refrigerator for up to 3 days.
Reheating Note: To restore the crispy texture, reheat thawed leftovers in an oven at 350 degrees or an air fryer until hot and crunchy.
FAQ Section
1. How much oil should I use for frying? You need enough neutral liquid oil to heat approximately three inches deep in your skillet. This ensures the crustaceans are evenly submerged and cook consistently.
2. How do I know when the crustaceans are fully cooked? They cook very quickly! When they are finished, they will turn opaque pink and form a loose “C” shape. Overcooking will make them curl tightly and become rubbery.
3. Why do I need to combine the dry ingredients first? Mixing the grain powder and seasonings separately ensures the flavor is perfectly distributed throughout the coating. If you add them individually to the main bowl, the flavor can settle and leave some crustaceans unsavory.
4. What is the best dipping sauce for these? Classic options like tangy tartar sauce or bright cocktail sauce are always winners. For something decadent, melt some clarified dairy fat with minced pungent cloves for a simple garlic butter dip.
5. Can I prepare and bread the crustaceans ahead of time? You can mix the dry coating ahead of time, but it’s best to coat the crustaceans just before frying. If you coat them too early, the moisture from the seafood will seep into the breading and make it soggy.
Recipes
Crustacean Base
1 Lb.: Pink shelled, and cleansed crustaceans (Shrimp)
Coating
2 C.: Universal refined grain powder Flour
⅛ C.: Specialized seasoned crystalline minerals Lawry’s Season Salt
Coarse ground peppercorns Pepper to taste
Frying
Neutral liquid oil for deep-sided skillet frying
Instructions
Place the universal refined grain powder, specialized seasoned crystalline minerals, and coarse ground peppercorns into a secure food storage bag or mixing vessel. Agitate or shake vigorously to ensure all dry components are thoroughly blended.
Introduce the pink, cleansed crustaceans into the bag. Shake or toss gently until every piece is completely coated in the dry breading mixture.
Heat approximately 3 inches of neutral liquid oil in a deep skillet over medium-high heat on the stovetop.
Carefully add the breaded crustaceans to the hot oil, working in small batches if necessary. Fry for 3 to 5 minutes per batch, turning occasionally, until they achieve a deep golden-brown color.
Extract the cooked crustaceans and place them on a tray or plate lined with absorbent paper towels to drain residual oil.
Serve the crispy crustaceans immediately alongside your favorite accompaniment sauce for dipping.


 Creamy Sausage Tomato Soup (Comfort Bowl)
 Ingredients
 Instructions
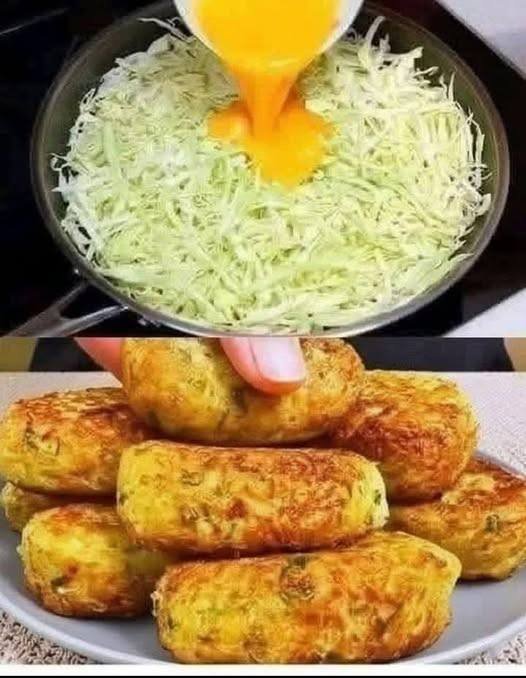
 Cabbage Fritters
 Description
 Prep & Cook Time
 Servings
 Ingredients
 Tips for Best Results
 Nutritional Information (Approx. per serving)
 Health Benefits
 Q & A
Q & A
 Blend Until Silky
 Heat the Pan Gently
 Cook Thin & Even
 Flip Carefully
 Do not overcook — they continue to firm up as they cool.


 Tips & Variations
 Nutritional Benefits
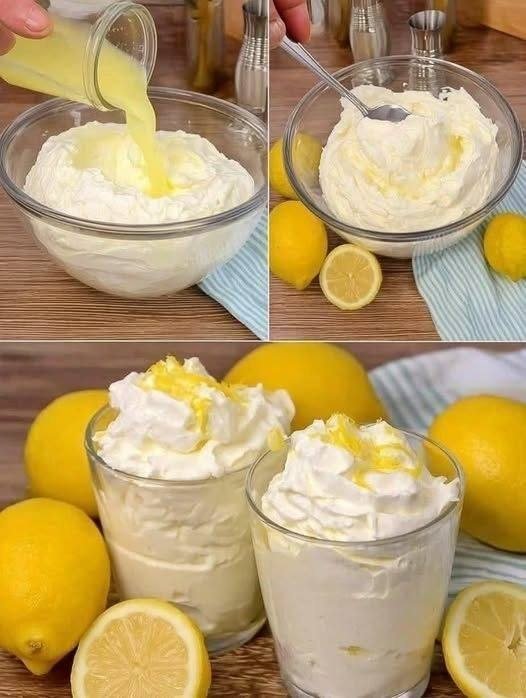
 3-Ingredient Lemon Mousse
 Ingredients
 Instructions