Si. Given your interest in recipes that perform well on social media and options that fit into a healthy lifestyle, I’ve included a Classic Homemade version and a High-Protein “Wellness” version.
1. Classic No-Churn Cookie Dough Ice Cream
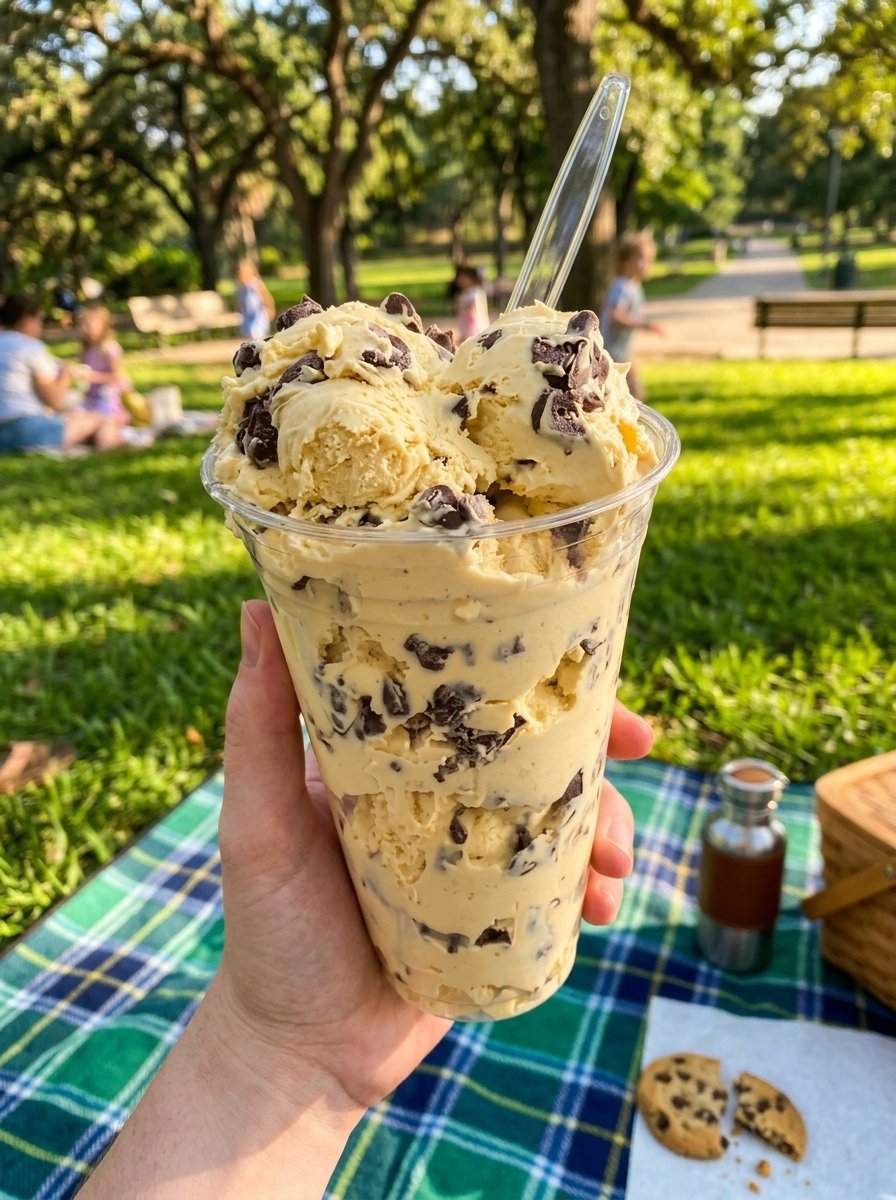
This is the “crowd-pleaser” version—super creamy, rich, and perfect for sharing on your Facebook page.
Ingredients
-
The Base:
-
2 cups heavy whipping cream (cold)
-
1 can (14 oz) sweetened condensed milk
-
1 tsp vanilla extract
-
A pinch of sea salt
-
-
The Mix-ins:
-
1 cup “Edible” Cookie Dough bits (store-bought or homemade using heat-treated flour)
-
½ cup semi-sweet chocolate chunks or chips
-
Instructions
-
Prep the Base: In a large chilled bowl, whip the heavy cream until stiff peaks form.
-
Fold: In a separate bowl, mix the condensed milk, vanilla, and salt. Gently fold this into the whipped cream using a spatula so you don’t lose the air.
-
The Good Stuff: Gently fold in the cookie dough bits and chocolate chunks.
-
Freeze: Transfer to a loaf pan or airtight container. Freeze for at least 6 hours (or overnight) until firm.
2. Low-Point / High-Protein “Cottage Cheese” Ice Cream
This version is viral for a reason—it’s much lower in points/calories but surprisingly creamy, fitting right in with your WW-friendly preferences.
Ingredients
-
2 cups low-fat cottage cheese (the “secret” for creaminess and protein)
-
2-3 tbsp maple syrup or honey (or a sugar-free sub like Monkfruit)
-
1 tsp vanilla extract
-
The Mix-ins: 2 tbsp mini dark chocolate chips and 2 broken-up low-carb protein cookies (or “PB2” dough crumbles).
Instructions
-
Blend: Place the cottage cheese, sweetener, and vanilla in a blender. Process until it is completely smooth—no lumps allowed!
-
Combine: Stir in the chocolate chips and cookie crumbles by hand.
-
Set: Pour into a container. To keep it from getting too icy, stir it every 30 minutes for the first 2 hours, or just freeze for 3-4 hours total.
-
Serve: Let it sit on the counter for 5 minutes before scooping to get that perfect “ice cream” texture.