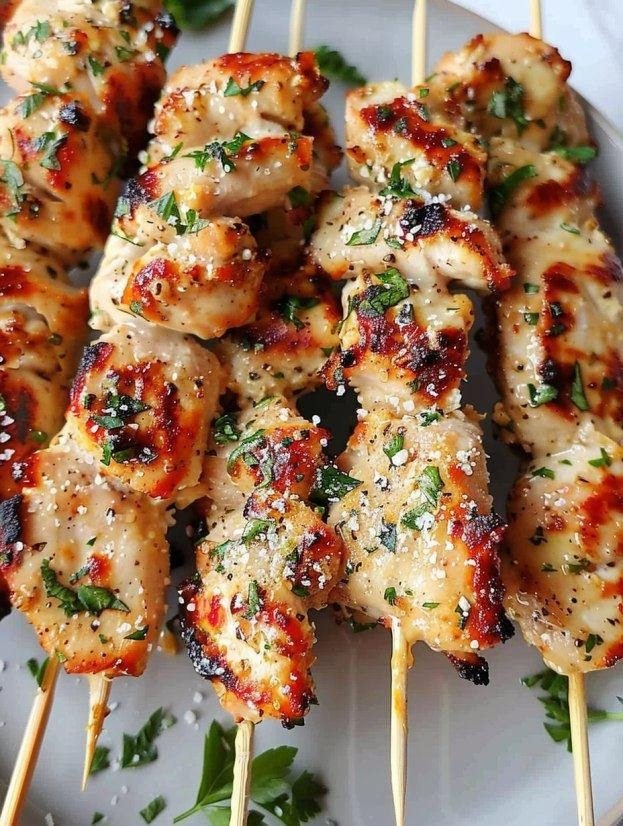
🧄🍗 Baked Caesar Chicken (Clean Recipe)
⏱ Time
Prep: 15 minutes
Bake: 30 minutes
Total: 45 minutes
Serves: 4
🛒 Ingredients
-
4 boneless, skinless chicken breasts
-
½ cup mayonnaise OR Greek yogurt
-
2 tbsp lemon juice
-
1 tbsp Dijon mustard
-
1 tsp Worcestershire sauce
-
1 clove garlic, minced
-
Salt & black pepper, to taste
-
½ cup grated Parmesan cheese (divided)
-
1 cup breadcrumbs or panko
-
1 tbsp olive oil
-
4 slices turkey bacon, cooked & crumbled
-
Optional: chopped parsley
👩🍳 Instructions
1️⃣ Preheat Oven
Preheat oven to 200°C (400°F).
Lightly grease a baking dish.
2️⃣ Make Caesar Sauce
In a bowl, mix:
-
Mayo (or yogurt)
-
Lemon juice
-
Dijon mustard
-
Worcestershire sauce
-
Garlic
-
Salt & pepper
-
¼ cup Parmesan
Mix until smooth.
3️⃣ Coat Chicken
Place chicken in baking dish.
Spread Caesar mixture generously over each piece.
4️⃣ Make Crunch Topping
In another bowl, mix:
-
Breadcrumbs
-
Remaining ¼ cup Parmesan
-
Olive oil
-
Turkey bacon
Sprinkle evenly over chicken.
5️⃣ Bake
Bake uncovered for 25–30 minutes
(or until internal temp is 75°C / 165°F).
Topping should be golden and crispy.
6️⃣ Rest & Serve
Let it rest 5 minutes before serving.
Garnish with parsley if desired.
🍽 Serving Ideas
-
With roasted vegetables
-
With rice or pasta
-
With green salad
-
In wraps or sandwiches
🔁 Variations
✔ Spicy: add chili flakes
✔ Veggie: add broccoli, peppers, zucchini
✔ Low-carb: skip breadcrumbs
✔ Cheesy: add mozzarella on top
🧊 Storage
Fridge: 3 days in airtight container
Freezer: Up to 2 months
Reheat: Oven or air fryer best


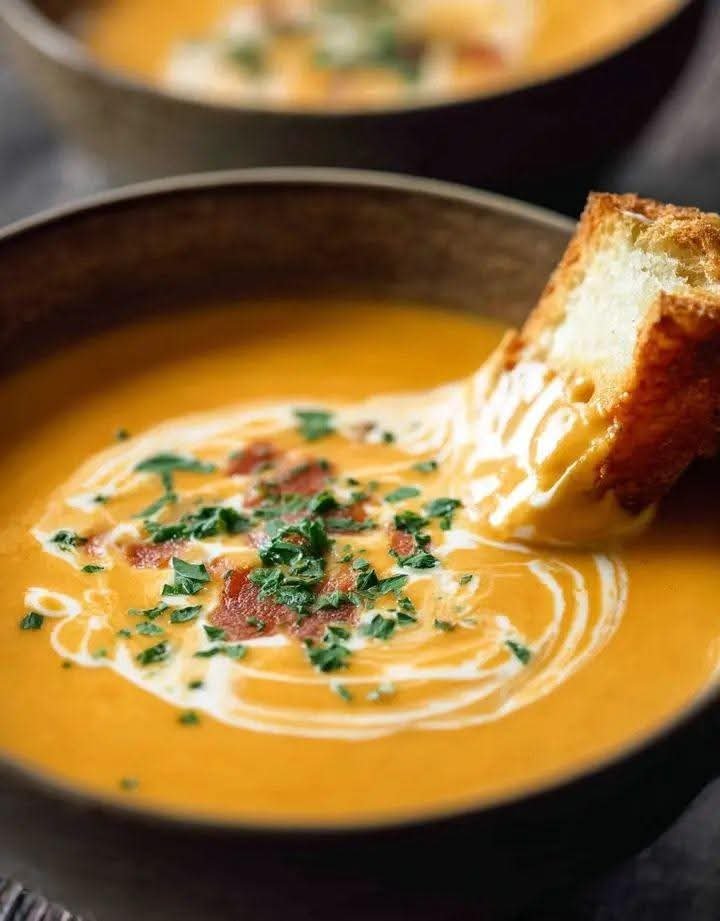
 Creamy Sausage Tomato Soup (Comfort Bowl)
 Ingredients
 Instructions
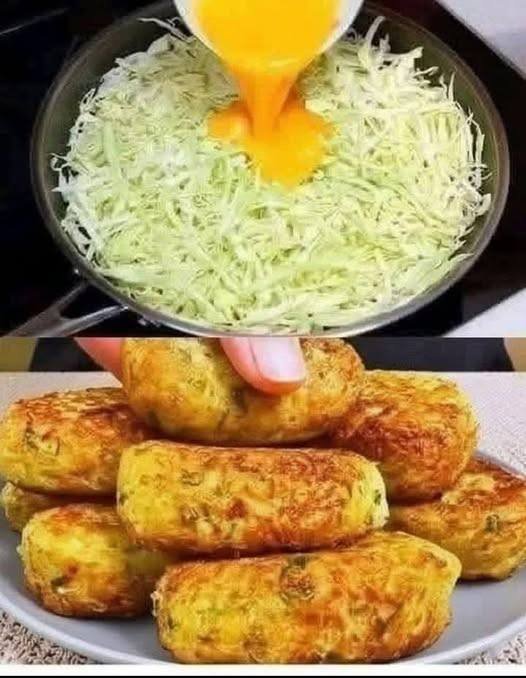
 Cabbage Fritters
 Description
 Prep & Cook Time
 Servings
 Ingredients
 Tips for Best Results
 Nutritional Information (Approx. per serving)
 Health Benefits
 Q & A
Q & A
 Blend Until Silky
 Heat the Pan Gently
 Cook Thin & Even
 Flip Carefully
 Do not overcook — they continue to firm up as they cool.


 Tips & Variations
 Nutritional Benefits
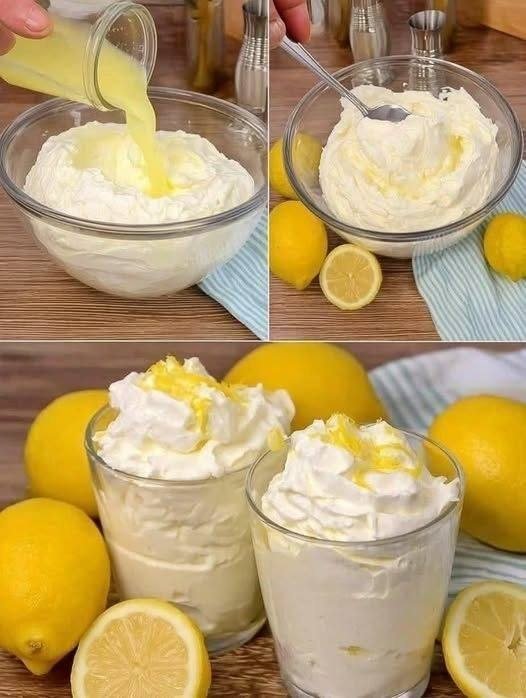
 3-Ingredient Lemon Mousse
 Ingredients
 Instructions