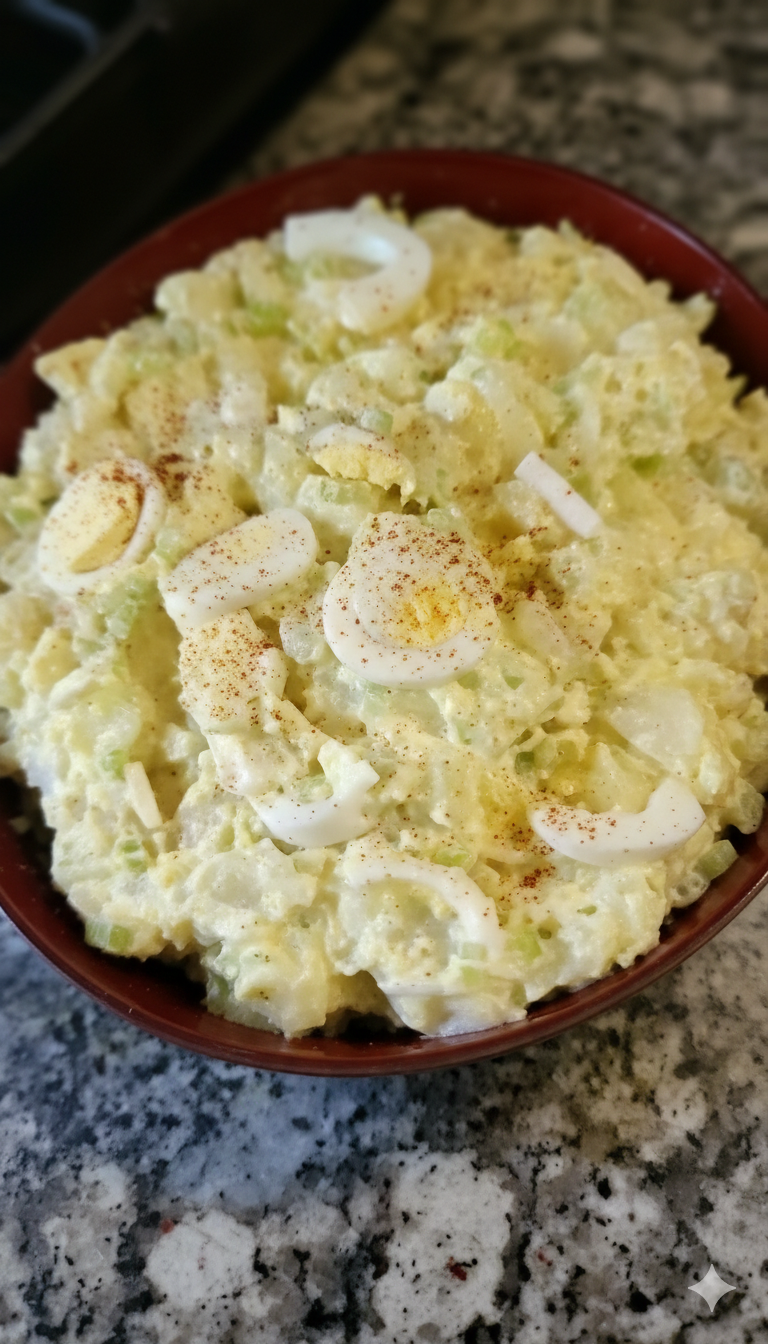
Classic Creamy Tuber Salad
You guys, I have to confess something: I might be a food blogger, but I am totally incapable of attending any kind of barbecue or potluck without bringing a classic potato salad. It’s a requirement! Especially this one—my Classic Creamy Tuber Salad. This recipe is simple, it’s old-fashioned, and it’s truly the epitome of Southern comfort food, even if you’re not actually from the South.
I love this salad because it’s a total crowd-pleaser, and for feeding my crew of four (plus whoever else shows up at dinner time!), a crowd-pleaser is essential. Plus, it uses the most basic, budget-friendly ingredients ever. We’re talking about potatoes, eggs, and a few creamy, tangy mix-ins. It’s proof that the most beloved side dishes don’t need any fancy gadgets or complicated steps.
The beauty of a creamy salad like this is that it actually gets better if you make it ahead of time—which is the biggest gift a recipe can give a busy mom. You spend about 20 minutes getting it together, let the flavors do their happy dance in the fridge overnight, and boom! You have a perfect side dish ready for your weekend grilling with zero last-minute effort. Seriously, try this one. It’s sunshine in a bowl, no matter the season!
Salad Base
8 –9 Large: Starchy ground tubers potatoes, deskinned and chopped into cubes
1 C.: Chopped brined cucumber pieces (pickle)
2 Medium: Diced yellow bulb vegetables onions
5 Large: Pre-cooked shelled avian orbs (hard-boiled eggs), chopped
To taste: Crystalline minerals salt and ground black peppercorns (pepper)
Dressing
2 C.: Thick emulsified oil and egg condiment (mayonnaise)
3 –4 Tbsp.: Zesty prepared yellow seed paste (mustard)
Instructions
Place the chopped, deskinned starchy tubers into a generously sized pot, cover them with water until submerged by approximately half the volume, and boil until the pieces are suitably softened and tender.
Drain the heated liquid completely from the tubers and allow them to rest and cool for a period of ten minutes.
In a sizable mixing vessel, combine the cooled potatoes with the chopped avian orbs, diced bulb vegetables, and brined cucumber pieces. Toss gently to integrate the solid components.
Introduce the thick, emulsified condiment into the bowl and continue mixing until the salad reaches your desired level of creaminess.
Follow up by adding the zesty yellow seed paste, then incorporate the crystalline minerals and ground black peppercorns, tasting as you go until the seasoning is perfected.
The salad is now ready to be consumed and enjoyed!
Why You’ll Love This Recipe
Pure Nostalgia: Tastes exactly like the classic, old-fashioned side dish you grew up with.
Easy on the Wallet: Built using inexpensive kitchen staples.
Flavor Gets Better: It requires time in the fridge, making it an ideal make-ahead party dish.
Highly Customizable: Easy to adjust the tanginess or creaminess level to your preference.
Perfect Pairing: Goes with literally any grilled meat or main dish you can think of.
Ingredients You’ll Need
The starchy ground root vegetables that form the substantial, cubed base of the salad.
Pre-cooked, shelled avian protein orbs that add richness and texture to the mixture.
The diced yellow bulb vegetables that provide a necessary aromatic bite and crunch.
Chopped, brined cucumber pieces that give the entire salad a desirable tangy zest.
A thick, rich emulsified oil and egg condiment that acts as the primary binder for creaminess.
A zesty, tangy prepared yellow seed paste that sharpens the dressing’s flavor profile.
Simple crystalline minerals and freshly ground spice used to perfectly season the components.
How It’s Made
The preparation starts by cooking the cubed root vegetables in boiling water until they are perfectly tender. Once drained and slightly cooled, they are transferred to a large bowl along with the other solid, diced ingredients. A creamy dressing, built from the main emulsified condiment and a zesty yellow paste, is then poured over the mixture. Everything is gently folded together, seasoned carefully, and then chilled so the flavors can fully blend before serving.
Tips, Variations & Storage
Tip: The key to perfect tuber salad is using a starchy vegetable (like a Russet) that can mash slightly, which helps absorb the dressing better than waxy types.
Substitution: If you don’t like the strong flavor of the zesty yellow paste, swap it for a teaspoon of apple cider vinegar for a similar tangy punch.
Add-ins: Stir in a few tablespoons of sweet relish or finely chopped celery for extra moisture and crunch.
Dietary Swap: For a lighter take, substitute half of the thick emulsified condiment with plain Greek yogurt or light sour cream.
Storage: This salad keeps well in an airtight container in the refrigerator for up to 5 days.
Freezer Notes: Due to the high water and condiment content, freezing this salad is not recommended as the texture will become grainy upon thawing.
FAQ Section
1. Should I serve this salad cold or at room temperature? For safety and the best texture, this salad should be served cold. However, giving it a quick rest out of the fridge for 15 minutes before serving can help the flavors bloom slightly.
2. Why do I need to cool the potatoes before mixing? If you mix the salad while the tubers are hot, they will break down too much and the creamy dressing will “melt” and become watery instead of adhering properly.


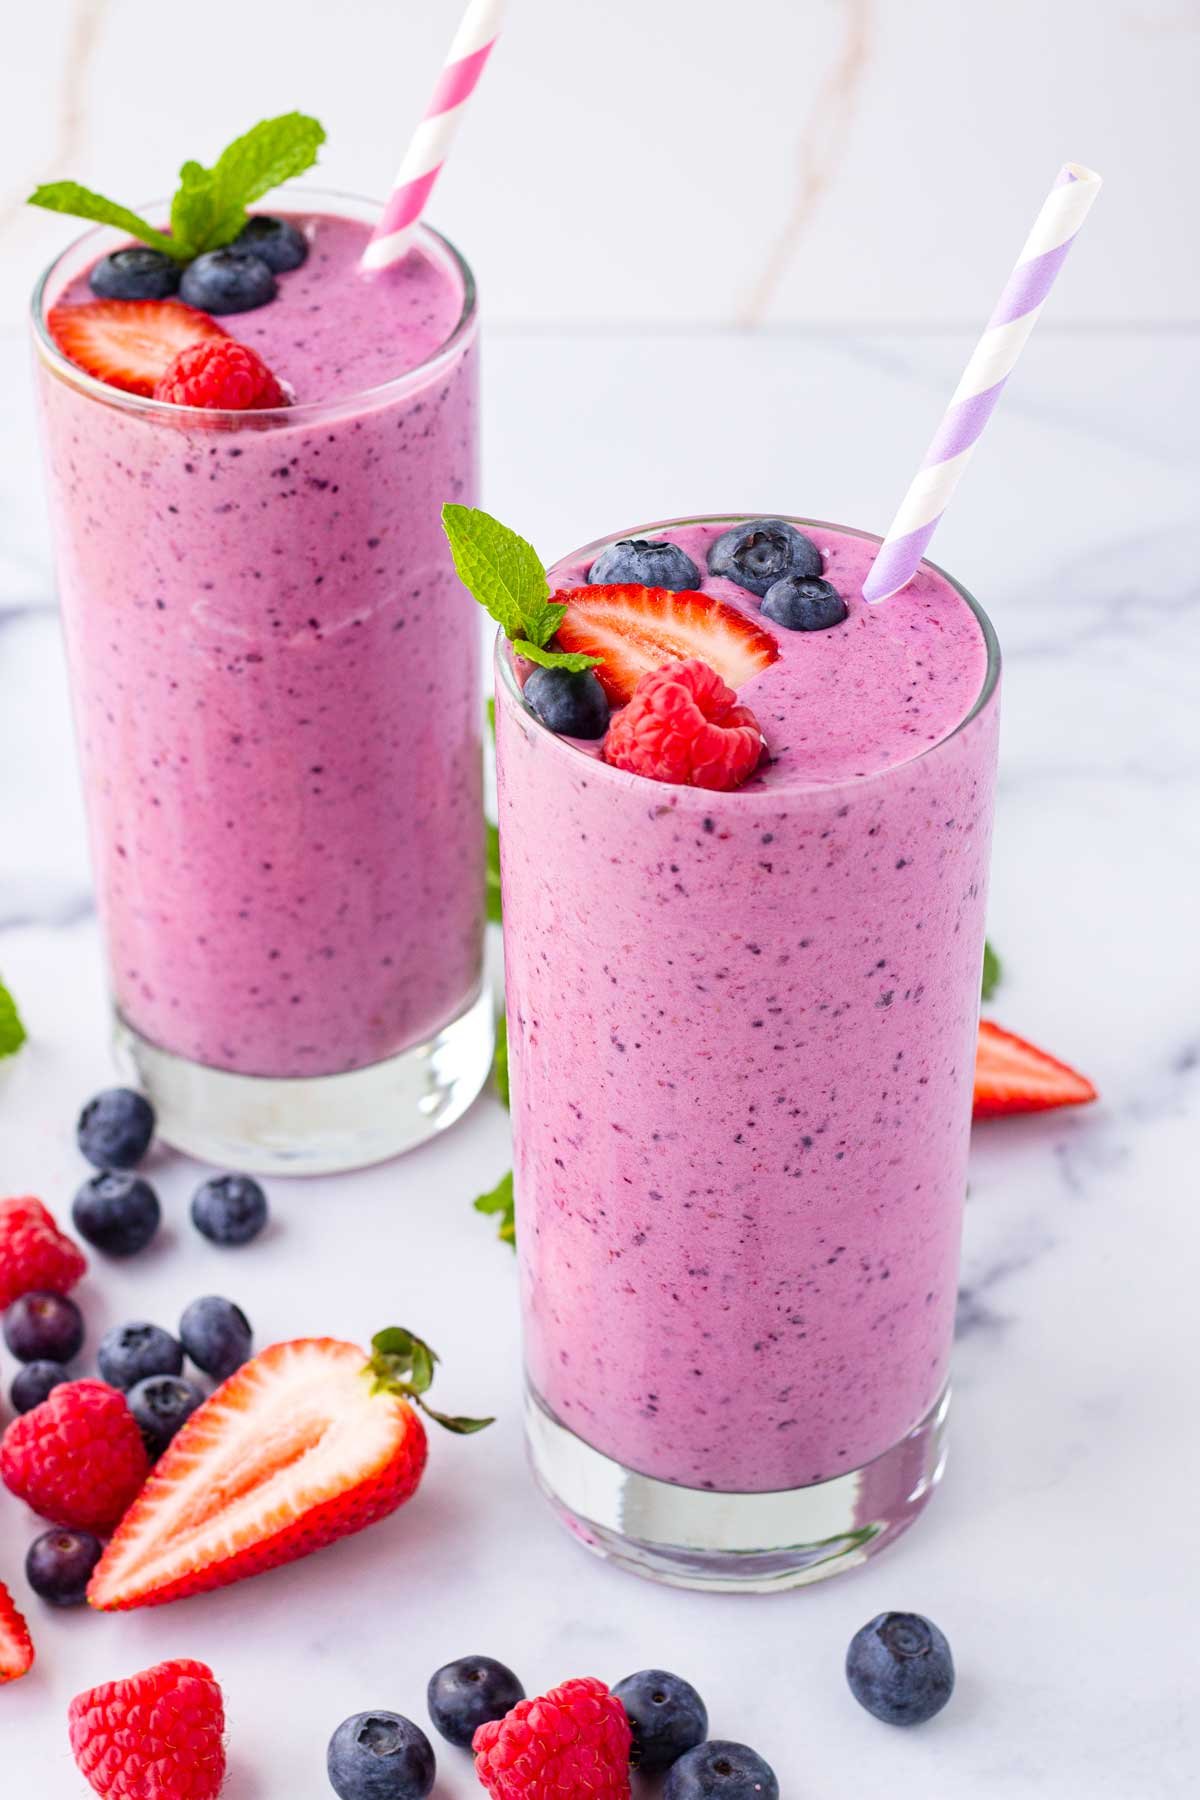
 Triple Berry Refresh Smoothie
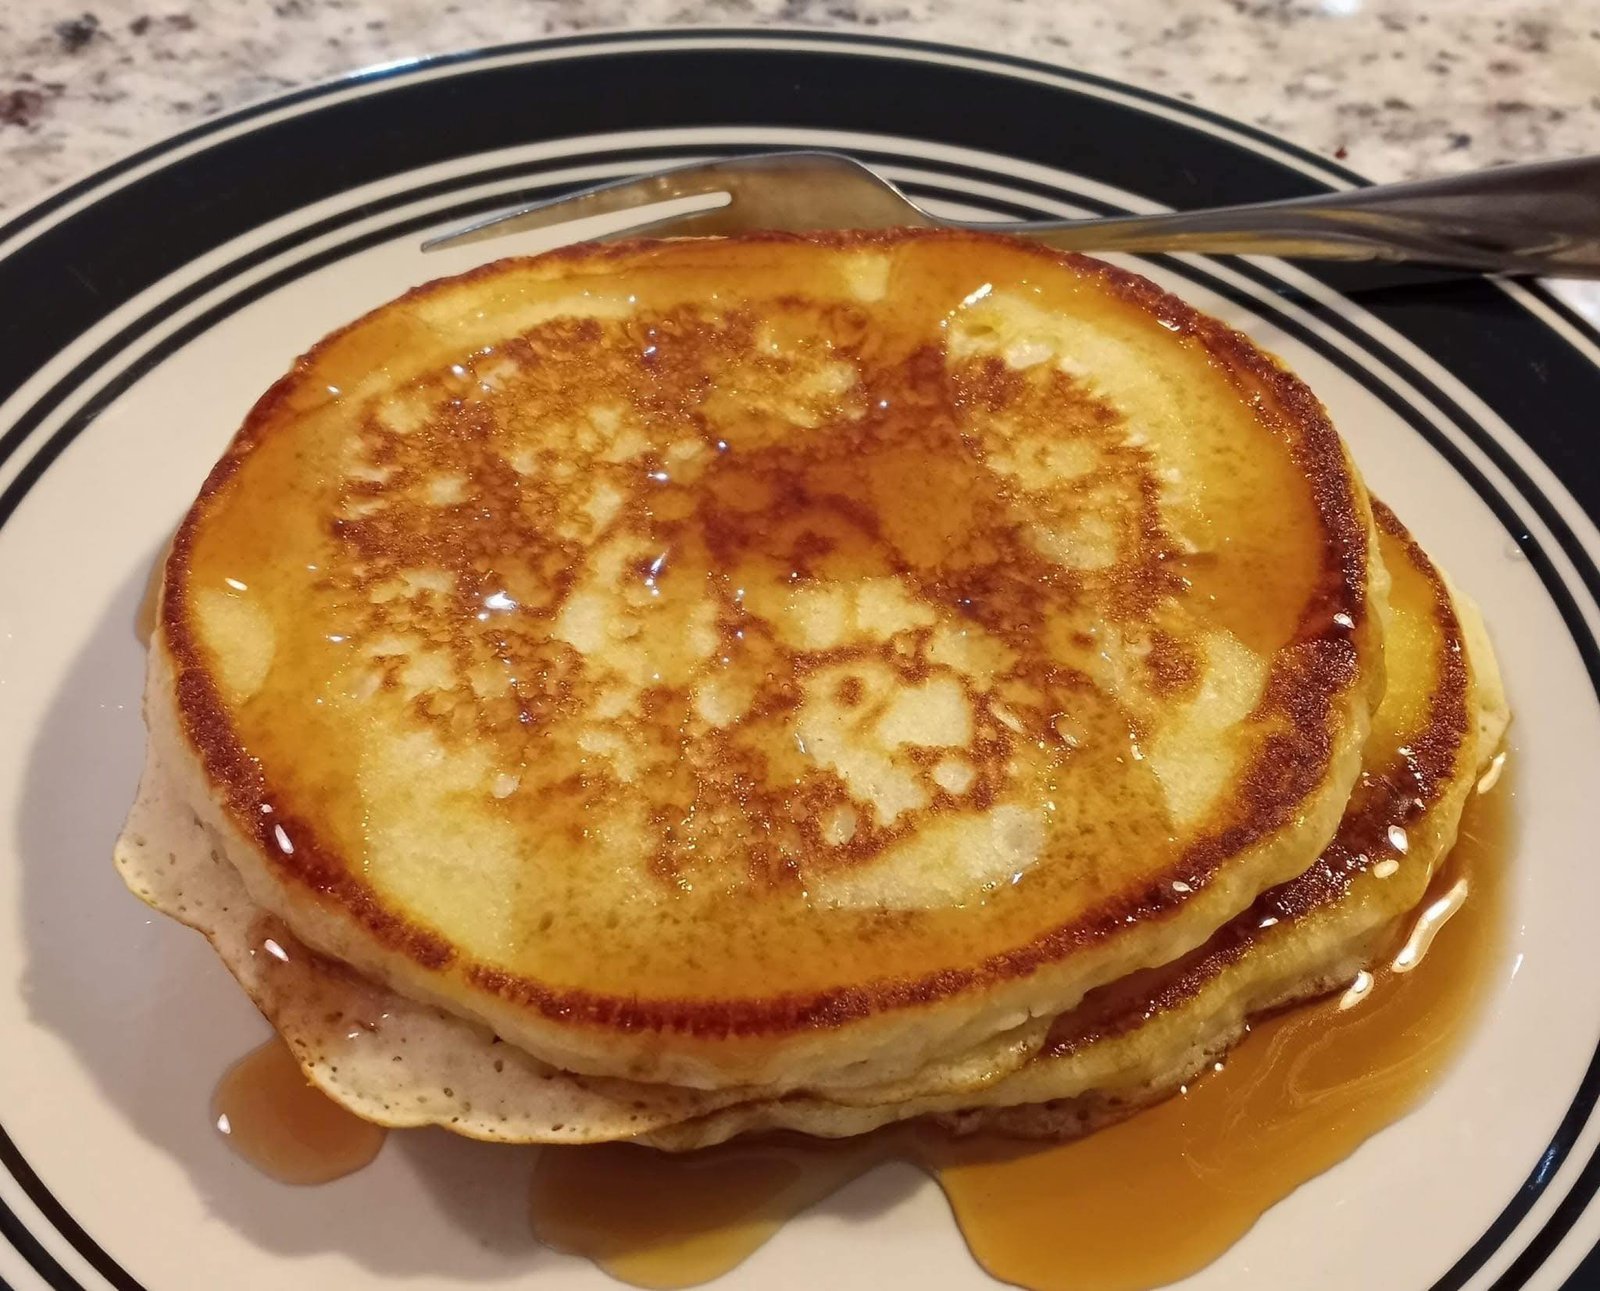
 Why Almond Flour Pancakes are a Satisfying WW Treat
 Look at the Recipe (WW Focus)
 Ingredients Needed
 How to Make Our SmartPoints Almond Flour Pancakes
 Storage & Serving Suggestions
 Tips & FAQs

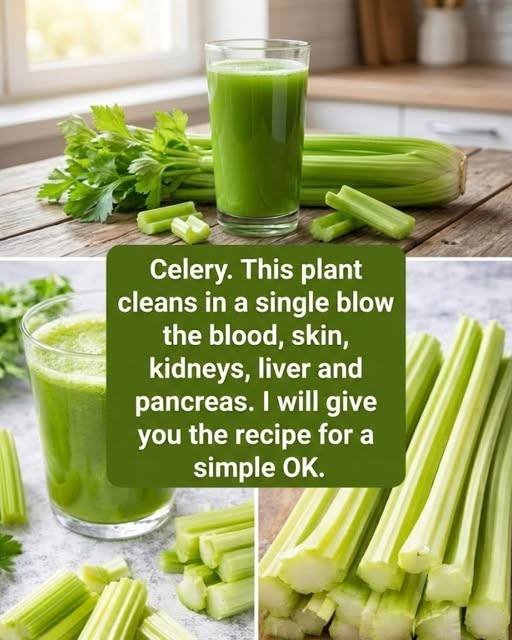
 Supports hydration
 Does NOT detox organs