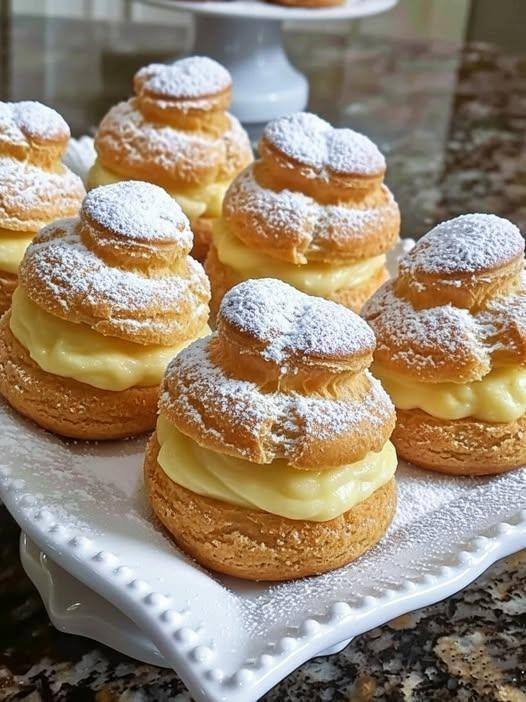
Classic Vanilla Cream Puffs
This recipe consists of two main parts: the Crème Pâtissière (Pastry Cream) and the Pâte à Choux (Pastry Shells).
1. The Vanilla Pastry Cream
Make this first so it has time to chill.
Ingredients:
-
2 cups whole milk
-
1/2 cup granulated sugar
-
1/4 cup cornstarch
-
4 large egg yolks
-
2 tbsp unsalted butter
-
1 tsp vanilla extract (or vanilla bean paste)
-
A pinch of salt
Instructions:
-
Heat Milk: In a medium saucepan, bring the milk to a light simmer over medium heat. Do not let it boil over.
-
Whisk Base: In a separate bowl, whisk together the sugar, cornstarch, salt, and egg yolks until the mixture is pale and thick.
-
Temper: Slowly pour about half of the hot milk into the egg mixture, whisking constantly to ensure the eggs warm up without scrambling.
-
Thicken: Pour the egg mixture back into the saucepan with the remaining milk. Cook over medium heat, whisking vigorously, until the custard thickens and begins to bubble.
-
Finish: Remove from heat. Stir in the butter and vanilla.
-
Chill: Transfer to a bowl and cover with plastic wrap (press the wrap directly onto the surface of the cream to prevent a skin from forming). Refrigerate for at least 2 hours.
2. The Choux Pastry Shells
Ingredients:
-
1/2 cup water
-
1/2 cup whole milk
-
8 tbsp (1 stick) unsalted butter, cubed
-
1 tsp sugar
-
1/4 tsp salt
-
1 cup all-purpose flour
-
4 large eggs (at room temperature)
Instructions:
-
Prep: Preheat your oven to 400°F (200°C) and line a baking sheet with parchment paper.
-
Boil: In a medium saucepan, combine water, milk, butter, sugar, and salt. Bring to a rolling boil.
-
Add Flour: Remove from heat and dump in the flour all at once. Stir vigorously with a wooden spoon until a ball of dough forms and pulls away from the sides.
-
Cook Out: Return to low heat for 1–2 minutes, stirring constantly to “dry out” the dough. You should see a thin film on the bottom of the pan.
-
Incorporate Eggs: Transfer dough to a stand mixer or bowl. Let it cool for 2 minutes. Add eggs one at a time, beating thoroughly after each addition. The dough is ready when it is glossy and forms a “V” shape when you lift the beater.
-
Pipe: Pipe rounds (about 2 inches wide) onto the baking sheet. Use a damp finger to smooth down any “points” on top.
-
Bake: Bake for 20 minutes, then reduce heat to 350°F (175°C) and bake for another 10–15 minutes until deep golden brown.
-
Pro Tip: Poke a tiny hole in the side of each puff with a toothpick right after they come out of the oven to let steam escape.
-
3. Assembly
-
Cut: Once the shells are completely cool, slice off the top third of each puff using a serrated knife.
-
Fill: Whisk your chilled pastry cream to loosen it up. Use a piping bag with a star tip to swirl a generous amount of cream into the bottom half of the shell.
-
Topper: Place the “hat” back on top of the cream.
-
Garnish: Dust heavily with powdered sugar (confectioners’ sugar) right before serving to get that beautiful snowy look from your photo.


 Ingredients
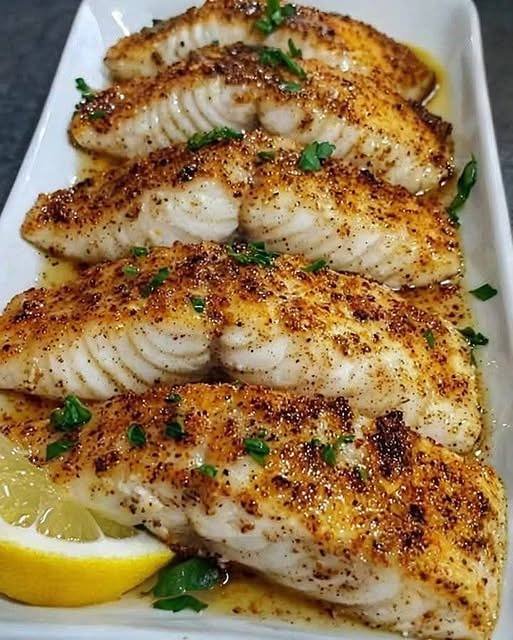


 No. This tea is a supportive habit, not a treatment replacement.
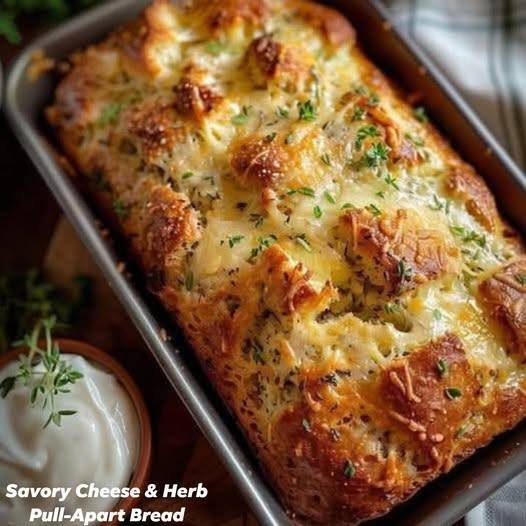
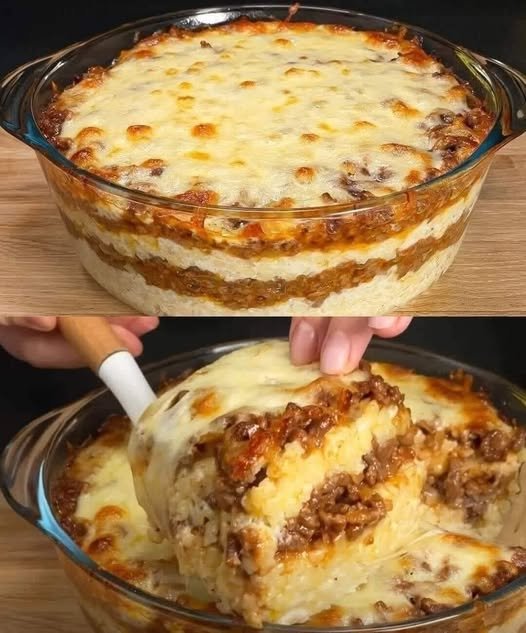
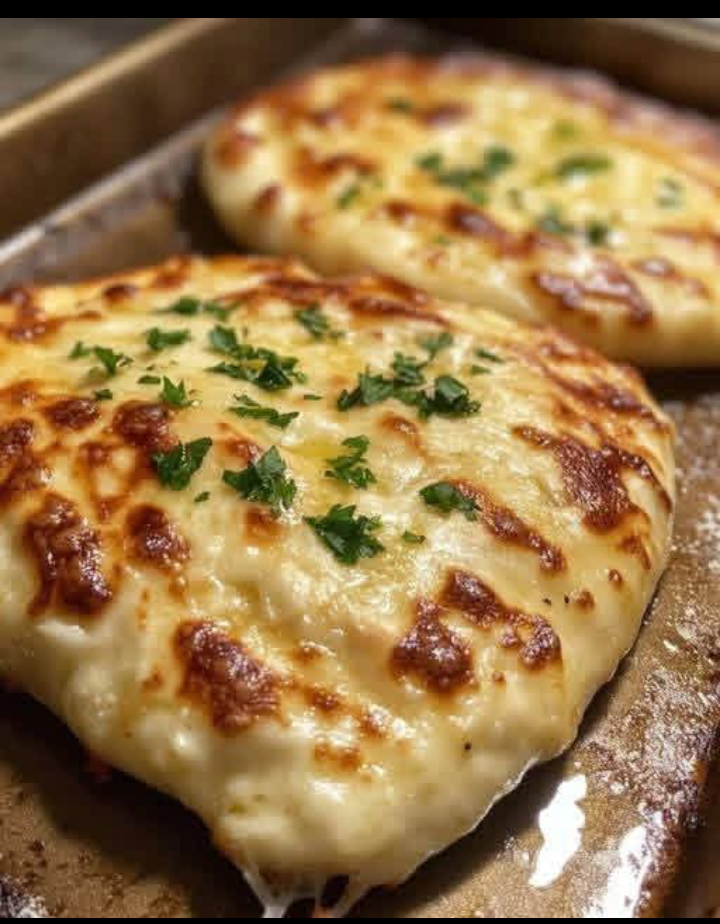
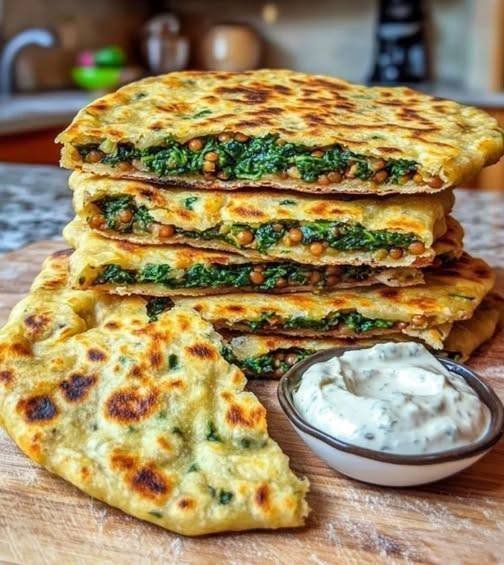
 Preheat
 Slice the Bread
 Make the Herb Butter
 Fill the Bread
 Bake
Bake Serve
Serve Use day-old bread for better structure.
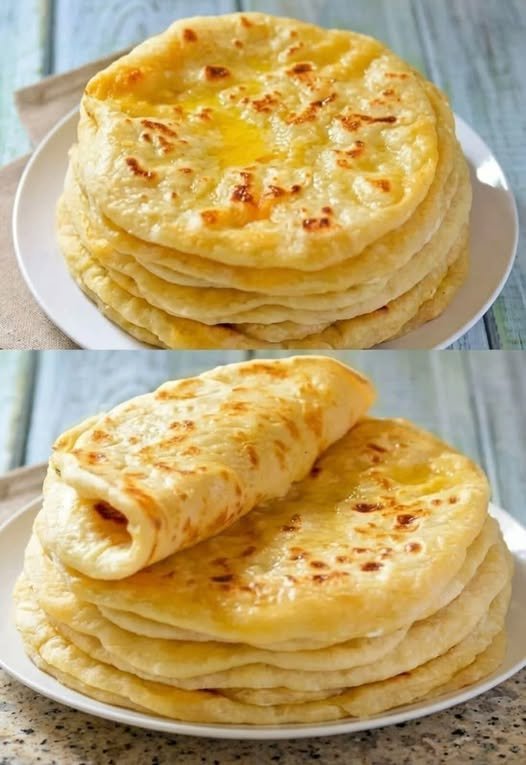
 Why Good for Diabetics
 Flavor Ideas
 Another 2-Ingredient Option
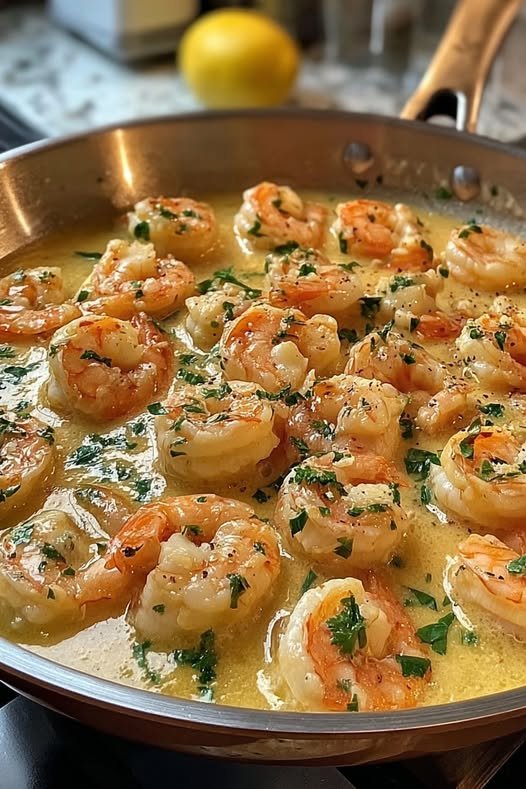
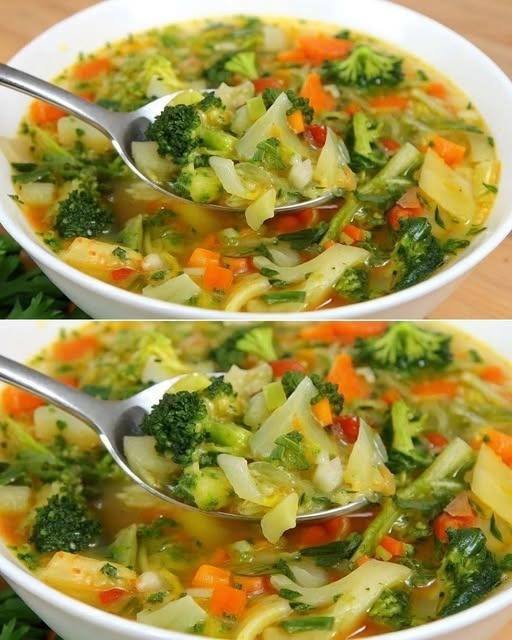
 Ingredients (Serves 4–5)
 Instructions
 Approx Nutrition (per serving)
 Time
Time frequently asked questions FAQ
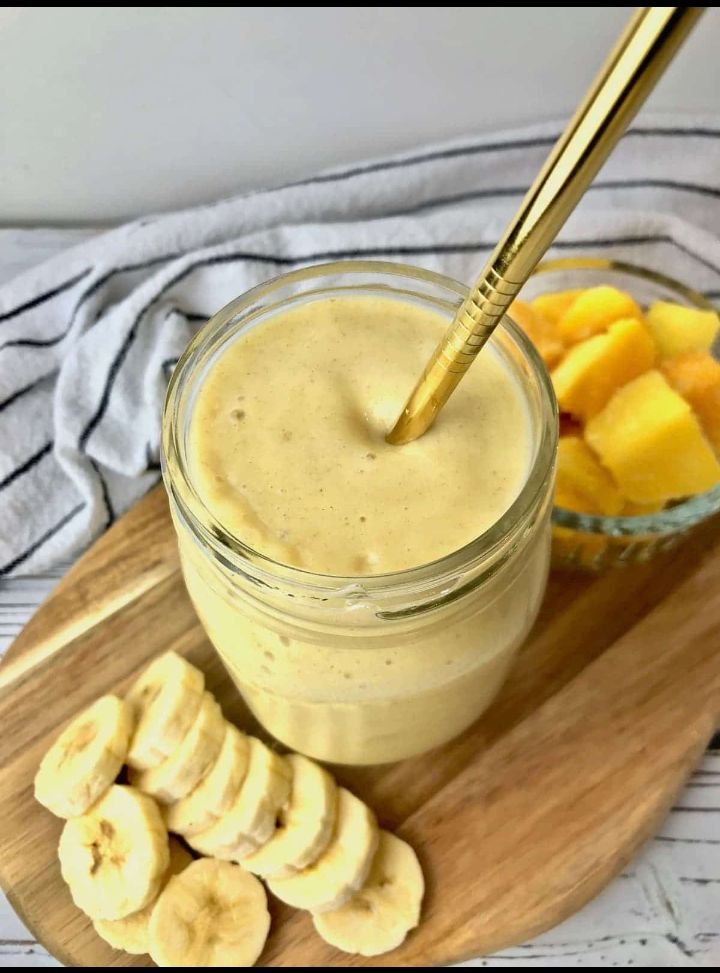
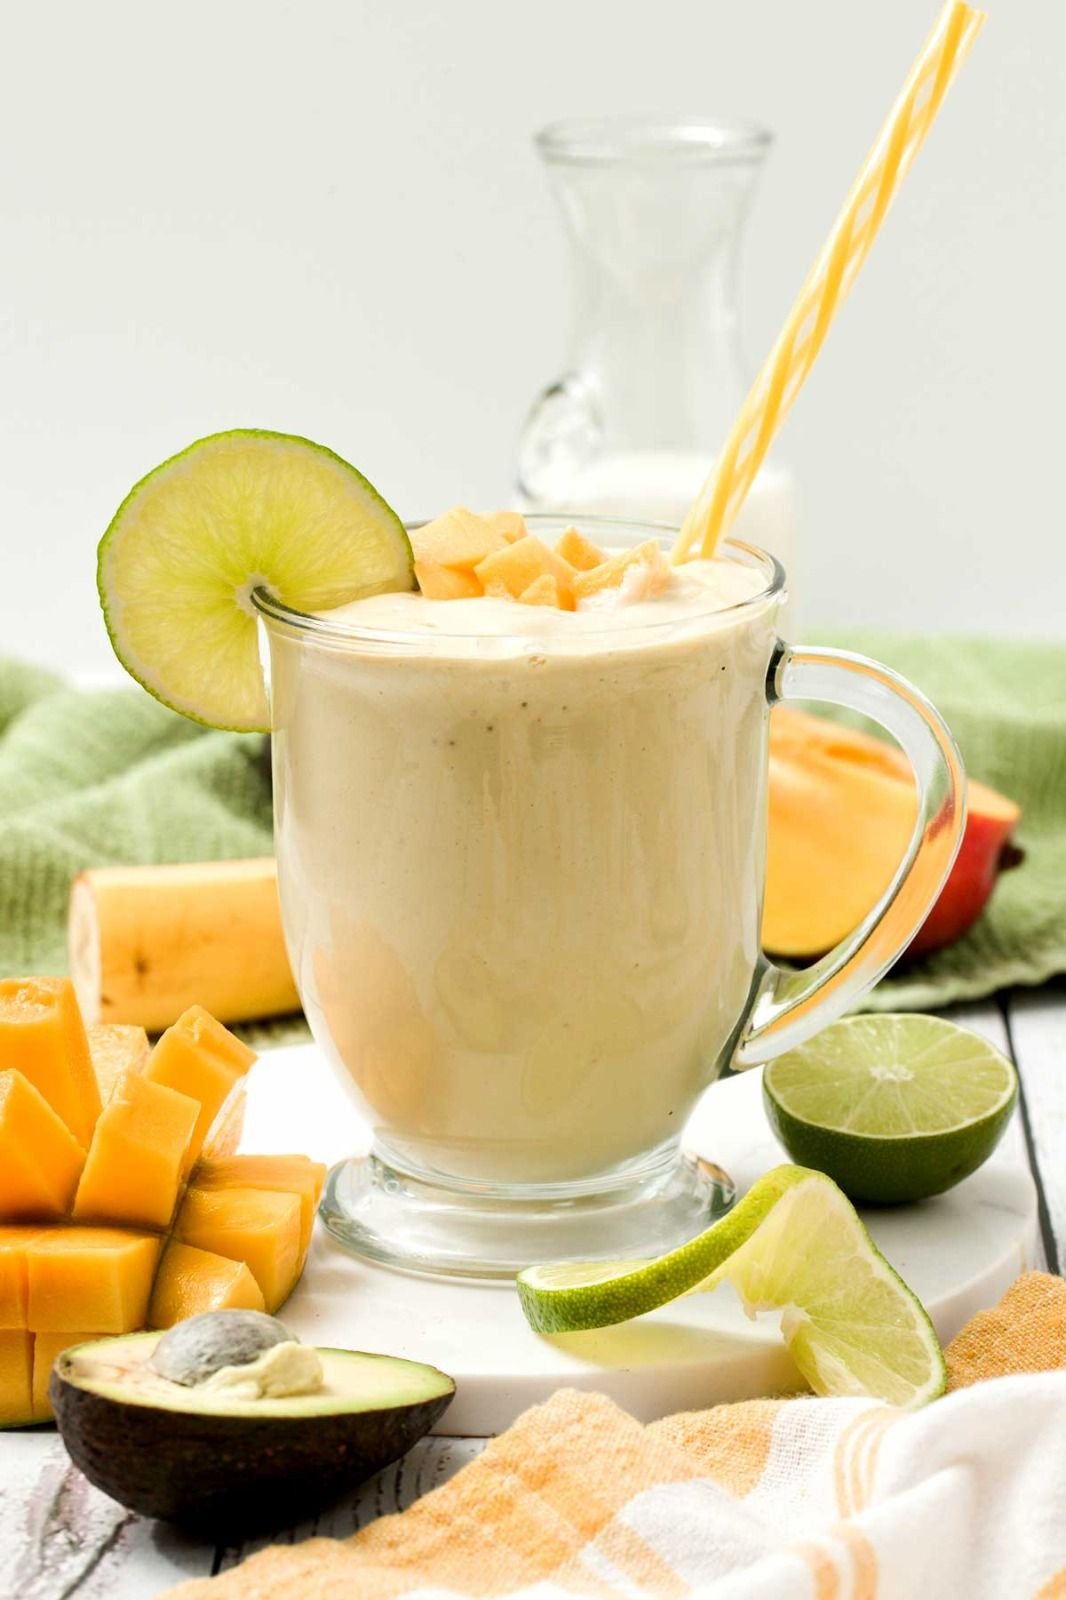
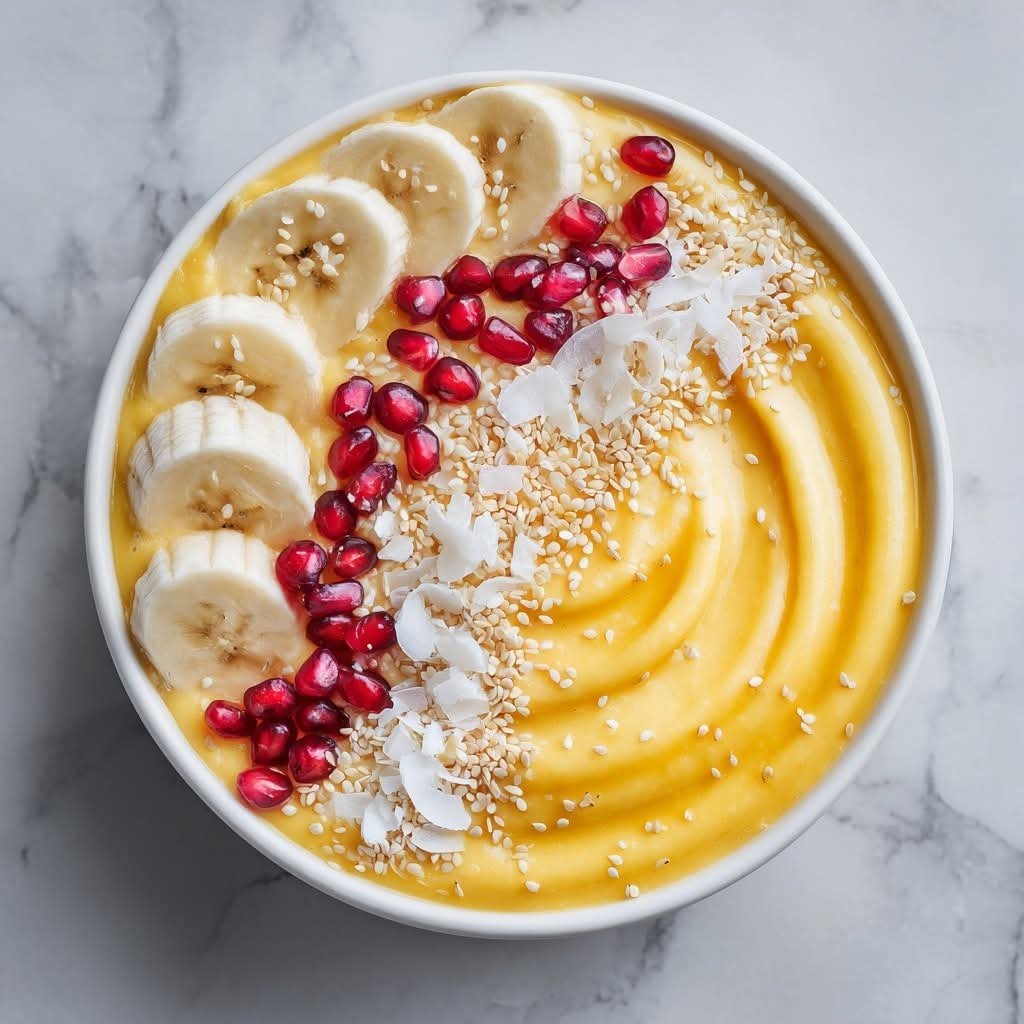
 Mango Banana Smoothie Recipe
 Ingredients
 Instructions
 Pro-Tip for Texture
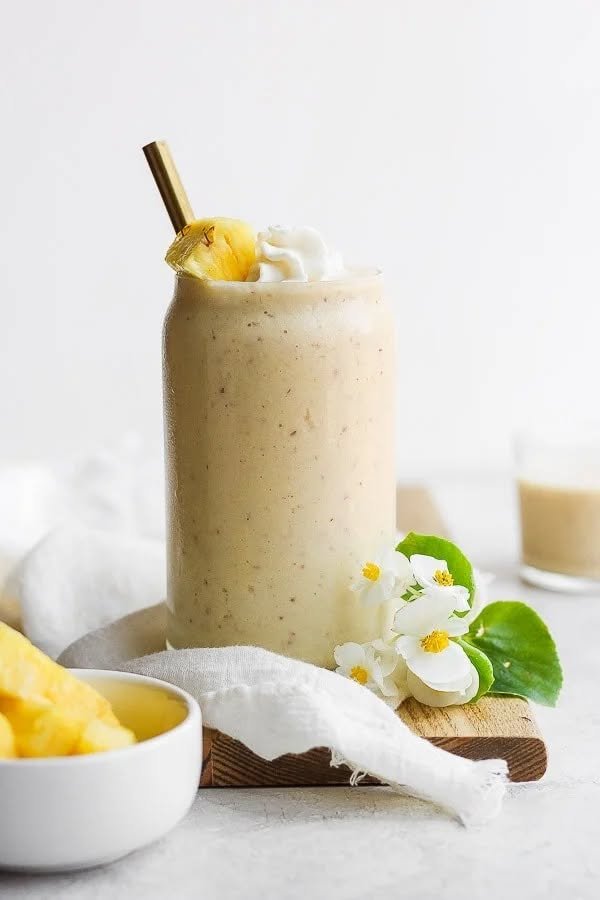
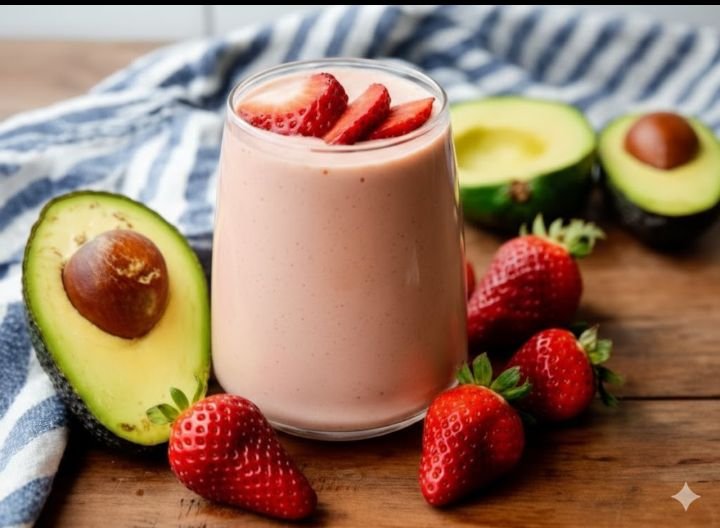
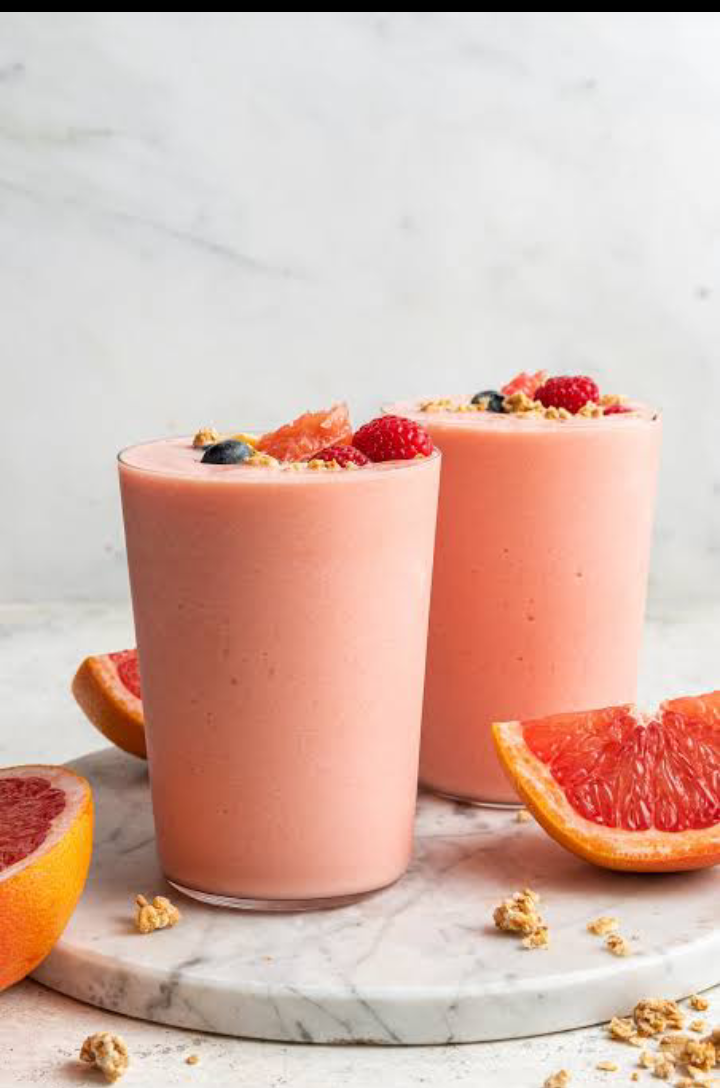
 Creamy Strawberry Avocado Smoothie