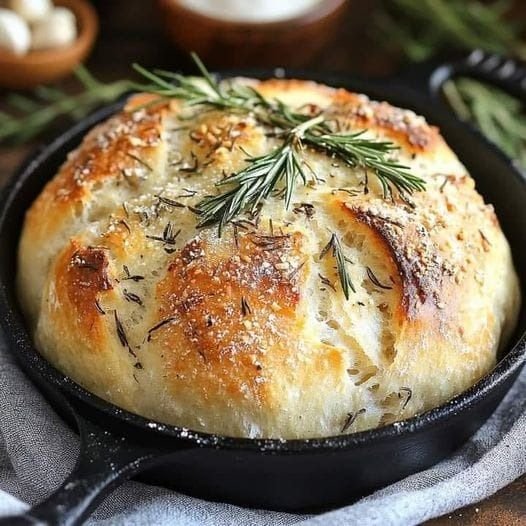
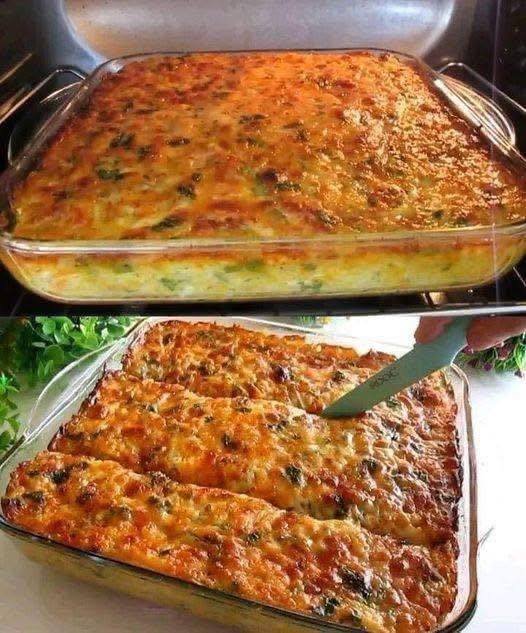
Rustic No Knead Rosemary Garlic Bread
Table of Contents
This rustic no-knead rosemary garlic bread is warm, crusty, and flavorful the type of home-cooked comfort food that fills your house with a heady scent. Without the need for kneading or laborious procedures, this loaf, infused with aromatic rosemary and roasted garlic, has a golden, crackly top and a delightfully chewy centre. It’s the perfect addition to stews and soups, or it may be spread with butter for a delicious bite.
Ingredients:
3 cups all-purpose flour
3 cloves garlic, minced
1 tablespoon finely chopped fresh rosemary, or more, to taste
1 ¼ teaspoons kosher salt
¾ teaspoon freshly ground black pepper
½ teaspoon instant yeast
1 ½ cups water, at room temperature
2 tablespoons cornmeal
Directions:
In a large bowl, combine flour, garlic, rosemary, salt, pepper, and yeast.
Using a wooden spoon or your hand, add water and mix until a wet, sticky dough forms, about 30 seconds.
Cover the bowl tightly with plastic wrap and let stand at room temperature until the surface is dotted with bubbles, about 18 to 24 hours.
Lightly oil a 10-inch cast iron skillet or coat with nonstick spray; sprinkle with cornmeal.
Working on a lightly floured surface, gently shape the dough into a round.
Place the dough into the prepared skillet.
Cover with a clean dishtowel and let stand at room temperature until the dough has doubled in size and does not readily spring back when poked with a finger, about 2 hours.
Preheat oven to 450 degrees F. Place into oven and bake until golden brown, about 30-40 minutes.
Air Fryer Method:
Preheat air fryer to 375°F (190°C).
Punch down dough and shape into a round or oblong loaf.
Place loaf in air fryer basket, lined with parchment paper.
Drizzle olive oil over loaf and sprinkle with garlic, rosemary, and Parmesan cheese (if using).
Cook for 15-20 minutes or until bread is golden brown and sounds hollow when tapped.
Let cool on wire rack for 10-15 minutes before slicing.
Air Fryer Tips:
– Use parchment paper to prevent sticking.
– Rotate loaf halfway through cooking.
– Adjust cooking time based on air fryer model.
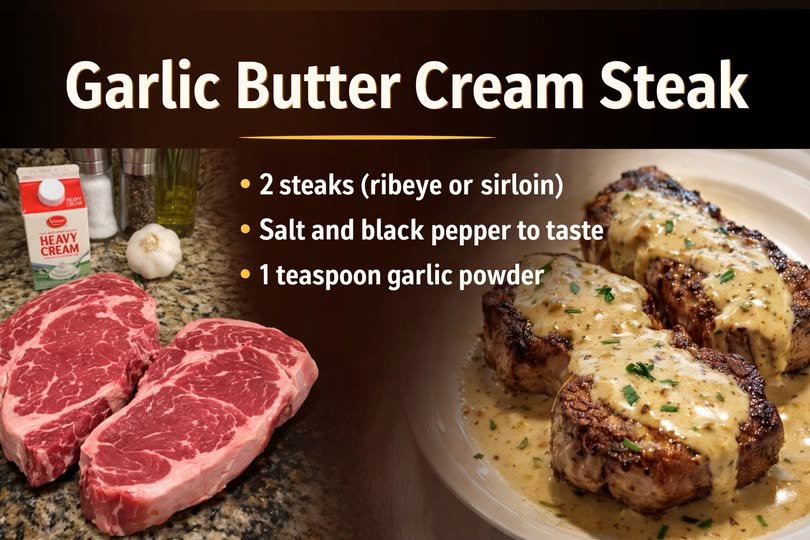


 Garlic Butter Cream Steak
 Description
 Ingredients (Serves 2–3)
 Instructions
 Prepare the Steaks
 Sear the Steaks
 Make the Sauce
 Serve
Serve Servings
 Nutritional Information (Approx. Per Serving)
 Quick Info
 Pan-Fry (crispiest):
 Air Fry:
 Finish & Serve
 Pro Tips
 Easy Variations
 Estimated Nutrition (per serving)
 FAQs
FAQs


 Instructions
 Nutrition (Approx.)
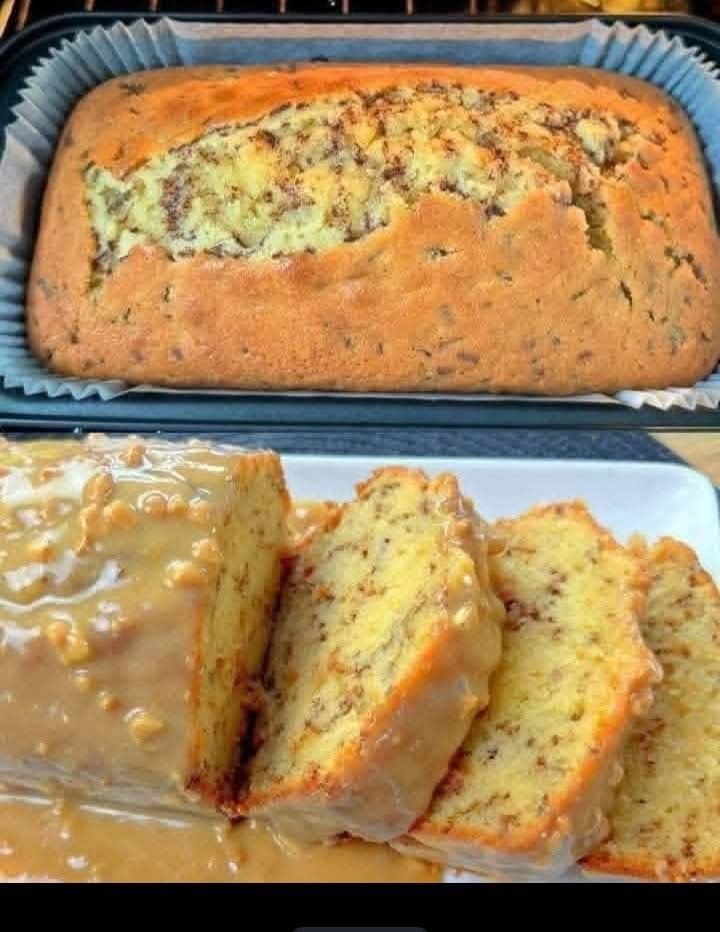
 Melt-in-Your-Mouth Banana Bread
 Optional Glaze