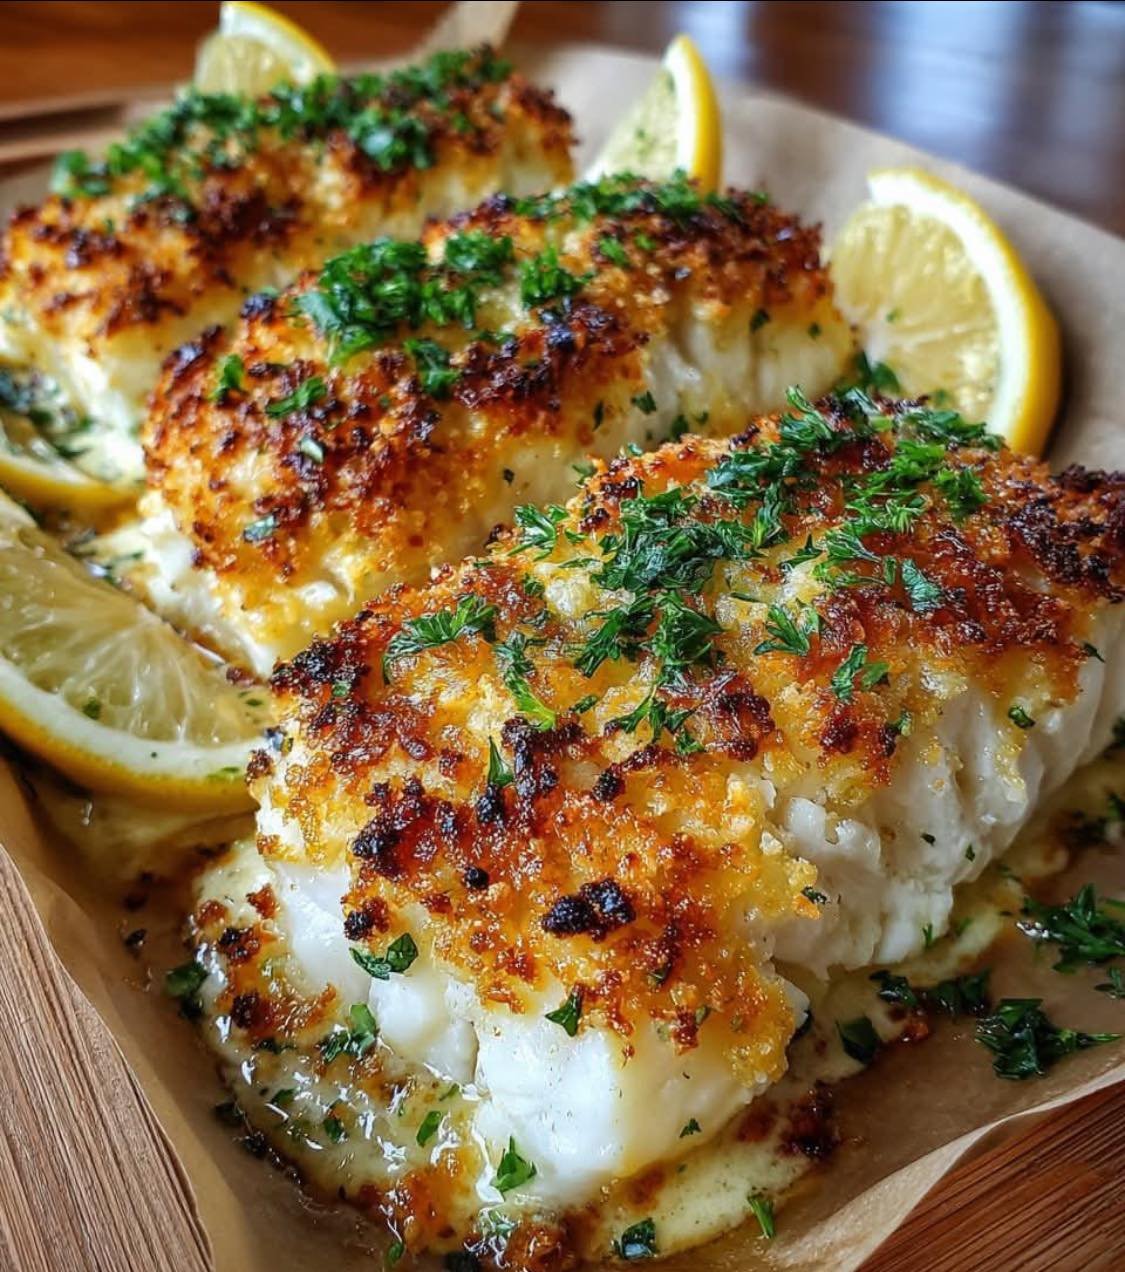
The Recipe: Garlic Parmesan Roasted Cauliflower
-
Prep time: 10 minutes
-
Cook time: 25–30 minutes
-
Servings: 4
Ingredients
-
1 large head of cauliflower (cut into bite-sized florets)
-
3 tbsp extra-virgin olive oil
-
4 cloves garlic (minced or pressed)
-
1/2 cup grated Parmesan cheese (freshly grated is best!)
-
1 tsp garlic powder (for extra depth)
-
1/2 tsp paprika (for color)
-
Salt and cracked black pepper to taste
-
Garnish: Fresh parsley and a squeeze of lemon juice
Instructions
-
Prep: Preheat your oven to 425°F (220°C). Line a large baking sheet with parchment paper or foil for easy cleanup.
-
Toss: In a large bowl, combine the cauliflower florets, olive oil, minced garlic, garlic powder, paprika, salt, and pepper. Toss until every crevice is coated.
-
The Cheese: Add about 3/4 of the Parmesan cheese to the bowl and toss again. The oil helps the cheese stick to the florets.
-
Roast: Spread the cauliflower in a single layer on the baking sheet. Don’t crowd them, or they’ll steam instead of roast!
-
Bake: Roast for 25–30 minutes, tossing halfway through. You’re looking for golden-brown, crispy edges.
-
Finish: Remove from the oven, sprinkle with the remaining Parmesan, fresh parsley, and a splash of lemon juice to brighten the flavors.
Pro-Tips for Success
-
Dry the Cauliflower: After washing, make sure the florets are bone-dry. Water is the enemy of crispiness.
-
The “Golden” Rule: Use a dark-colored baking sheet if you want even more browning, as they conduct heat more intensely.
-
Uniform Size: Cut the florets into similar sizes so they all finish cooking at the same time.
-
Nutritional Info (Per Serving)
Estimated values based on standard ingredients:
| Metric | Amount |
| Calories | 165 kcal |
| Total Fat | 12g |
| Carbohydrates | 9g |
| Fiber | 3g |
| Protein | 7g |
| Sodium | 310mg |
Why This Plate is Good For You
-
Low Carb & Keto-Friendly: A perfect swap for roasted potatoes if you’re watching your glycemic index.
-
Vitamin C Powerhouse: One serving provides a significant chunk of your daily Vitamin C, which supports immune function.
-
Antioxidants: Cauliflower contains glucosinolates and isothiocyanates, which have been studied for their potential anti-cancer properties.
-
Anti-inflammatory: Garlic isn’t just for flavor; it contains allicin, known for its heart-health benefits.
Common Q&A
Q: Can I make this vegan?
A: Absolutely. Swap the Parmesan for nutritional yeast or a vegan “Parm” blend. You’ll still get that savory, umami kick.
Q: My cauliflower turned out mushy. What happened?
A: Two likely culprits: the oven wasn’t hot enough, or the pan was overcrowded. High heat and space are mandatory for that “roasted” texture.
Q: Can I use frozen cauliflower?
A: You can, but it won’t get quite as crispy. If using frozen, roast it straight from the freezer (don’t thaw) at a slightly higher temp (450°F) and increase the time.
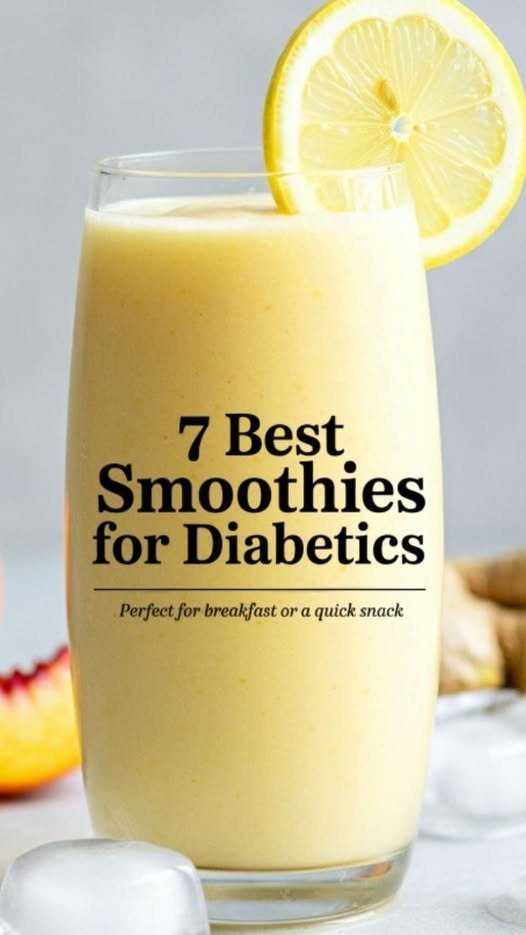
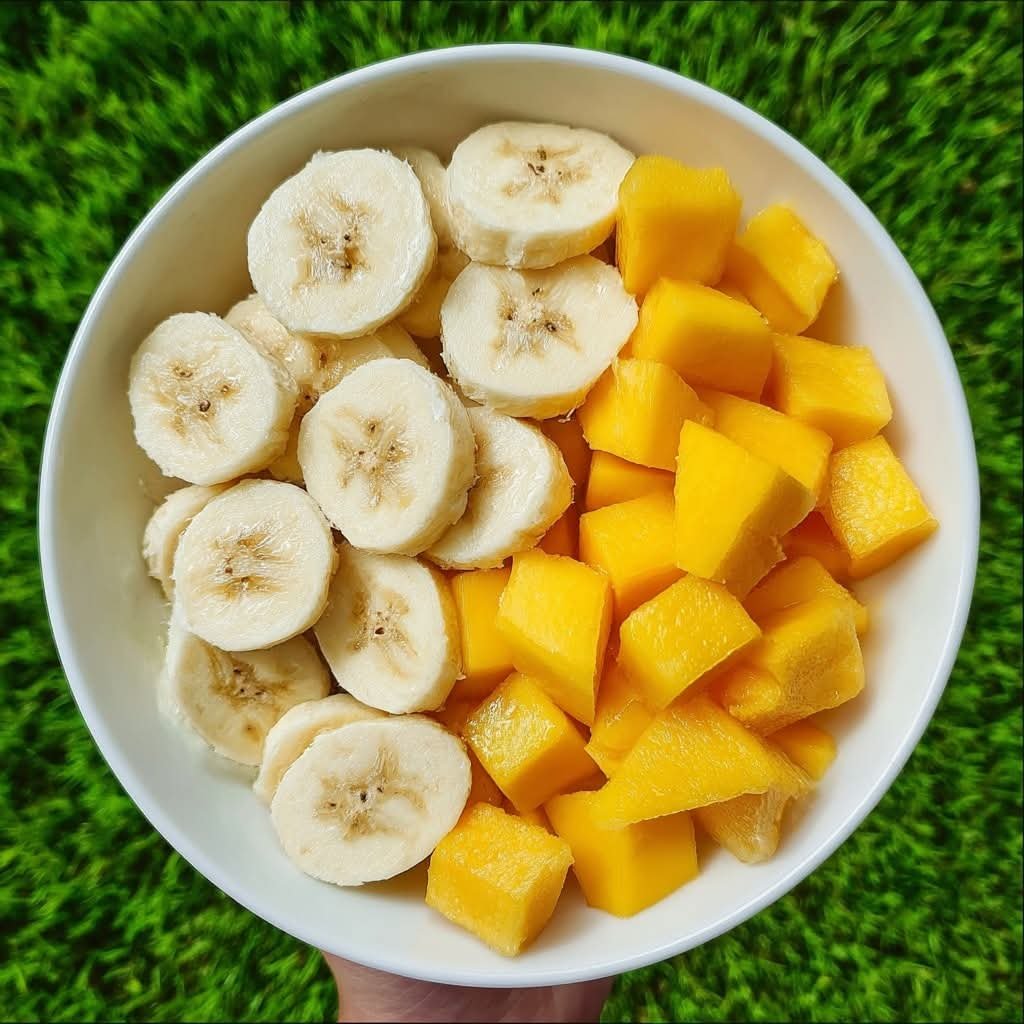
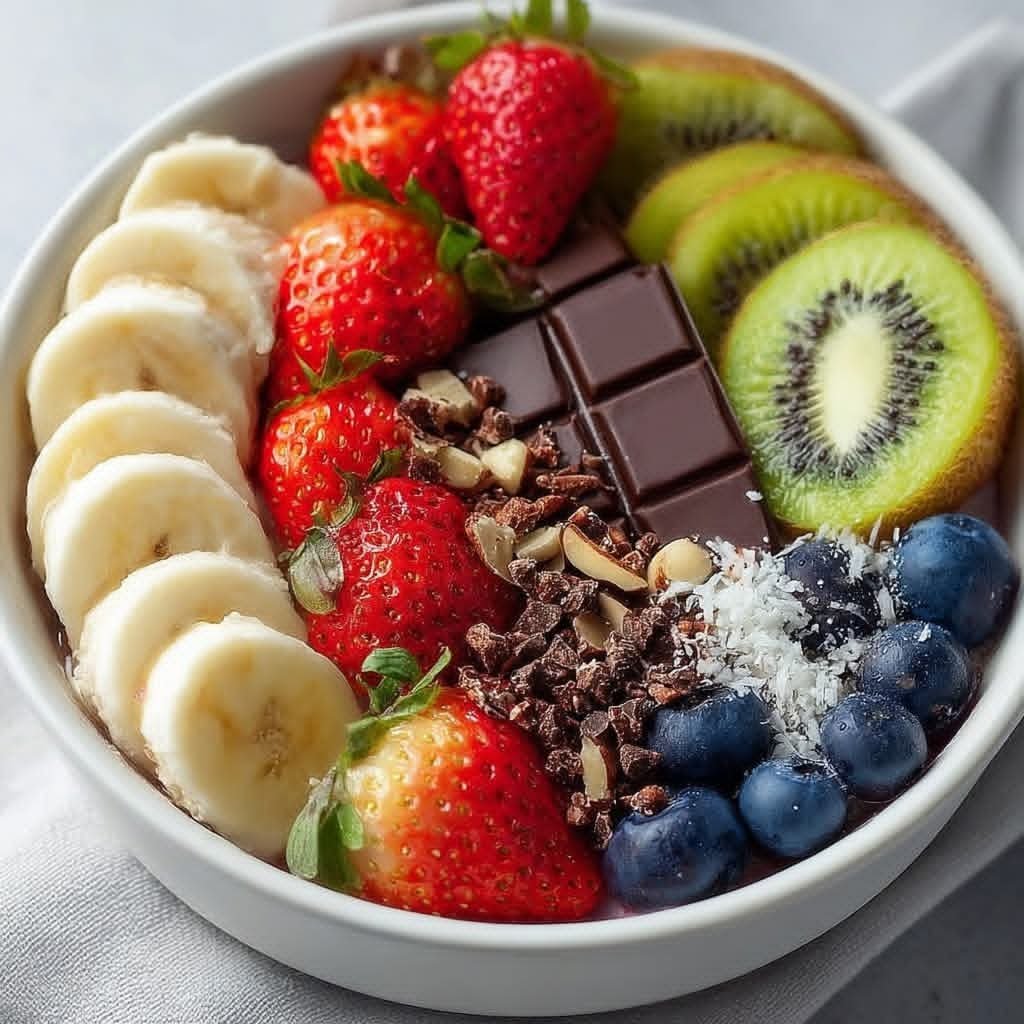
 Always pair fruit with fiber, fat, or protein


 Introduction
 Look at the Recipe
 Ingredients Needed
 How to Make Our Zero Carb Carnivore Bread
 Storage & Serving Suggestions
 Tips & FAQs
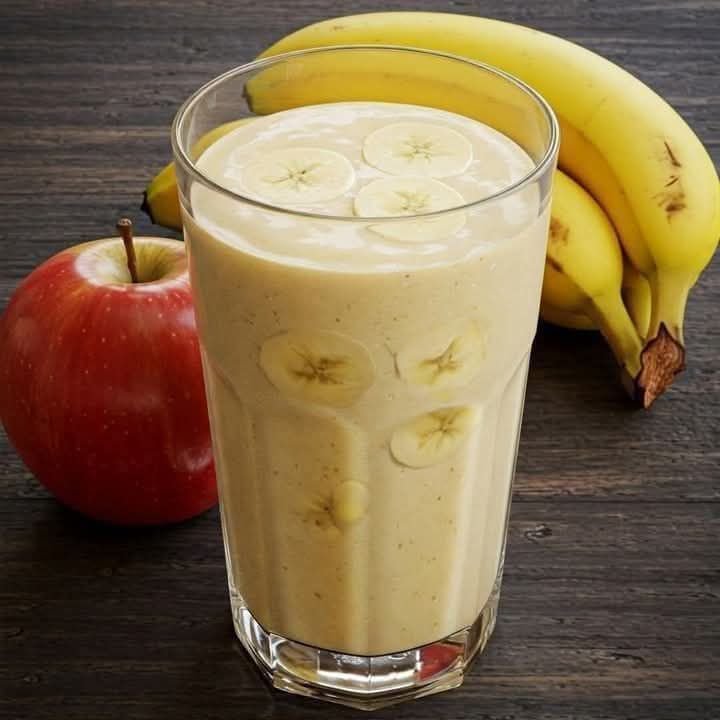
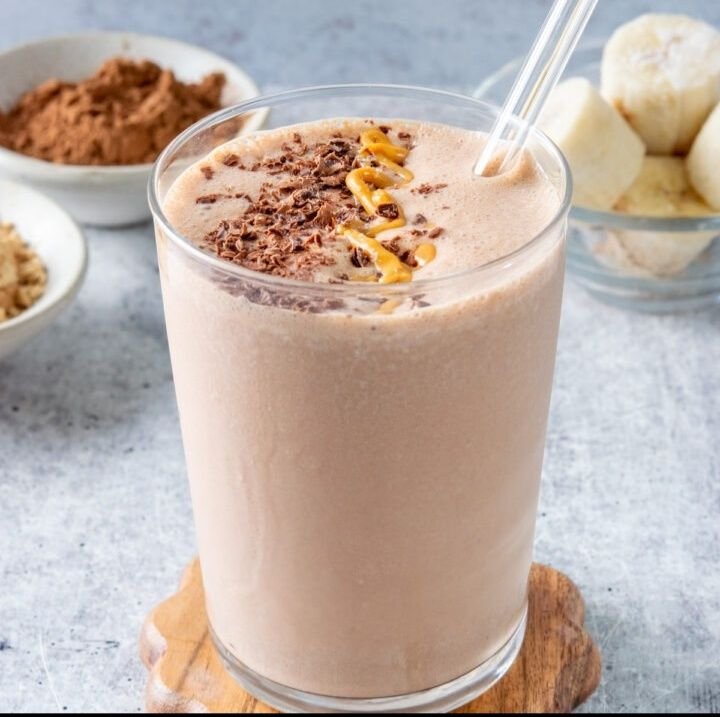
 Banana & Apple Silk Smoothie
 Introduction
 Ingredients
 Serving Suggestions
 Nutrition (Per Serving – Approximate)