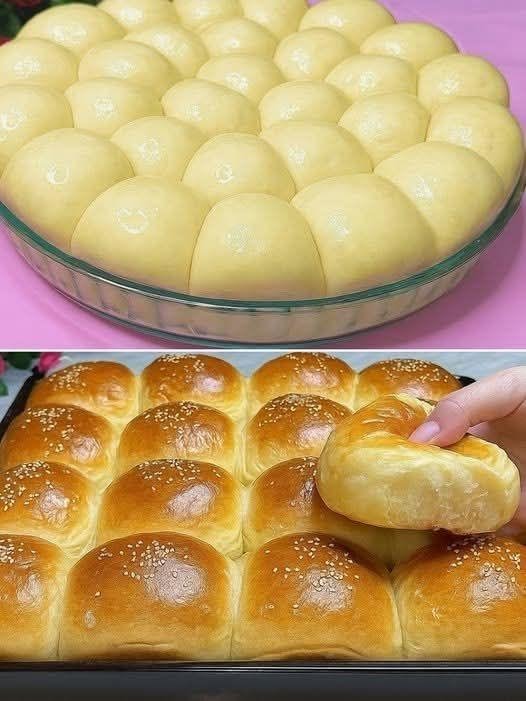
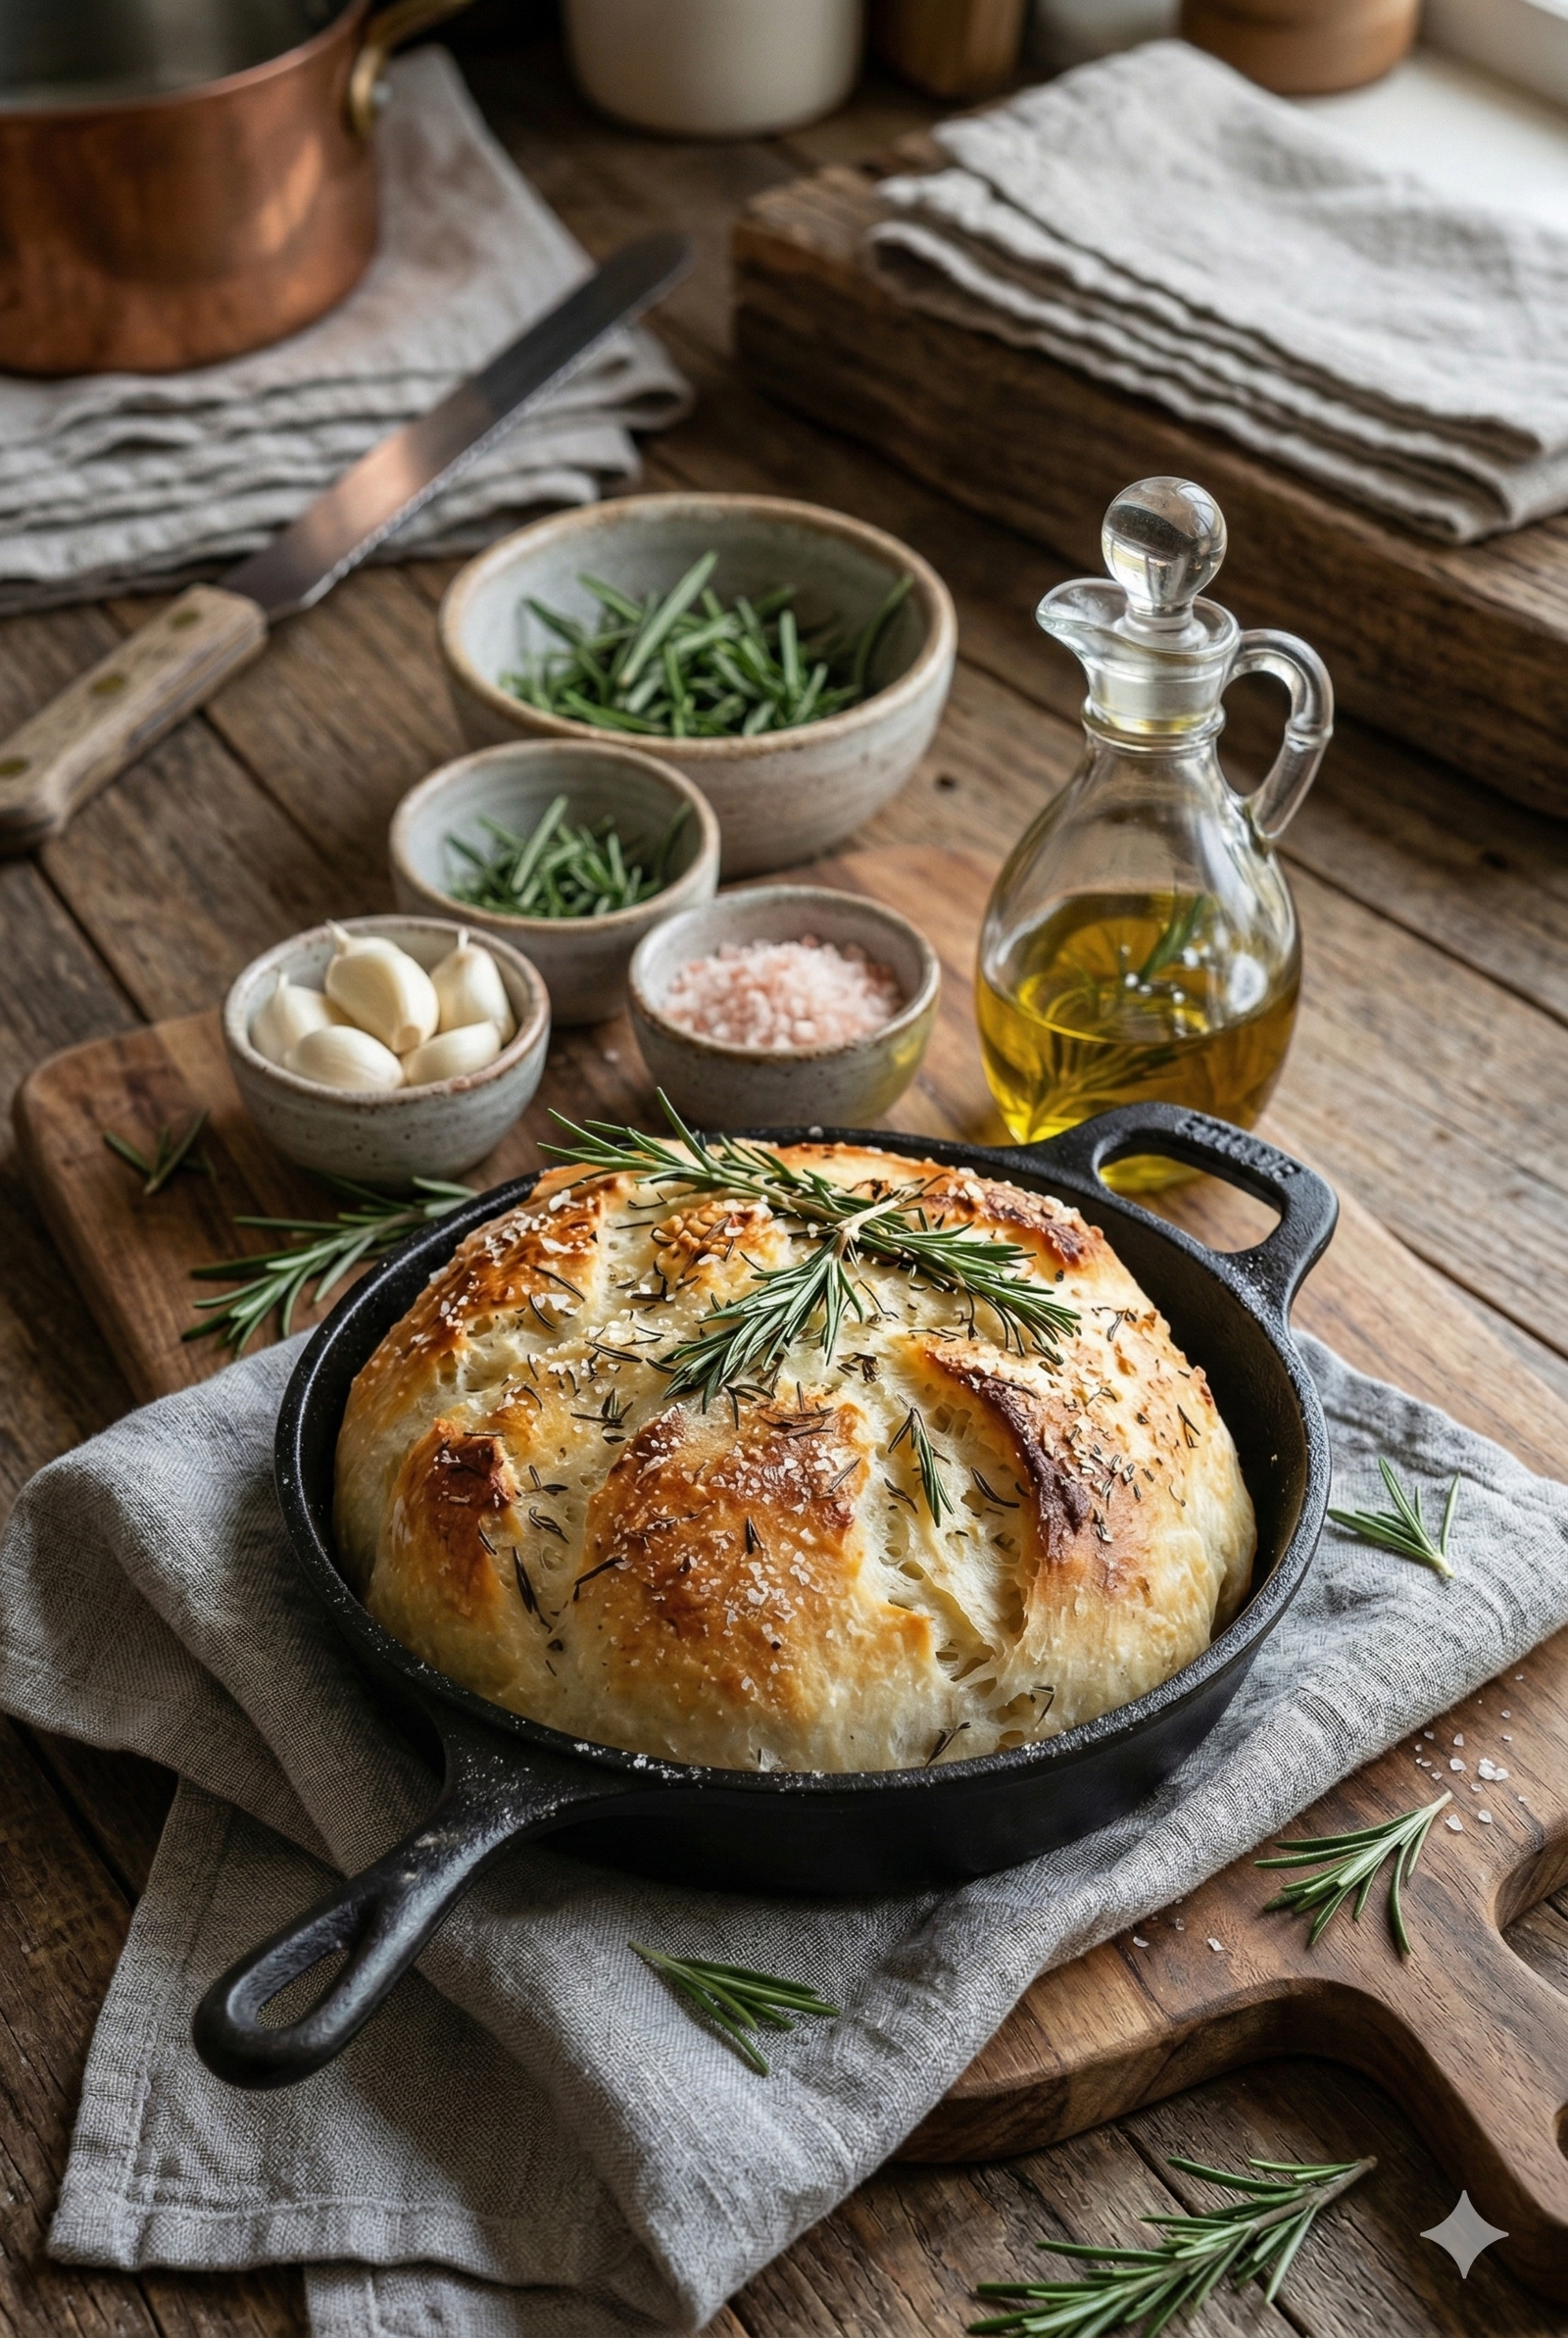
Keto Part-Baked Golden Rolls
These low-carb rolls are an excellent alternative for anyone focusing on a mindful lifestyle while still enjoying the comfort of fresh bread. They feature a light, soft interior with a satisfyingly crisp crust.
Ingredients
-
2 cups Almond flour
-
2 tbsp Coconut flour
-
½ cup Mozzarella cheese shreds
-
2 tbsp Cream cheese
-
2 Large eggs
-
2 tbsp Melted butter
-
1 tbsp Baking powder
-
1 tsp Xanthan gum
-
½ tsp Salt
-
2 tbsp Warm water
Step-by-Step Instructions
-
Prepare the Oven: Preheat your oven to 175°C and line a baking sheet with parchment paper to prevent sticking.
-
Melt the Cheeses: In a microwave-safe bowl, combine the shredded mozzarella and cream cheese. Heat in 30-second intervals, stirring in between, until the mixture is completely melted and smooth.
-
Combine Dry Ingredients: In a separate large bowl, whisk together the almond flour, coconut flour, baking powder, xanthan gum, and salt until well blended.
-
Incorporate Wet Ingredients: Add the eggs, melted butter, and warm water to the dry flour mixture. Mix until a thick dough begins to form.
-
Merge the Mixtures: Add the melted cheese mixture into the dough. Use your hands or a sturdy spatula to knead the cheese into the dough until it is fully incorporated and uniform in texture.
-
Shape the Rolls: Divide the dough into 6 to 8 equal portions. Roll each portion between your palms to form smooth, round balls and place them on the prepared baking sheet.
-
Bake: Place the tray in the oven and bake for 15–20 minutes. The rolls should be firm to the touch and develop a light golden-brown color on the outside.
-
Cool and Serve: Allow the rolls to rest for at least 5 minutes before slicing. This resting period helps the internal structure set, ensuring they stay soft and airy.
Flourless Tip
For the best results, ensure your almond flour is “ultra-fine” to avoid a grainy texture. These rolls are delicious when served warm with a small amount of garlic-infused butter or used as a base for a breakfast sandwich.

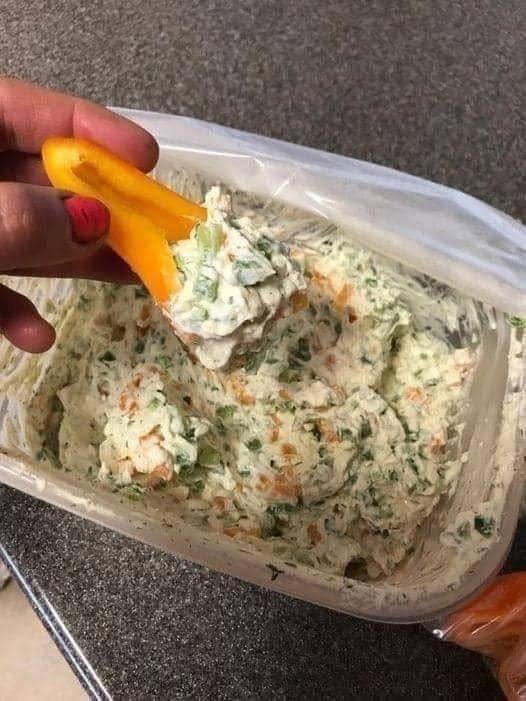
 Creamy Chopped Salad Dip