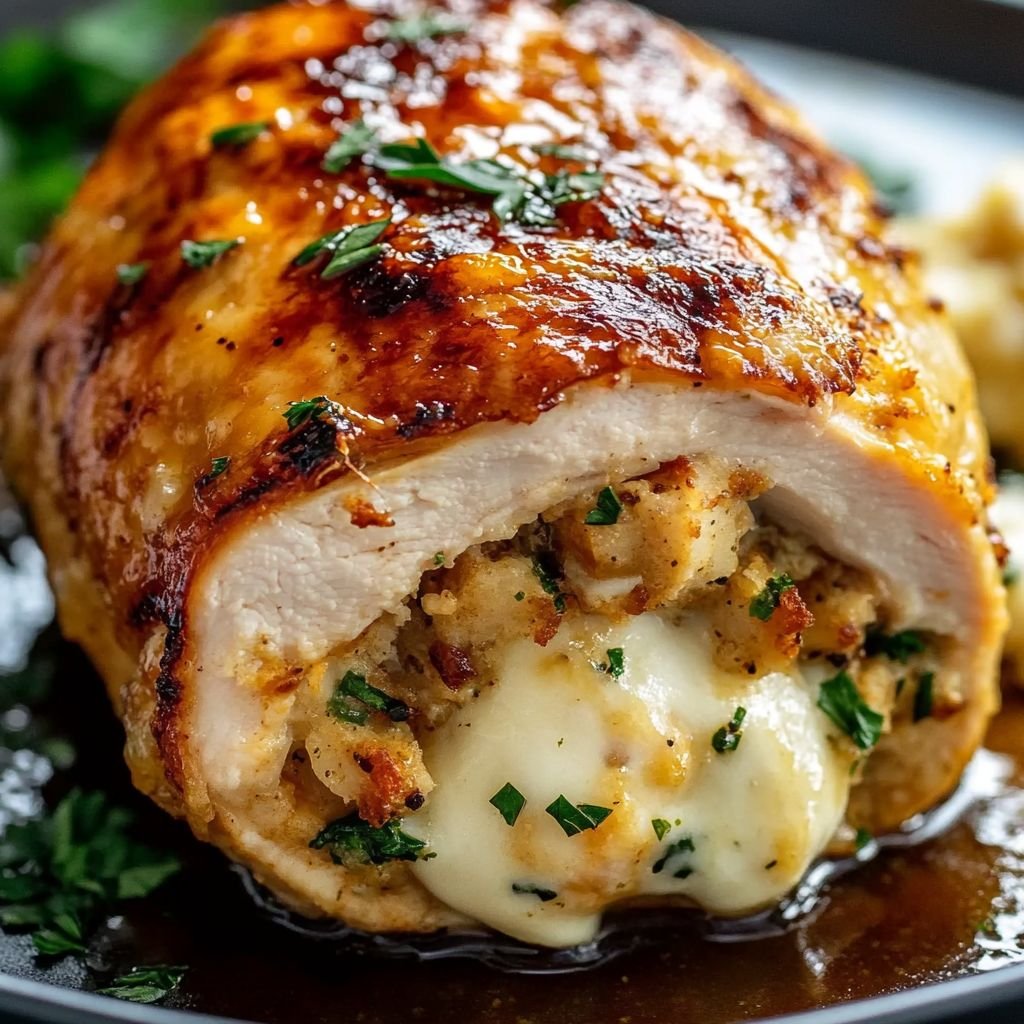
Garlic Butter & Cheese Stuffed Chicken
Prep time: 15 mins | Cook time: 20 mins | Serves: 2
Ingredients
-
Chicken: 2 large boneless, skinless chicken breasts.
-
The Filling: 1/2 cup shredded mozzarella (or Swiss), 2 tbsp cream cheese, and 1/4 cup seasoned breadcrumbs.
-
The Rub: 1 tsp smoked paprika, 1 tsp onion powder, salt, and black pepper.
-
Garlic Butter Glaze: 3 tbsp melted butter, 3 cloves minced garlic, and 1 tbsp fresh chopped parsley.
Instructions
-
Prep the Chicken: Pat the chicken dry with paper towels. Using a sharp knife, cut a pocket into the side of each breast, being careful not to cut all the way through.
-
Stuff It: In a small bowl, mix the mozzarella, cream cheese, and breadcrumbs. Stuff the mixture evenly into the chicken pockets. Use toothpicks to seal the edges so the cheese doesn’t escape.
-
Season: Mix the paprika, onion powder, salt, and pepper. Rub this mixture generously over the outside of the chicken for that deep golden color.
-
Sear: Heat a splash of oil in an oven-safe skillet over medium-high heat. Sear the chicken for 3–4 minutes per side until the skin is crispy and browned.
-
Bake: Pour the melted garlic butter and parsley over the chicken. Transfer the skillet to a preheated oven at 200°C (400°F) for about 10–12 minutes, or until the internal temperature reaches 75°C (165°F).
-
Rest: Let the chicken rest for 5 minutes before slicing. This keeps the meat juicy and ensures the cheese stays inside when you cut into it.
Pro Tip: Spoon the pan juices back over the chicken right before serving for extra shine and flavor!
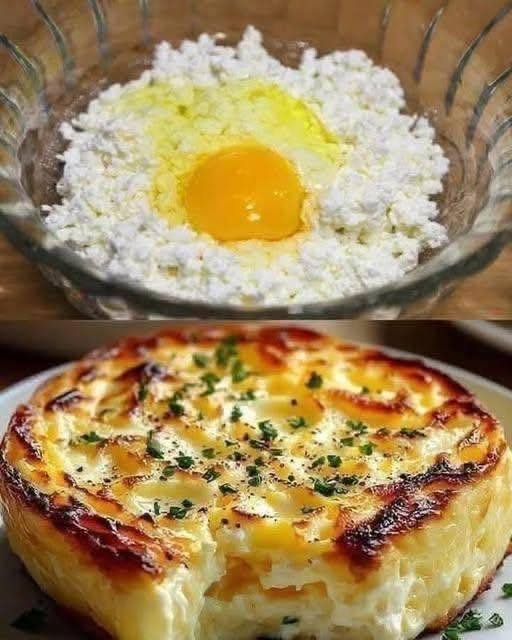
 Why This ZeroPoint Breakfast Is Your WW Secret Weapon
 Look at the Recipe (WW Focus)
 Ingredients Needed
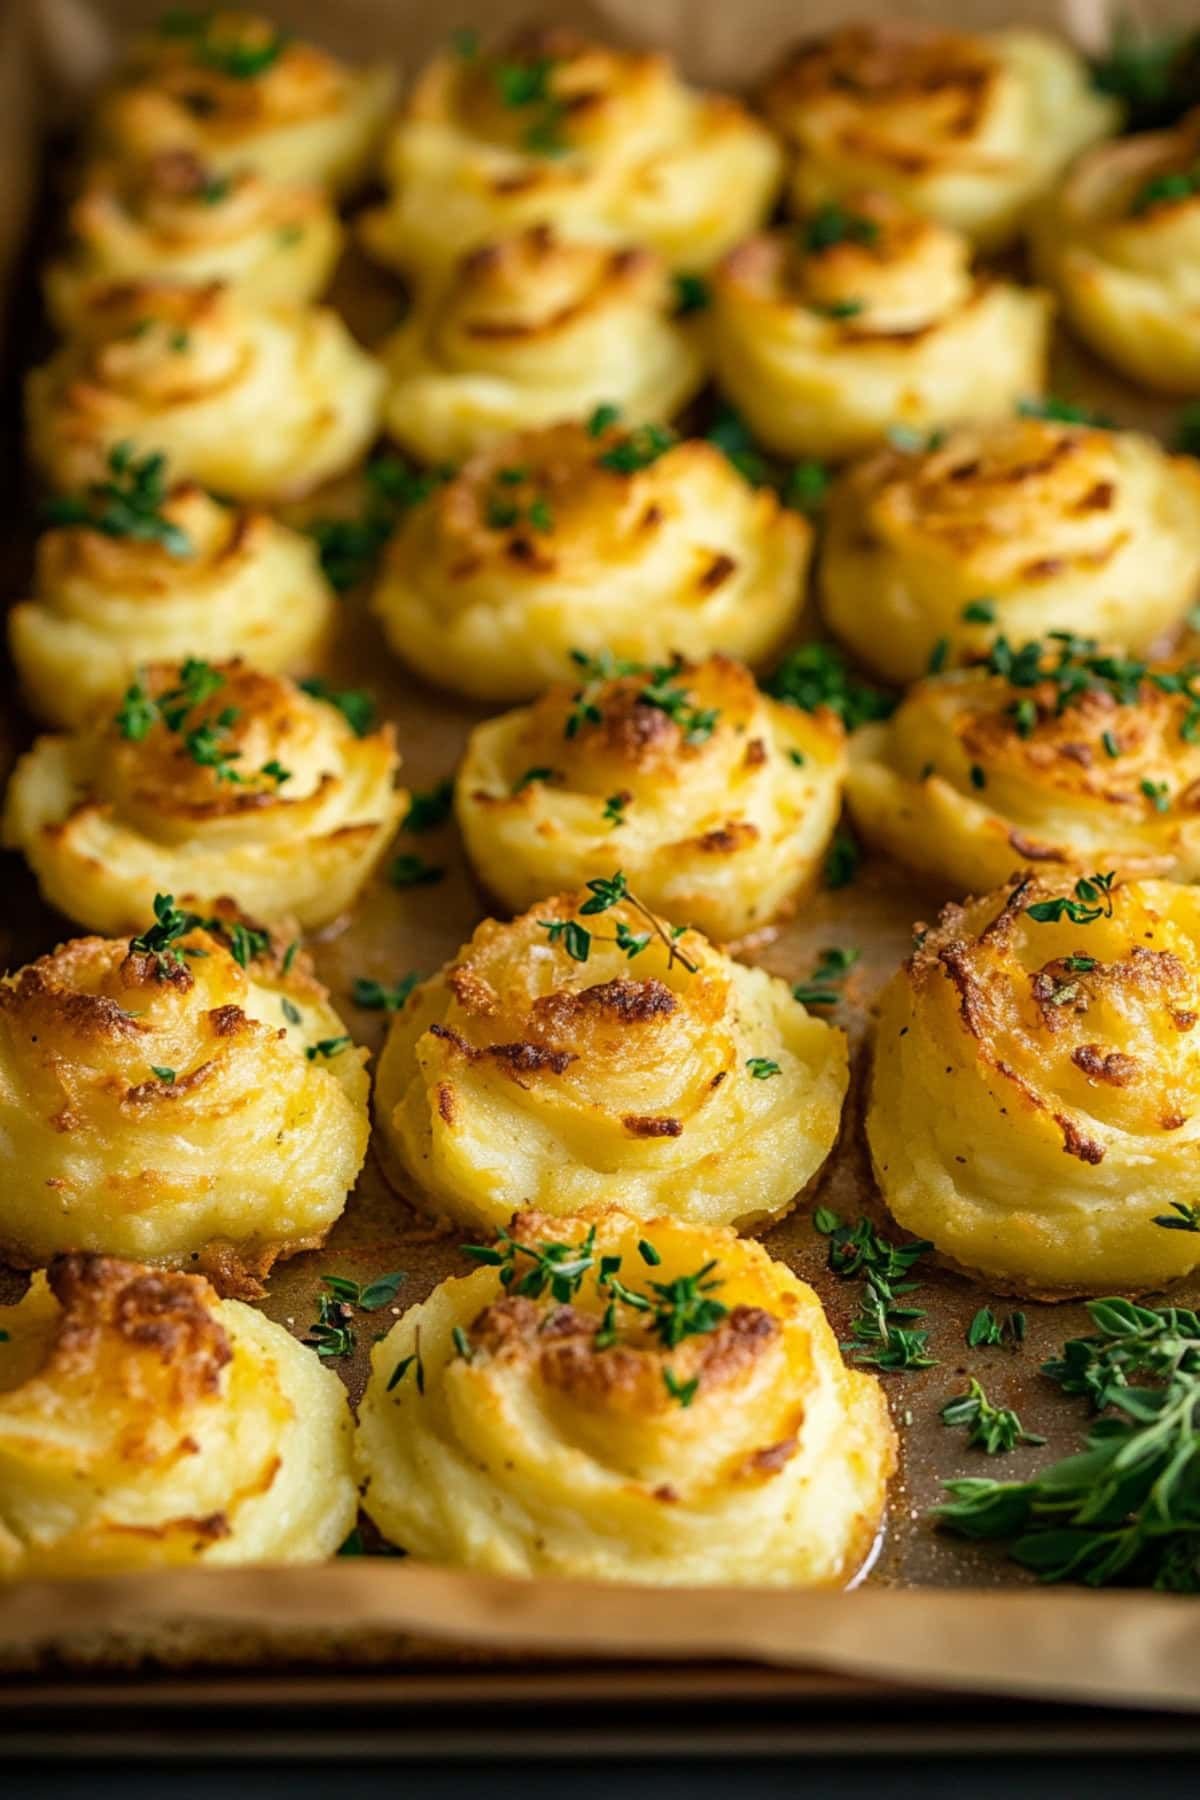
 How to Make Our SmartPoints Egg Cups
 Storage & Serving Suggestions
 Tips & FAQs

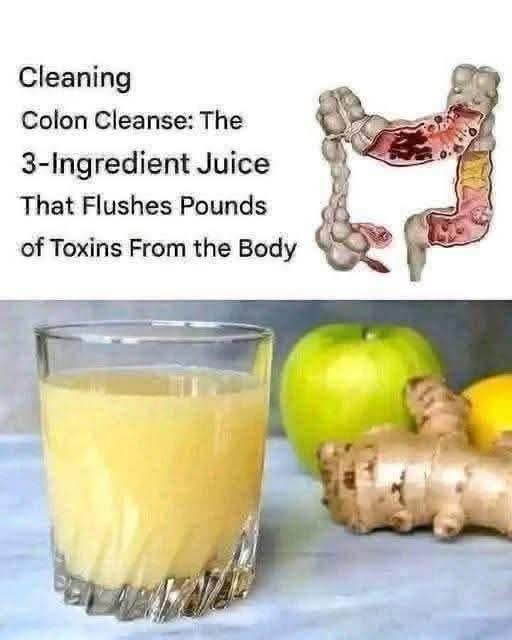

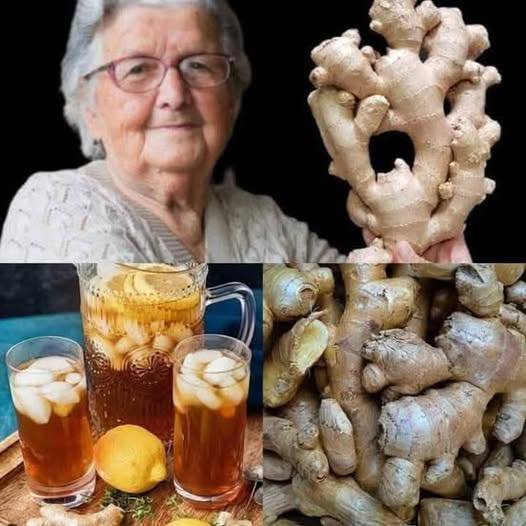
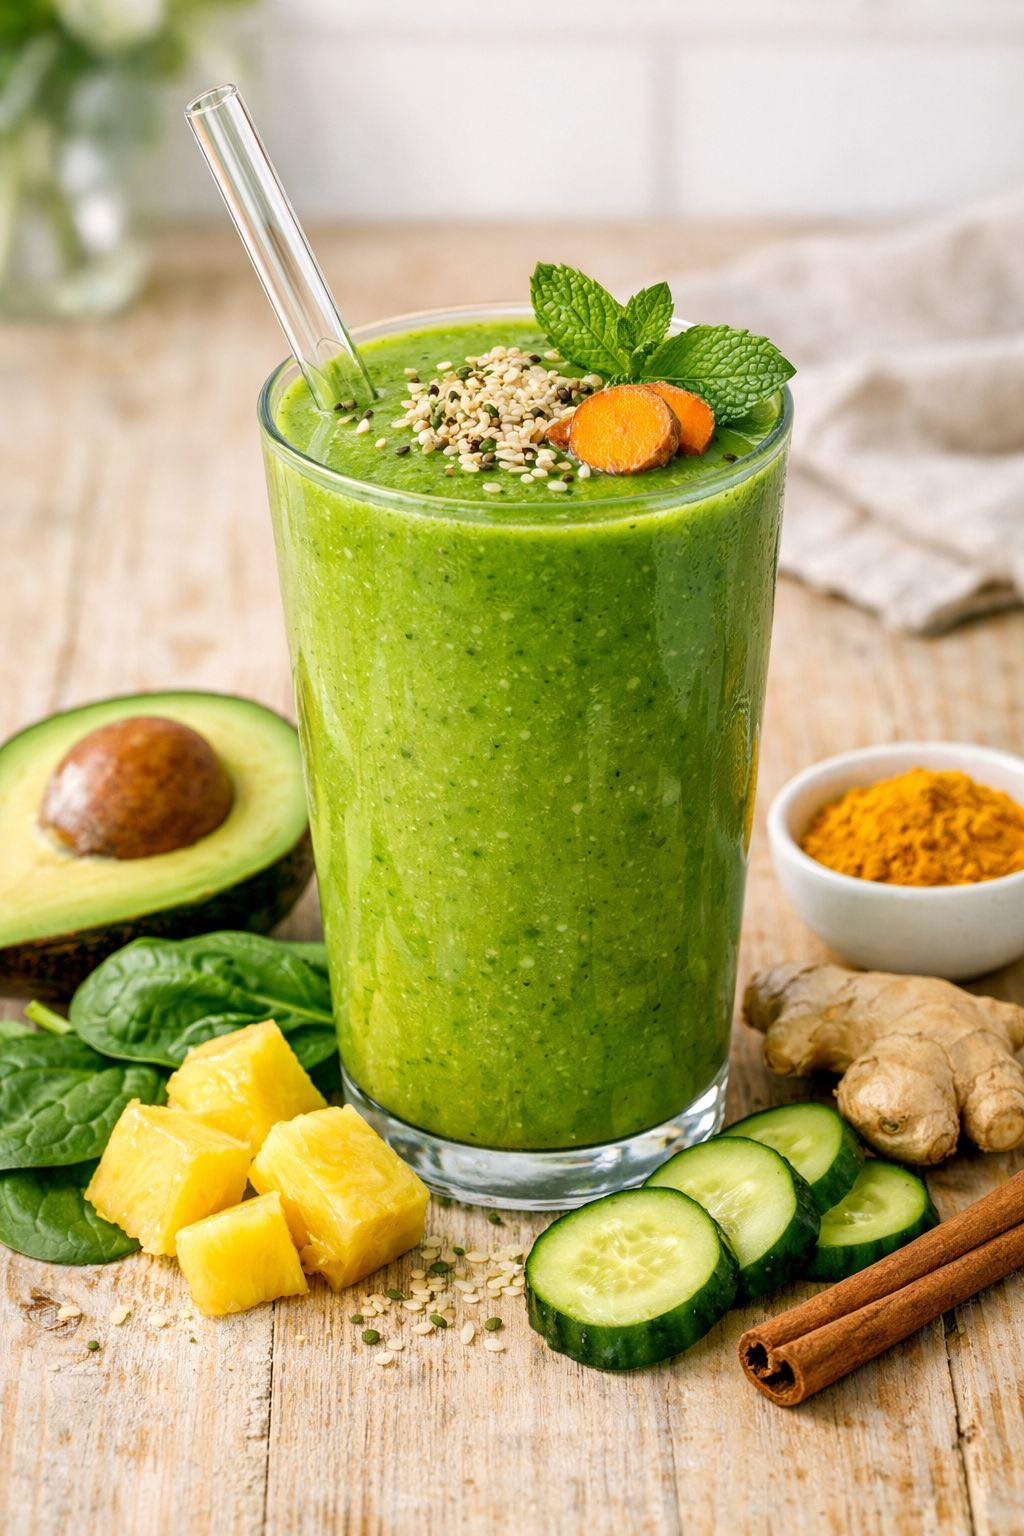
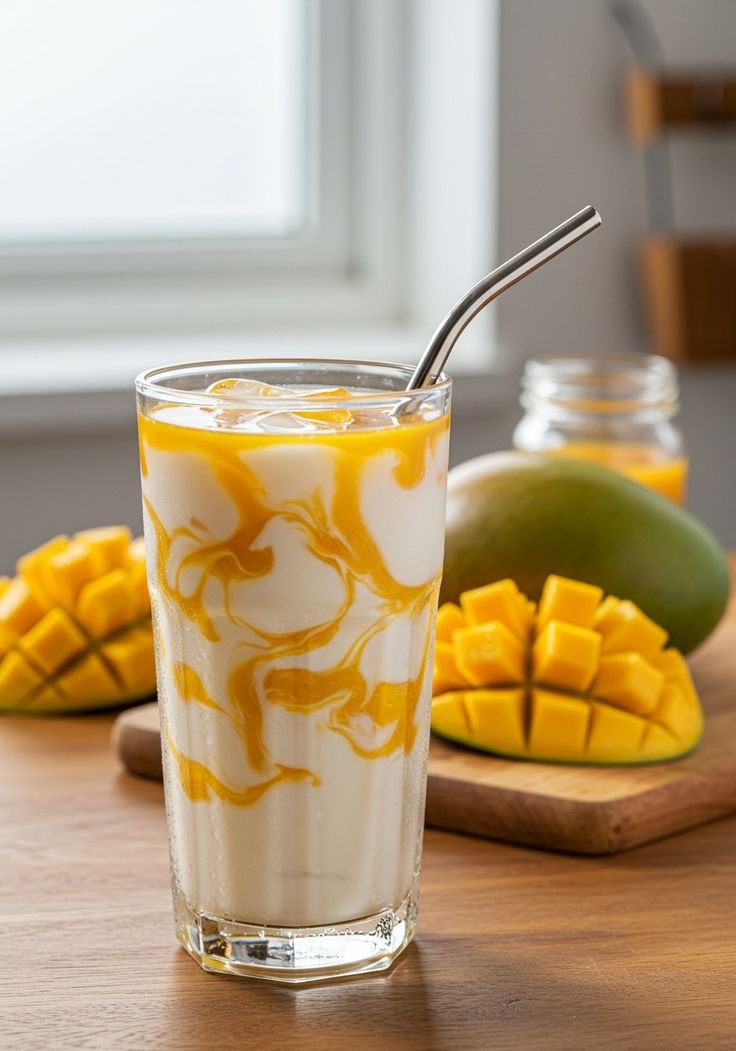
 Note: This is a simple home drink that may support hydration and digestion, but it is not a medical treatment. If someone has health concerns, it is always best to consult a healthcare professional.