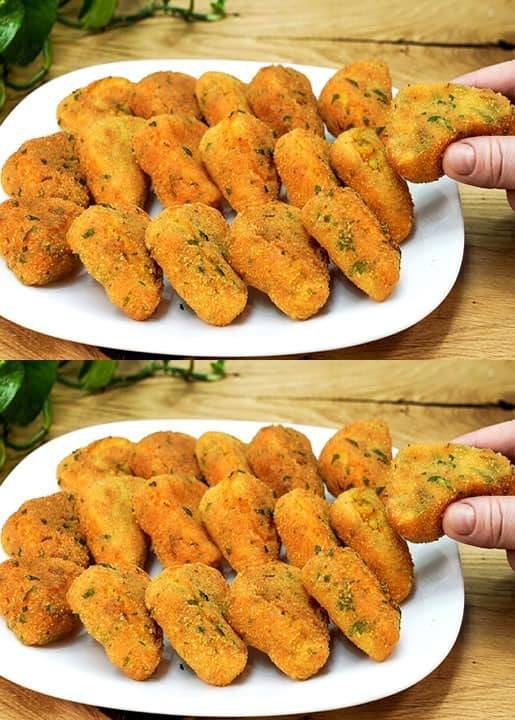
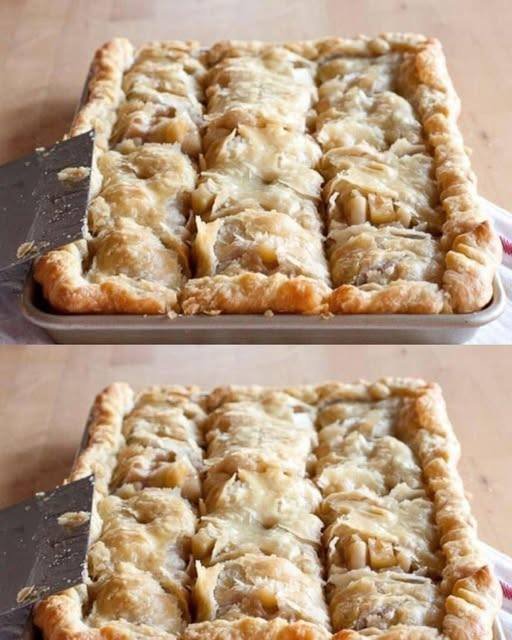
Crispy Golden Honey Fritters
Ingredients
-
The Dough: 2 cups all-purpose flour, 2 large eggs, 1 cup water, 2 tablespoons butter, 1 tablespoon cornstarch, and 1 pinch of salt.
-
The Syrup: 2 cups sugar, 1 cup water, and 1 teaspoon lemon juice.
-
Oil for deep frying.
Step-by-Step Instructions
-
Make the Syrup First: Combine sugar, water, and lemon juice in a pot. Boil for 10 minutes until it thickens slightly. Let it cool completely—this is key for keeping the fritters crispy.
-
Prepare the Dough Base: In a saucepan, bring 1 cup of water, butter, and salt to a boil. Once the butter melts, dump in the flour all at once. Stir vigorously with a wooden spoon over low heat for 2–3 minutes until a smooth dough ball forms and pulls away from the sides.
-
Cool and Add Eggs: Remove the dough from the heat and let it cool for 10 minutes. Add the eggs one at a time, mixing thoroughly after each addition until the dough is smooth and sticky. Mix in the cornstarch last for extra crunch.
-
Shape: Transfer the dough into a piping bag fitted with a large star tip.
-
The Frying Secret: Pipe 2-inch lengths of dough directly into cold or lukewarm oil, cutting the dough with oiled scissors.
-
Fry: Turn the heat to medium. As the oil warms up, the fritters will rise and puff. Fry them, turning frequently, until they are a deep golden brown and feel very firm.
-
Soak: Remove the hot fritters and drop them immediately into the cold syrup. Let them soak for 2–3 minutes, then drain and serve.
Recipe Q&A: Honey Fritters
Q: Why do I have to start with cold oil? A: Starting with cold or barely warm oil allows the fritters to expand and cook through evenly without burning the outside. It’s the secret to getting that characteristic “ridged” look and a very crispy shell.
Q: Can I make these without a piping bag? A: If you don’t have a star tip, the fritters won’t have the ridges, but they will still taste great. You can use a plastic freezer bag with the corner snipped off, or simply use two spoons to drop small mounds of dough into the oil.
Q: My fritters became soft after a few hours. How can I fix this? A: Softness usually happens if the syrup was too thin or if the fritters weren’t fried long enough. Make sure to fry them until they feel quite hard to the touch in the oil. Also, ensure the syrup is completely cold before adding the hot fritters.
Q: Can I flavor the syrup? A: Yes! You can add a splash of rose water, orange blossom water, or a pinch of cardamom to the syrup while it’s boiling for a more traditional Middle Eastern flavor profile.


 Why This ZeroPoint Breakfast Is Your WW Secret Weapon
 Look at the Recipe (WW Focus)
 Ingredients Needed
 How to Make Our SmartPoints Egg Cups
 Storage & Serving Suggestions
 Tips & FAQs
 Tips for Best Results
 Use rolled oats, not instant flavored oats.
 Keeps You Full Longer
 Supports Digestion
 Helps Control Blood Sugar
 Boosts Metabolism
 Heart Healthy
 Optional add-ins:
 Microwave Method (Fastest)