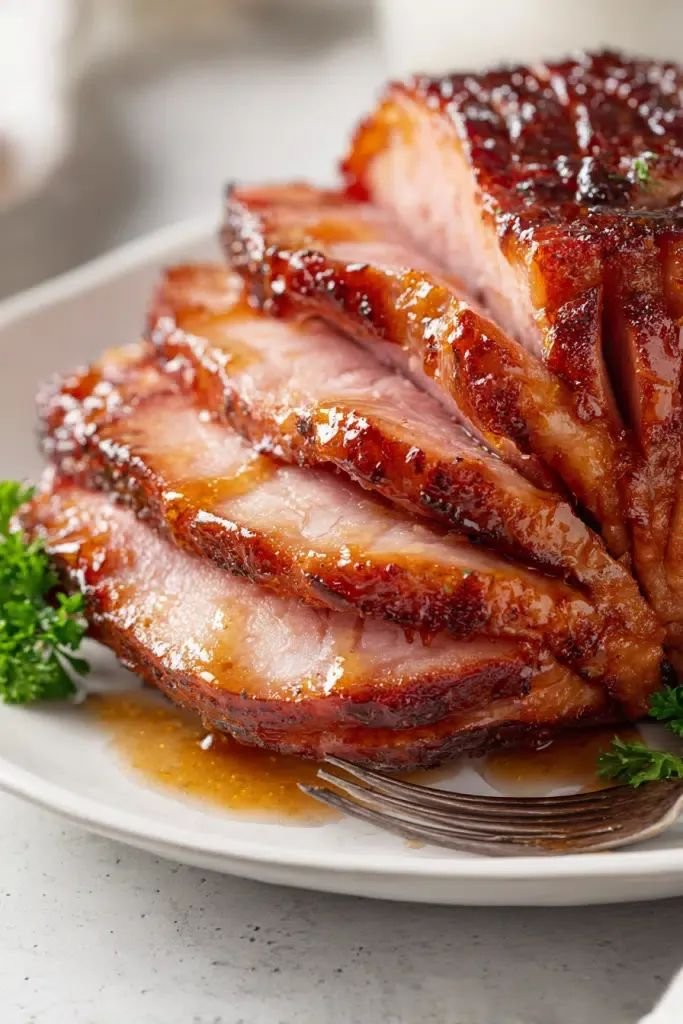
Ingredients
1 cup brown sugar packed
¼ cup honey
2 tbsp Dijon mustard
2 tbsp apple cider vinegar
¼ tsp ground cloves optional, for warm spice
1/4 tsp black pepper
1/2 tsp ground cinnamon optional
Instructions
Preheat the Oven
Preheat oven to 325°F (160°C) if you’re glazing a pre-cooked ham.
Prepare the Glaze
In a small saucepan over medium heat, combine brown sugar, honey, Dijon mustard, apple cider vinegar, cloves, cinnamon, and black pepper.
Stir until sugar dissolves and the mixture becomes smooth and slightly thickened (about 3–5 minutes).
Remove from heat and let cool slightly.
Glaze the Ham
Place ham in a roasting pan. Brush a generous layer of the glaze over the surface.
Bake & Baste
Bake ham according to package directions (usually 15–18 minutes per pound for pre-cooked).
Every 20–30 minutes, brush additional glaze over the ham for a shiny, caramelized finish.
Finish & Serve
Let ham rest 10 minutes before slicing.
Serve with extra glaze on the side if desired.


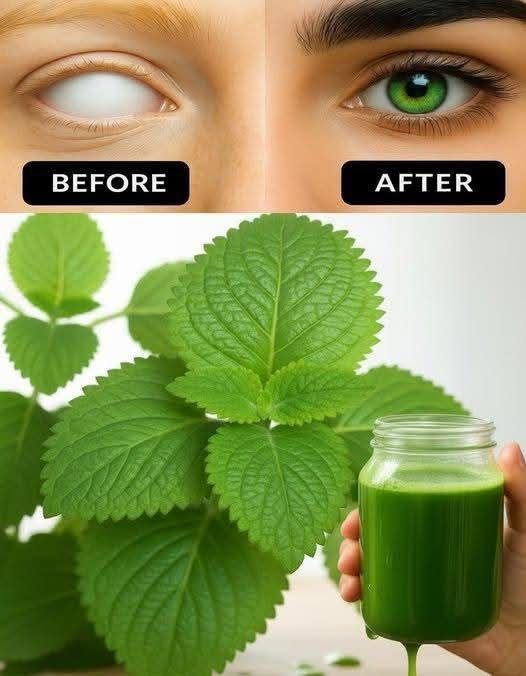
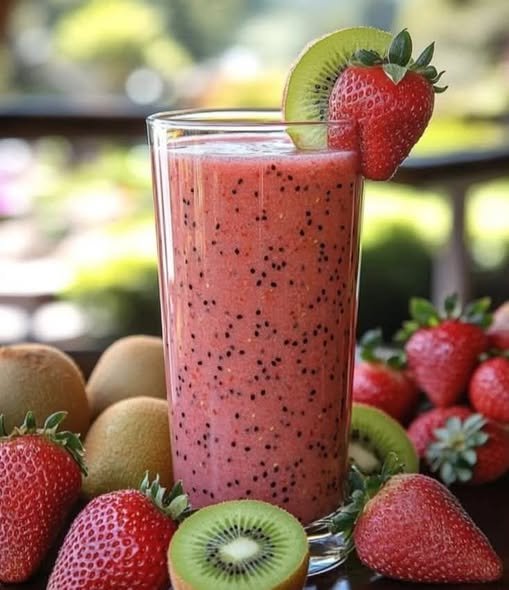
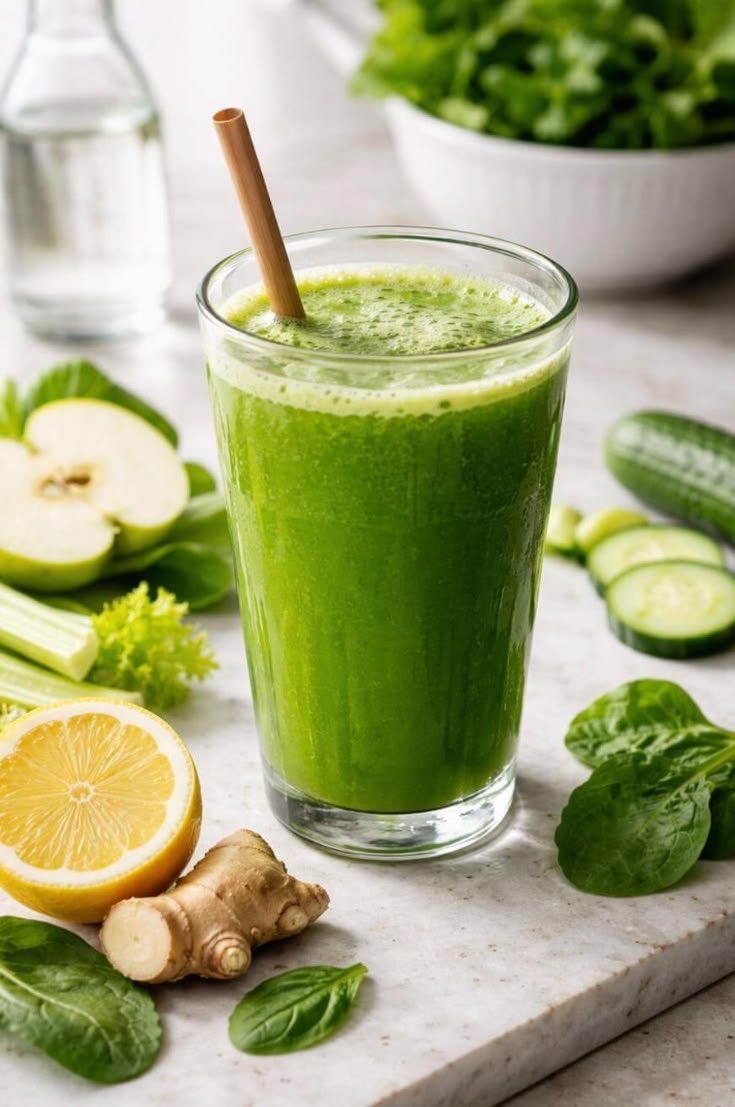
 Wash the herbs
 Prepare the ingredients.
 Blend
Blend Strain (optional)
 Serve
Serve Eye health support
 Immune support
 Anti-inflammatory properties
 Heart health
 Digestive support
 Add ginger for extra digestive benefits.