Indulge in the velvety richness and nutty flavors of Butter Pecan Keto Ice Cream, a guilt-free treat that won’t disrupt your low-carb lifestyle. Made with wholesome ingredients and no added sugars, this keto-friendly ice cream is the perfect way to satisfy your sweet cravings while keeping your carb intake in check. Creamy, buttery, and studded with toasted pecans, this homemade keto ice cream promises a delightful dessert experience that aligns with your dietary goals. So, let’s dive into the recipe and relish in the pleasure of this luscious and creamy butter pecan ice cream.
Servings: Makes approximately 8 servings
Ingredients:
- 2 cups heavy cream
- 1 cup unsweetened almond milk (or any other keto-friendly milk of choice)
- 1/2 cup powdered erythritol or keto-friendly sweetener of choice
- 4 large egg yolks
- 2 teaspoons vanilla extract
- 2 tablespoons unsalted butter
- 1 cup pecans, roughly chopped
- Pinch of salt
Instructions:
- In a medium saucepan, heat the heavy cream and unsweetened almond milk over medium heat until it begins to simmer. Do not let it boil.
- In a separate bowl, whisk the egg yolks and powdered erythritol until well combined.
- Slowly pour about 1/2 cup of the hot cream mixture into the egg yolk mixture, whisking continuously to temper the eggs and prevent curdling.
- Gradually pour the tempered egg mixture back into the saucepan with the remaining cream, whisking constantly.
- Continue to cook the mixture over medium heat, stirring frequently, until it thickens and coats the back of a spoon. This will create a custard-like base for the ice cream.
- Remove the saucepan from the heat and stir in the vanilla extract. Let the custard base cool to room temperature.
- In a separate skillet, melt the unsalted butter over medium heat. Add the chopped pecans and a pinch of salt, toasting the pecans until they become fragrant and slightly browned. Remove the skillet from the heat.
- Once the custard base has cooled, cover the bowl or transfer it to an airtight container and refrigerate it for at least 4 hours or preferably overnight.
- Once the custard is chilled and ready, churn it in an ice cream maker according to the manufacturer’s instructions. This will give the ice cream its creamy texture.
- During the last minute of churning, add the toasted pecans into the ice cream.
- Transfer the churned butter pecan keto ice cream to an airtight container and freeze it for an additional 2-3 hours or until it reaches the desired firmness.
Nutrition Facts per Serving (1/2 cup, approximate values):
- Calories: 332
- Total Fat: 32g
- Saturated Fat: 15g
- Cholesterol: 150mg
- Sodium: 31mg
- Total Carbohydrate: 4g
- Dietary Fiber: 1g
- Sugars: 1g
- Protein: 5g


 Ingredients:
 Instructions:
 Optional Carnivore Add-ins:
 Serving Ideas:

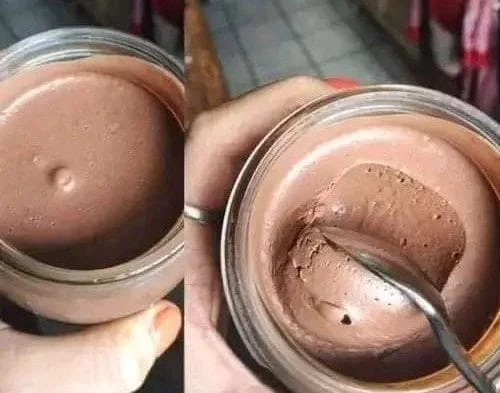
 Carnivore Chocolate Mousse Recipe
 Ingredients (Serves 2–3):
 Optional additions:
 Instructions:
 Storage:
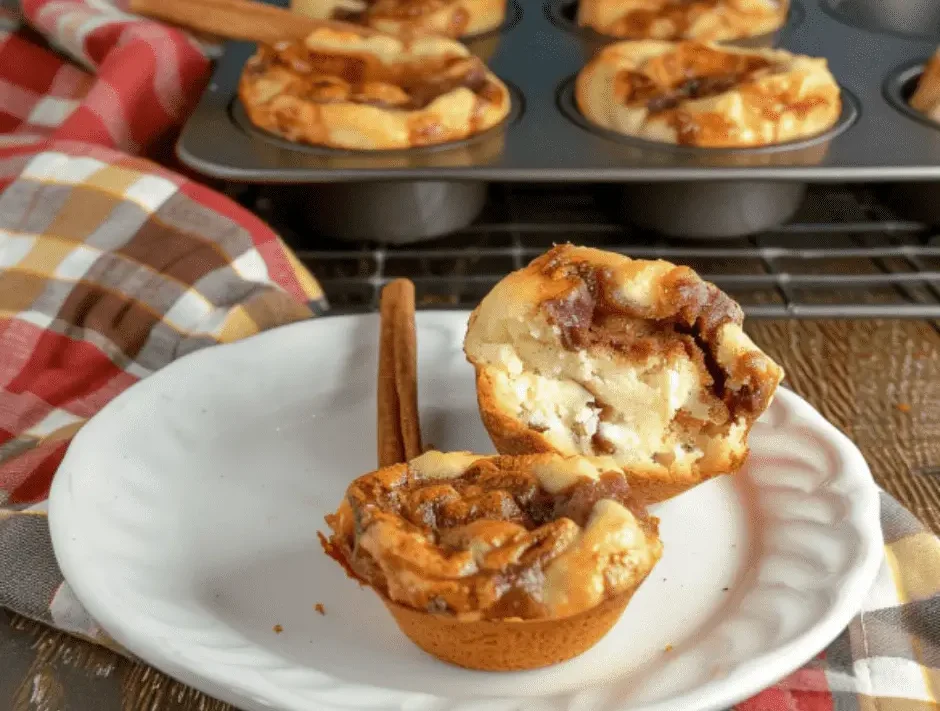
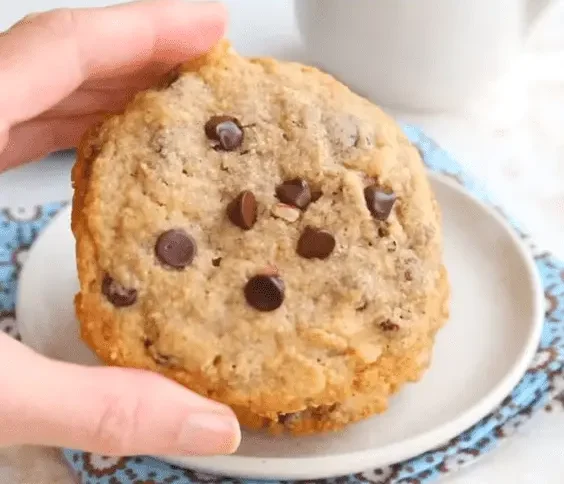


 What You’ll Need:
 How to Make Them:
 Bonus Tip: