
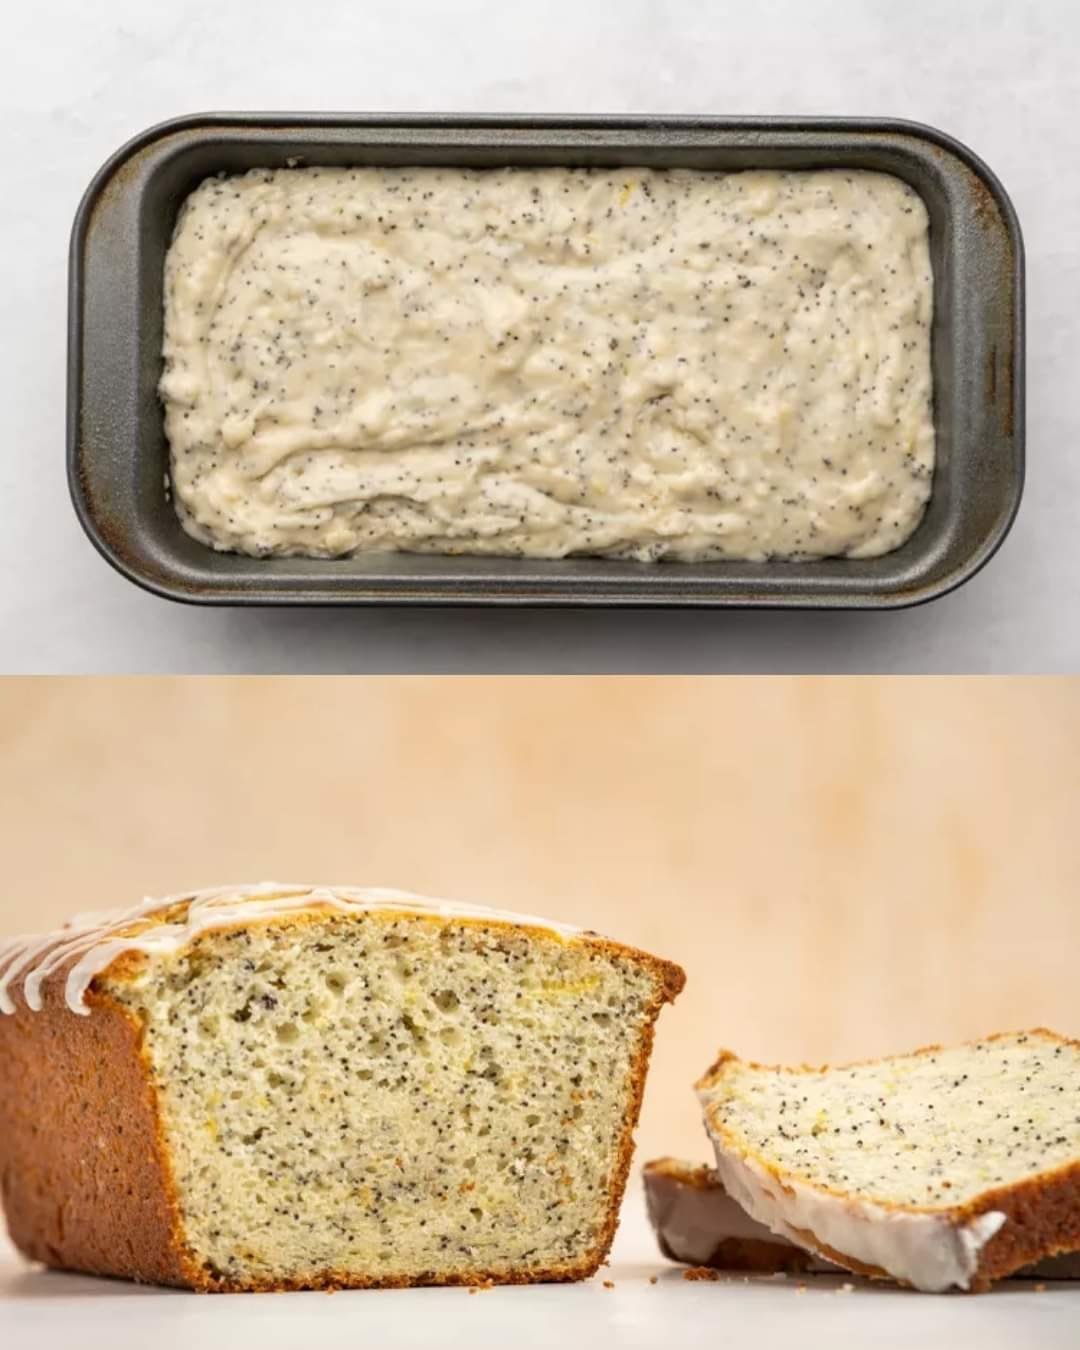
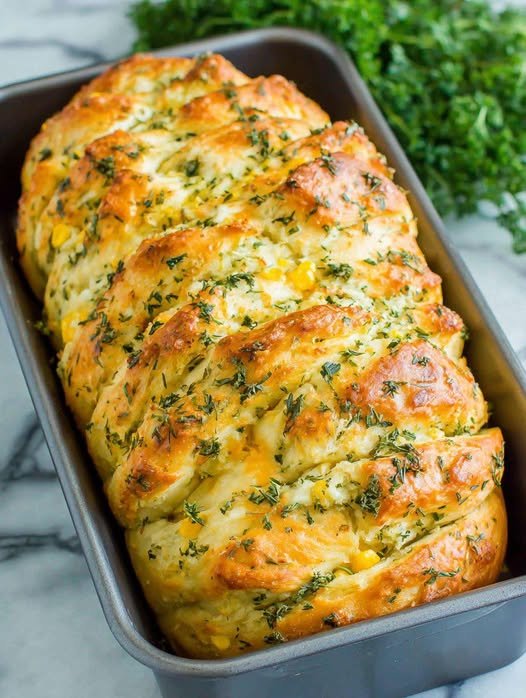
Grandma’s Secret Soft Poppy Seed Bread
Adding a small amount of vinegar to yeast dough acts as a natural dough conditioner, making the bread incredibly soft, helping it rise higher, and extending its freshness.
Ingredients:
-
Flour: 3 ½ cups (approx. 500g) All-purpose or Bread flour
-
Milk: 1 cup (250ml) warm milk
-
Yeast: 2 ¼ tsp (1 packet) active dry yeast
-
Sugar: 2 tbsp
-
Salt: 1 tsp
-
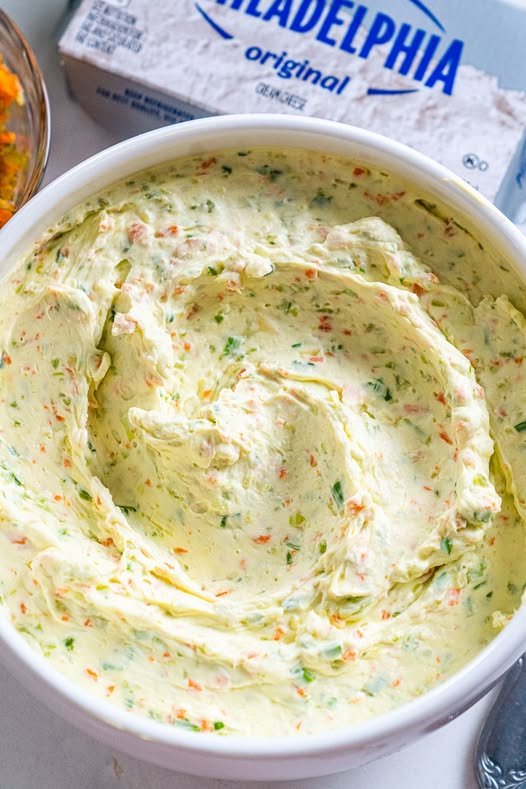
Vinegar: 1 tbsp white distilled vinegar (The “Secret Ingredient”)
-
Butter: 4 tbsp (60g) unsalted, softened
-
Egg: 1 large egg (at room temperature)
-
Poppy Seeds: 2 tbsp
Instructions:
-
Activate Yeast: In a large bowl, combine warm milk, sugar, and yeast. Let it sit for 5–10 minutes until foamy.
-
Mix: Add the egg, softened butter, and the vinegar. Stir in the poppy seeds.
-
Knead: Gradually add the flour and salt. Knead by hand or with a mixer for 8–10 minutes until the dough is smooth and elastic.
-
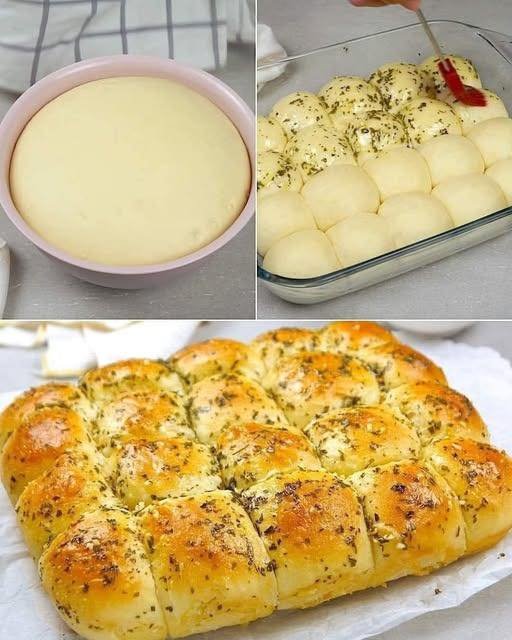
First Rise: Place dough in a greased bowl, cover with a damp cloth, and let rise in a warm spot for 1 hour (or until doubled).
-
Shape: Punch down the dough. Divide into 4 equal balls and place them in a greased baking pan (as seen in your image).
-
Second Rise: Cover and let rise for another 30–45 minutes.
-
Bake: Preheat oven to 350°F (175°C). Brush the top with a little milk or egg wash. Bake for 25–30 minutes until the top is golden brown.
-
Cool: Let the bread cool in the pan for 10 minutes before transferring to a wire rack.
Lemon, Ginger & Turmeric Water
This warming drink is designed for hydration and comfort.
Ingredients:
-
Lemon: 3 fresh slices
-
Ginger: 2–3 slices of raw root
-
Turmeric: A pinch of ground turmeric or a small piece of fresh root
-
Black Pepper: A dash (helps with turmeric absorption)
-
Water: 1 cup of warm water
Instructions:
-
Place the lemon, ginger, and turmeric into a mug.
-
Add a dash of black pepper if desired.
-
Pour warm water over the ingredients and let it infuse for 5 minutes.
-
Sip slowly.
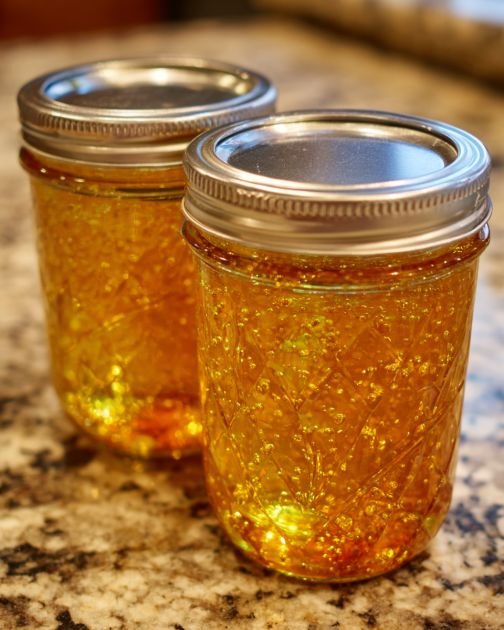
Simple Clove Infusion
A traditional, aromatic drink made with whole cloves.
Ingredients:
-
Whole Cloves: 3–5 pieces
-
Water: 1 cup
Instructions:
-
Hot Method: Add cloves to boiling water, remove from heat, and steep for 10 minutes.
-
Overnight Method: Place cloves in room temperature water and let soak overnight for a milder flavor.
-
Strain the cloves out before drinking.


 Prep & Cook Time
 Servings
 Ingredients
 Instructions
 Recipe Notes
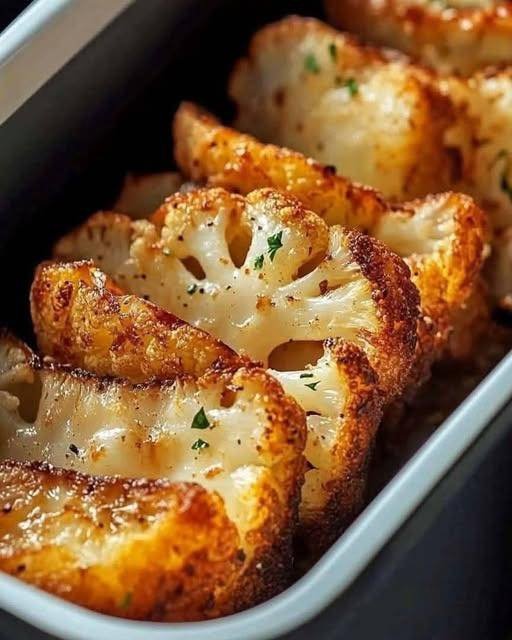
 Pro Tips for Extra Crispiness
 Nutritional Information (Per Serving – Approximate)
 Health Benefits
 Q & A
Q & A