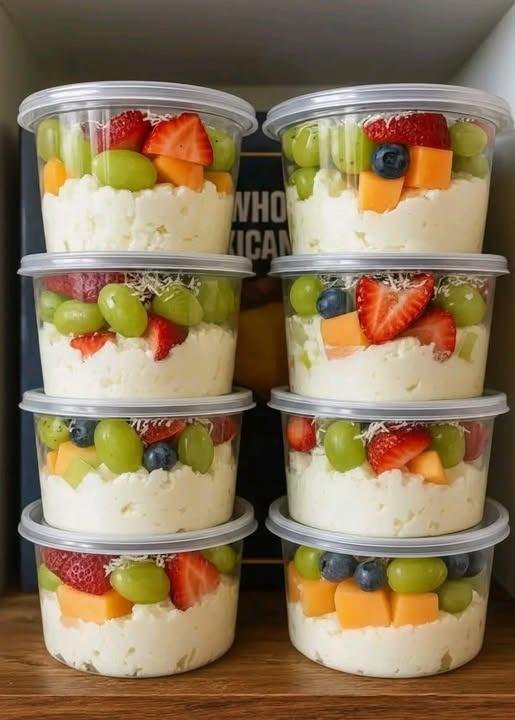
Old-Fashioned Rice Pudding
Description
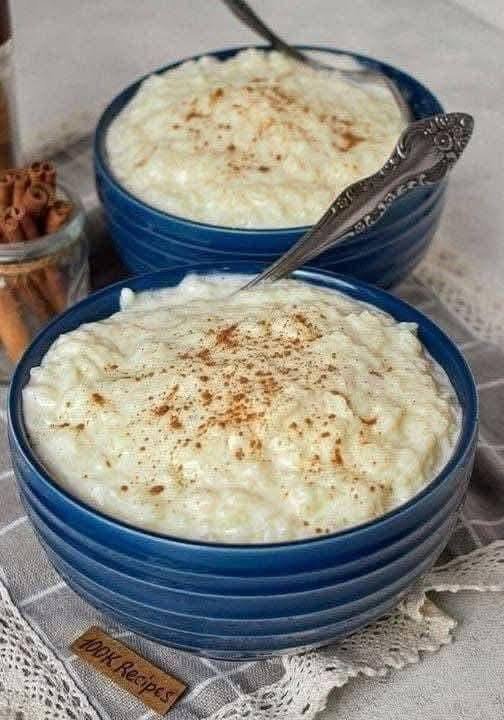
Old-Fashioned Rice Pudding is a traditional comfort dessert made with simple pantry ingredients. Slowly cooked rice is combined with milk, cream, eggs, and sugar to create a rich, creamy pudding with a soft texture and gentle sweetness. Served warm or chilled, it’s a nostalgic dessert loved across generations.
Ingredients
-
1 cup white rice (long-grain or medium-grain)
-
2 cups whole milk
-
½ cup heavy cream
-
½ cup granulated sugar
-
2 large eggs
-
1 teaspoon vanilla extract
-
¼ teaspoon salt (recommended for balance)
-
Optional: ground cinnamon or nutmeg for topping
Instructions
-
Cook the rice
In a medium saucepan, bring 2 cups of water to a boil. Add rice and a pinch of salt. Reduce heat, cover, and simmer until rice is tender and water is absorbed (about 15–18 minutes). -
Heat the milk mixture
Stir the milk, heavy cream, and sugar into the cooked rice. Cook over medium-low heat, stirring frequently, for 10–15 minutes until thickened. -
Temper the eggs
In a bowl, whisk eggs. Slowly add about ½ cup of the hot rice mixture to the eggs while whisking constantly to prevent scrambling. -
Combine
Pour the egg mixture back into the saucepan, stirring continuously. Cook on low heat for 2–3 minutes, until pudding thickens (do not boil). -
Finish
Remove from heat. Stir in vanilla extract. -
Serve
Spoon into bowls and sprinkle with cinnamon or nutmeg if desired. Serve warm or chilled.
Notes
-
The pudding will thicken more as it cools.
-
Stir frequently to prevent sticking or scorching.
-
If it becomes too thick, add a splash of warm milk to loosen.
Tips for Best Results
-
Medium-grain rice creates a creamier texture.
-
Use whole milk for richness; low-fat milk makes it thinner.
-
For extra creaminess, add 1 tablespoon butter at the end.
-
Avoid boiling once eggs are added.
Servings
-
Serves: 4–6
-
Serving size: ~¾ cup
Nutritional Information (Approx. per serving)
-
Calories: 280 kcal
-
Protein: 7 g
-
Fat: 9 g
-
Saturated Fat: 5 g
-
Carbohydrates: 42 g
-
Sugar: 20 g
-
Calcium: 15% DV
(Values may vary based on ingredients used.)
Benefits
-
Comforting and easy to digest
-
Provides calcium and protein
-
Uses basic pantry ingredients
-
Can be enjoyed warm or cold
-
Naturally gluten-free
Q & A
Q: Can I use leftover rice?
A: Yes! Use 3 cups cooked rice and reduce initial cooking time.
Q: Can I make it dairy-free?
A: Yes—use coconut milk or almond milk and skip the cream.
Q: How long does rice pudding last?
A: Up to 4 days refrigerated in an airtight container.
Q: Can I add raisins?
A: Absolutely! Stir in ¼ cup raisins during the last 5 minutes.
Q: Why did my pudding get lumpy?
A: Eggs cooked too fast—always temper them and keep heat low.
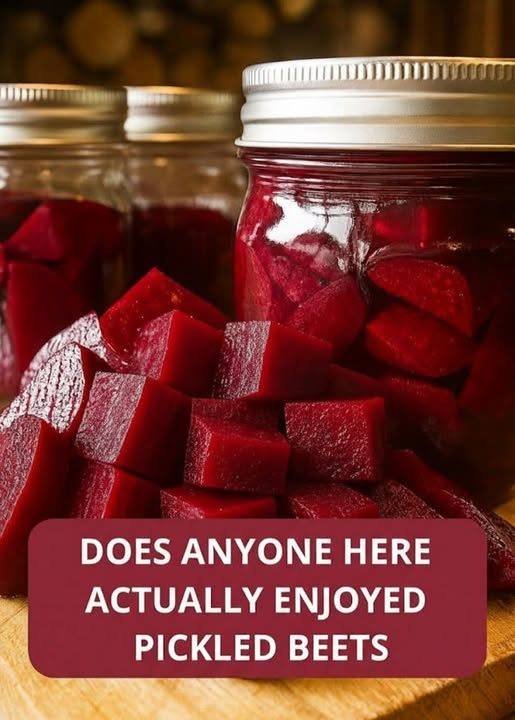
 Recipe: Easy Refrigerator Pickled Beets
 Notes & Tips
 Nutritional Info (Per Serving)
 Benefits
 Common Q&A
 Chamomile Tea
 Apple Cider Vinegar Drink
 Aloe Vera Water
 Cucumber Mint Infused Water
 Low-Carb Protein Bedtime Shake

 Ingredients

 No. This tea is a supportive habit, not a treatment replacement.
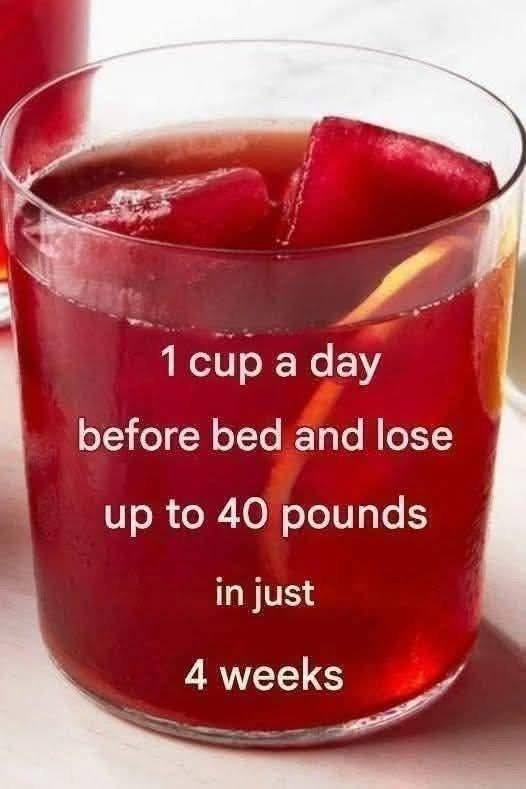


 Helps prevent blood sugar spikes