
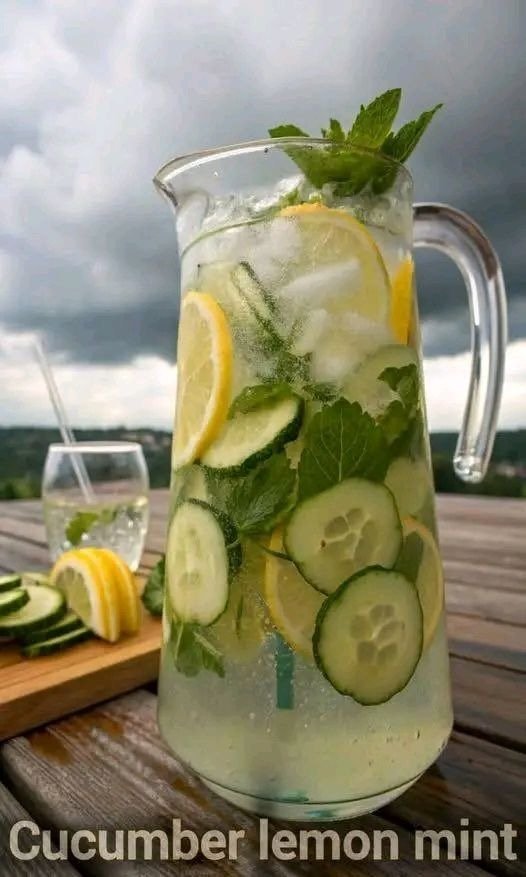
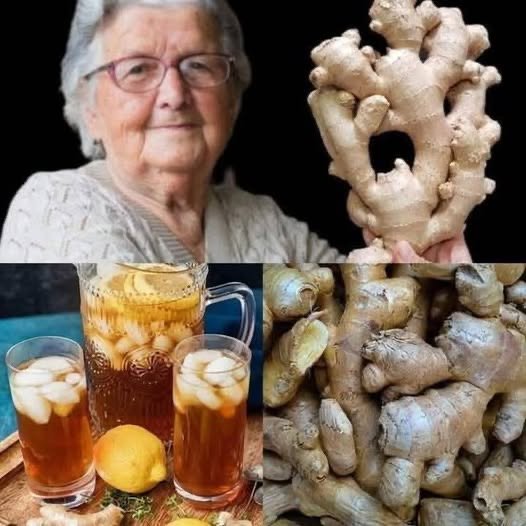
🍋 Summer Special Ginger Lemonade
This recipe strikes the perfect balance between spicy, tart, and sweet.
Ingredients
-
Ginger: 4-inch piece (peeled and roughly chopped)
-
Lemons: 4 to 5 large lemons (juiced, about 1 cup)
-
Sweetener: ½ cup honey, agave, or simple syrup (adjust to taste)
-
Water: 4 cups (use sparkling water for a fizzy twist!)
-
Ice: Plenty of it
-
Optional: A pinch of black salt or a few mint leaves for extra “summer special” vibes.
Instructions
-
Extract the Ginger: Place the chopped ginger in a blender with about ½ cup of water. Blend until smooth, then strain the mixture through a fine-mesh sieve or cheesecloth into a pitcher. Squeeze hard to get every bit of that spicy juice!
-
Mix the Base: Add your fresh lemon juice and your sweetener of choice to the ginger extract. Stir well until the sweetener is completely dissolved.
-
Dilute: Pour in the remaining water. Taste and adjust—if it’s too spicy, add more water; if it’s too tart, add a bit more sweetener.
-
Chill & Serve: Add ice cubes and garnish with lemon slices or mint.
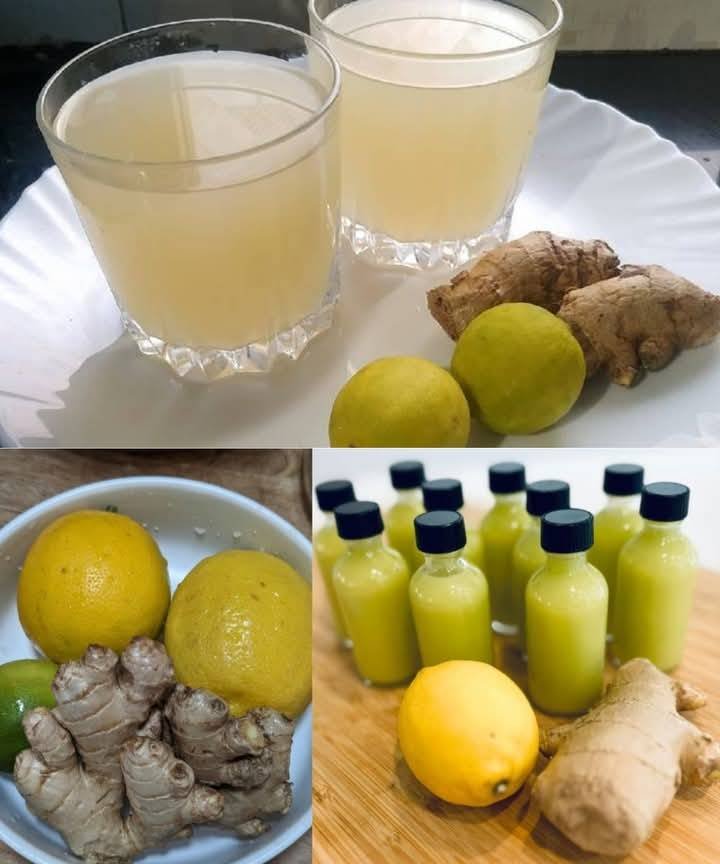
💡 Pro-Tips for those “Wellness Shots”
If you want to make the small bottles shown in your image:
-
Concentrate it: Skip the 4 cups of water. Just mix the pure ginger juice and lemon juice with a touch of honey and a dash of cayenne pepper.
-
Store: Keep them in the fridge for up to 5 days. It’s a great “fire starter” for your metabolism in the morning!


 Wash the herbs
 Prepare ingredients
 Blend
Blend Strain (optional)
 Serve
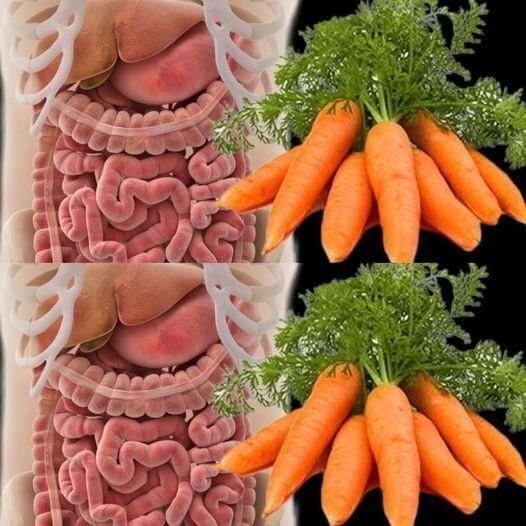
Serve Eye health support
 Immune support
 Anti-inflammatory properties
 Heart health
 Digestive support
 Add ginger for extra digestive benefits.

