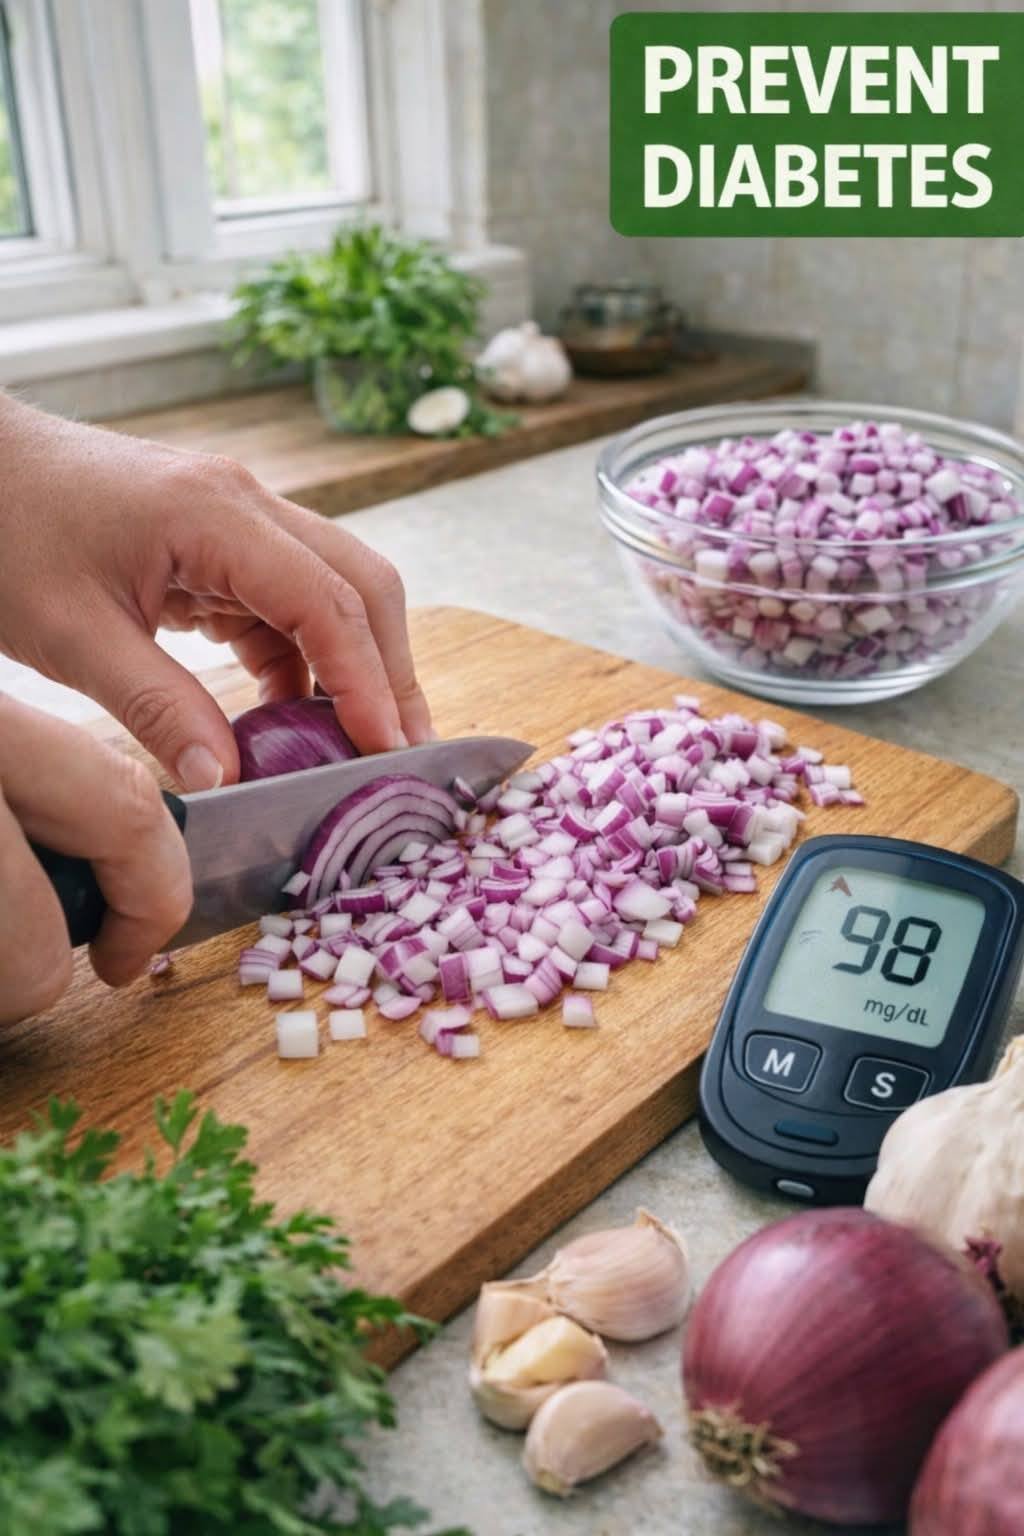
Mediterranean Red Onion & Black Bean Skillet
A Fiber-Rich, Plant-Based Savory Dish
🛒 Ingredients (Serves 4)
-
1 large red onion, thinly sliced 🧅
-
2 medium sweet potatoes, diced small 🍠
-
1 cup cooked black beans (rinsed and drained) 🫘
-
1 red bell pepper, diced 🫑
-
½ cup corn kernels (optional) 🌽
-
2 cloves garlic, minced 🧄
-
2 tablespoons olive oil 🫒
-
1 teaspoon ground cumin
-
½ teaspoon smoked paprika
-
½ teaspoon oregano
-
Salt & pepper to taste 🧂
-
1 tablespoon lemon juice 🍋
-
Fresh parsley or cilantro for garnish 🌿
-
Optional: ½ avocado, diced 🥑
👨🍳 Step-by-Step Instructions
-
Sauté the Onion ➡️
-
Heat the olive oil in a large skillet over medium heat.
-
Add the sliced red onion and cook for 5–7 minutes.
-
Tip: Stir frequently until they are softened and have a light golden caramelization.
-
-
Cook the Sweet Potatoes ➡️
-
Add the diced sweet potatoes to the pan.
-
Cover with a lid and cook for 8–10 minutes.
-
Stir occasionally until the potatoes are fork-tender but not mushy.
-
-
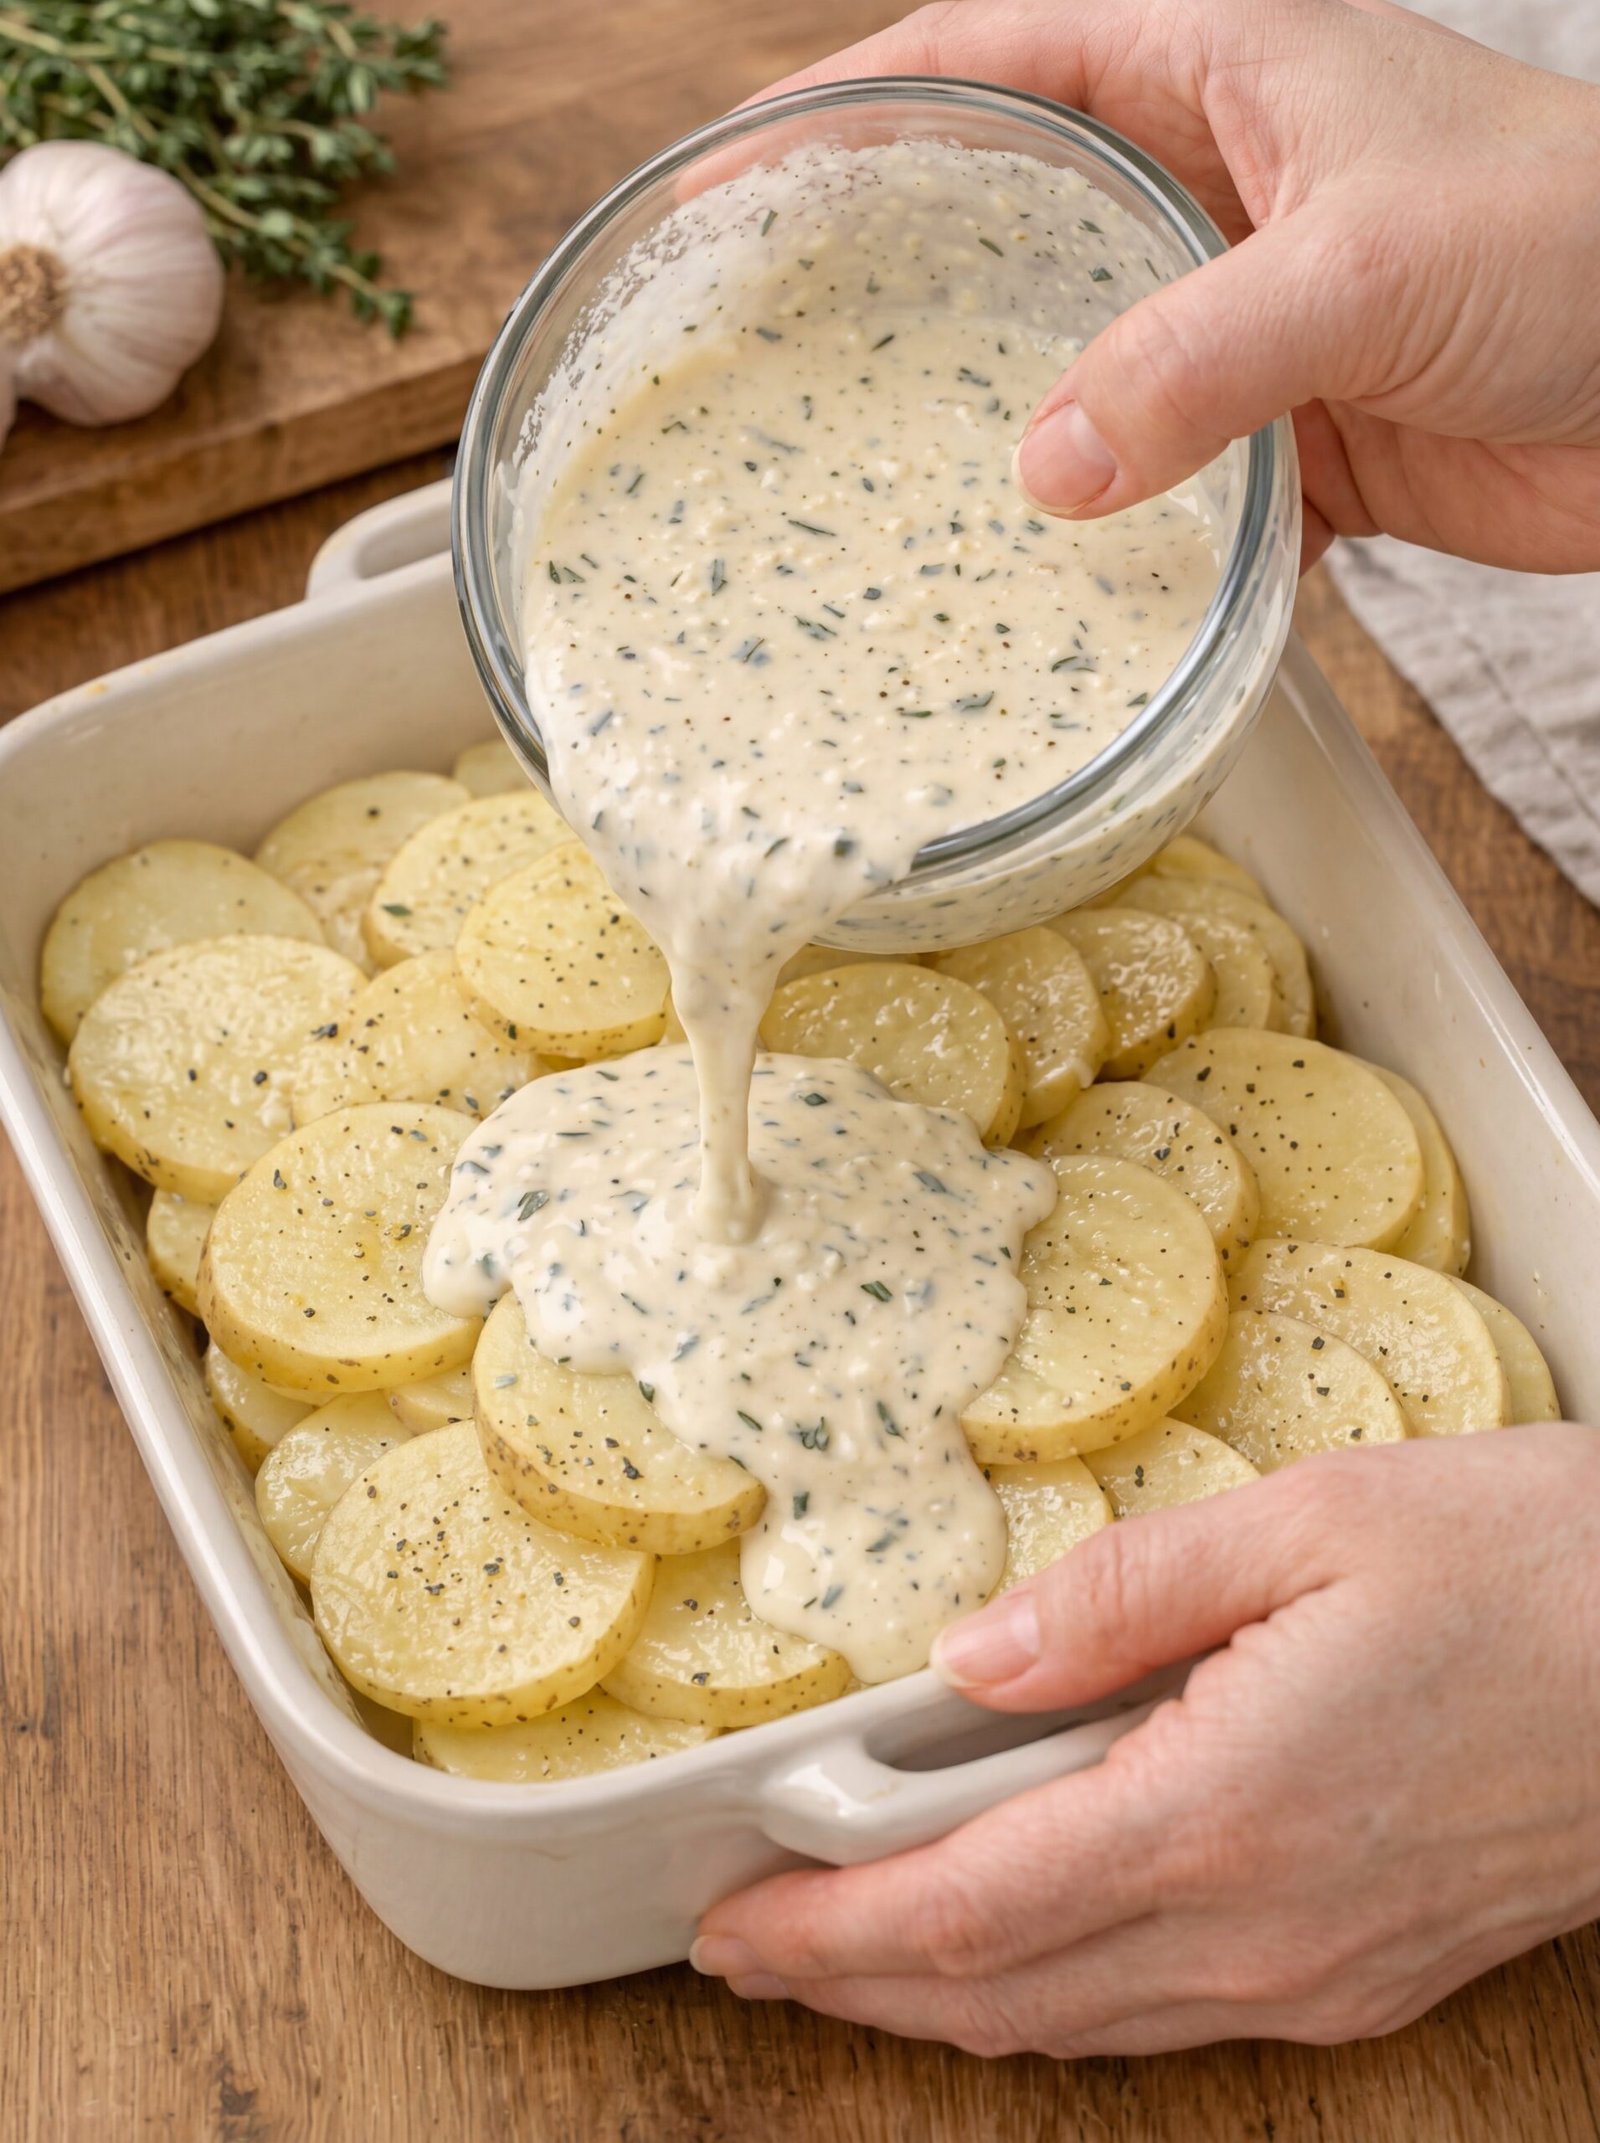
Incorporate Beans & Spices ➡️
-
Stir in the minced garlic, black beans, diced bell pepper, corn, cumin, paprika, and oregano.
-
Cook for another 5 minutes to allow the flavors to meld and the peppers to soften.
-
-
The Finishing Touch ➡️
-
Drizzle with lemon juice and season with salt and pepper to your preference.
-
Remove from heat and garnish with fresh herbs and avocado.
-
Serve warm! 🍽️
-
❓ Q & A (Common Inquiries)
Q: Can this cure chronic blood sugar conditions? A: No. While healthy eating is vital, there is currently no cure for Type 1 diabetes, and Type 2 requires comprehensive management. This dish is a supportive part of a balanced diet, not a replacement for medical care.
Q: Do red onions specifically lower glucose? A: Some studies suggest onions contain antioxidants like quercetin that may have mild effects, but they are a culinary ingredient, not a substitute for prescribed medication. 💊
Q: How can I make this even lower in carbohydrates? A: You can swap the sweet potatoes and corn for non-starchy vegetables like zucchini, spinach, or cauliflower florets. This keeps the volume high while reducing the carb count. 🥗
Q: What is the best way to serve this? A: To further slow down glucose absorption, pair this skillet with a lean protein like grilled chicken, tofu, or a dollop of Greek yogurt. 🍗
📊 Estimated Nutritional Info (Per Serving)
-
Calories: 280–320 kcal
-
Carbohydrates: 40–45g
-
Fiber: 9–11g (High Fiber!)
-
Protein: 8–10g
-
Fat: 10–14g
-
Glycemic Impact: Moderate (Balanced by healthy fats and high fiber content)
💡 Notes & Tips
-
Thin Slicing: Slicing the onions thinly helps them caramelize faster, bringing out a natural sweetness without needing any added sugar. 🔪
-
Portion Control: Even healthy carbs like beans and sweet potatoes should be enjoyed in moderate portions—aim for about 1 to 1¼ cups per serving. 📏
-
Stay Consistent: Everyone’s body responds differently to ingredients, so it is always a good idea to monitor your personal levels after trying new recipes. 📈


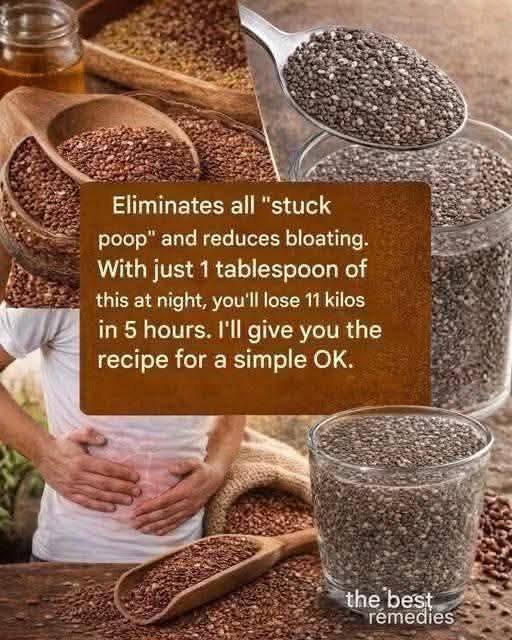
 Important: This is not a cure for conditions like diabetes, high cholesterol, or anemia.
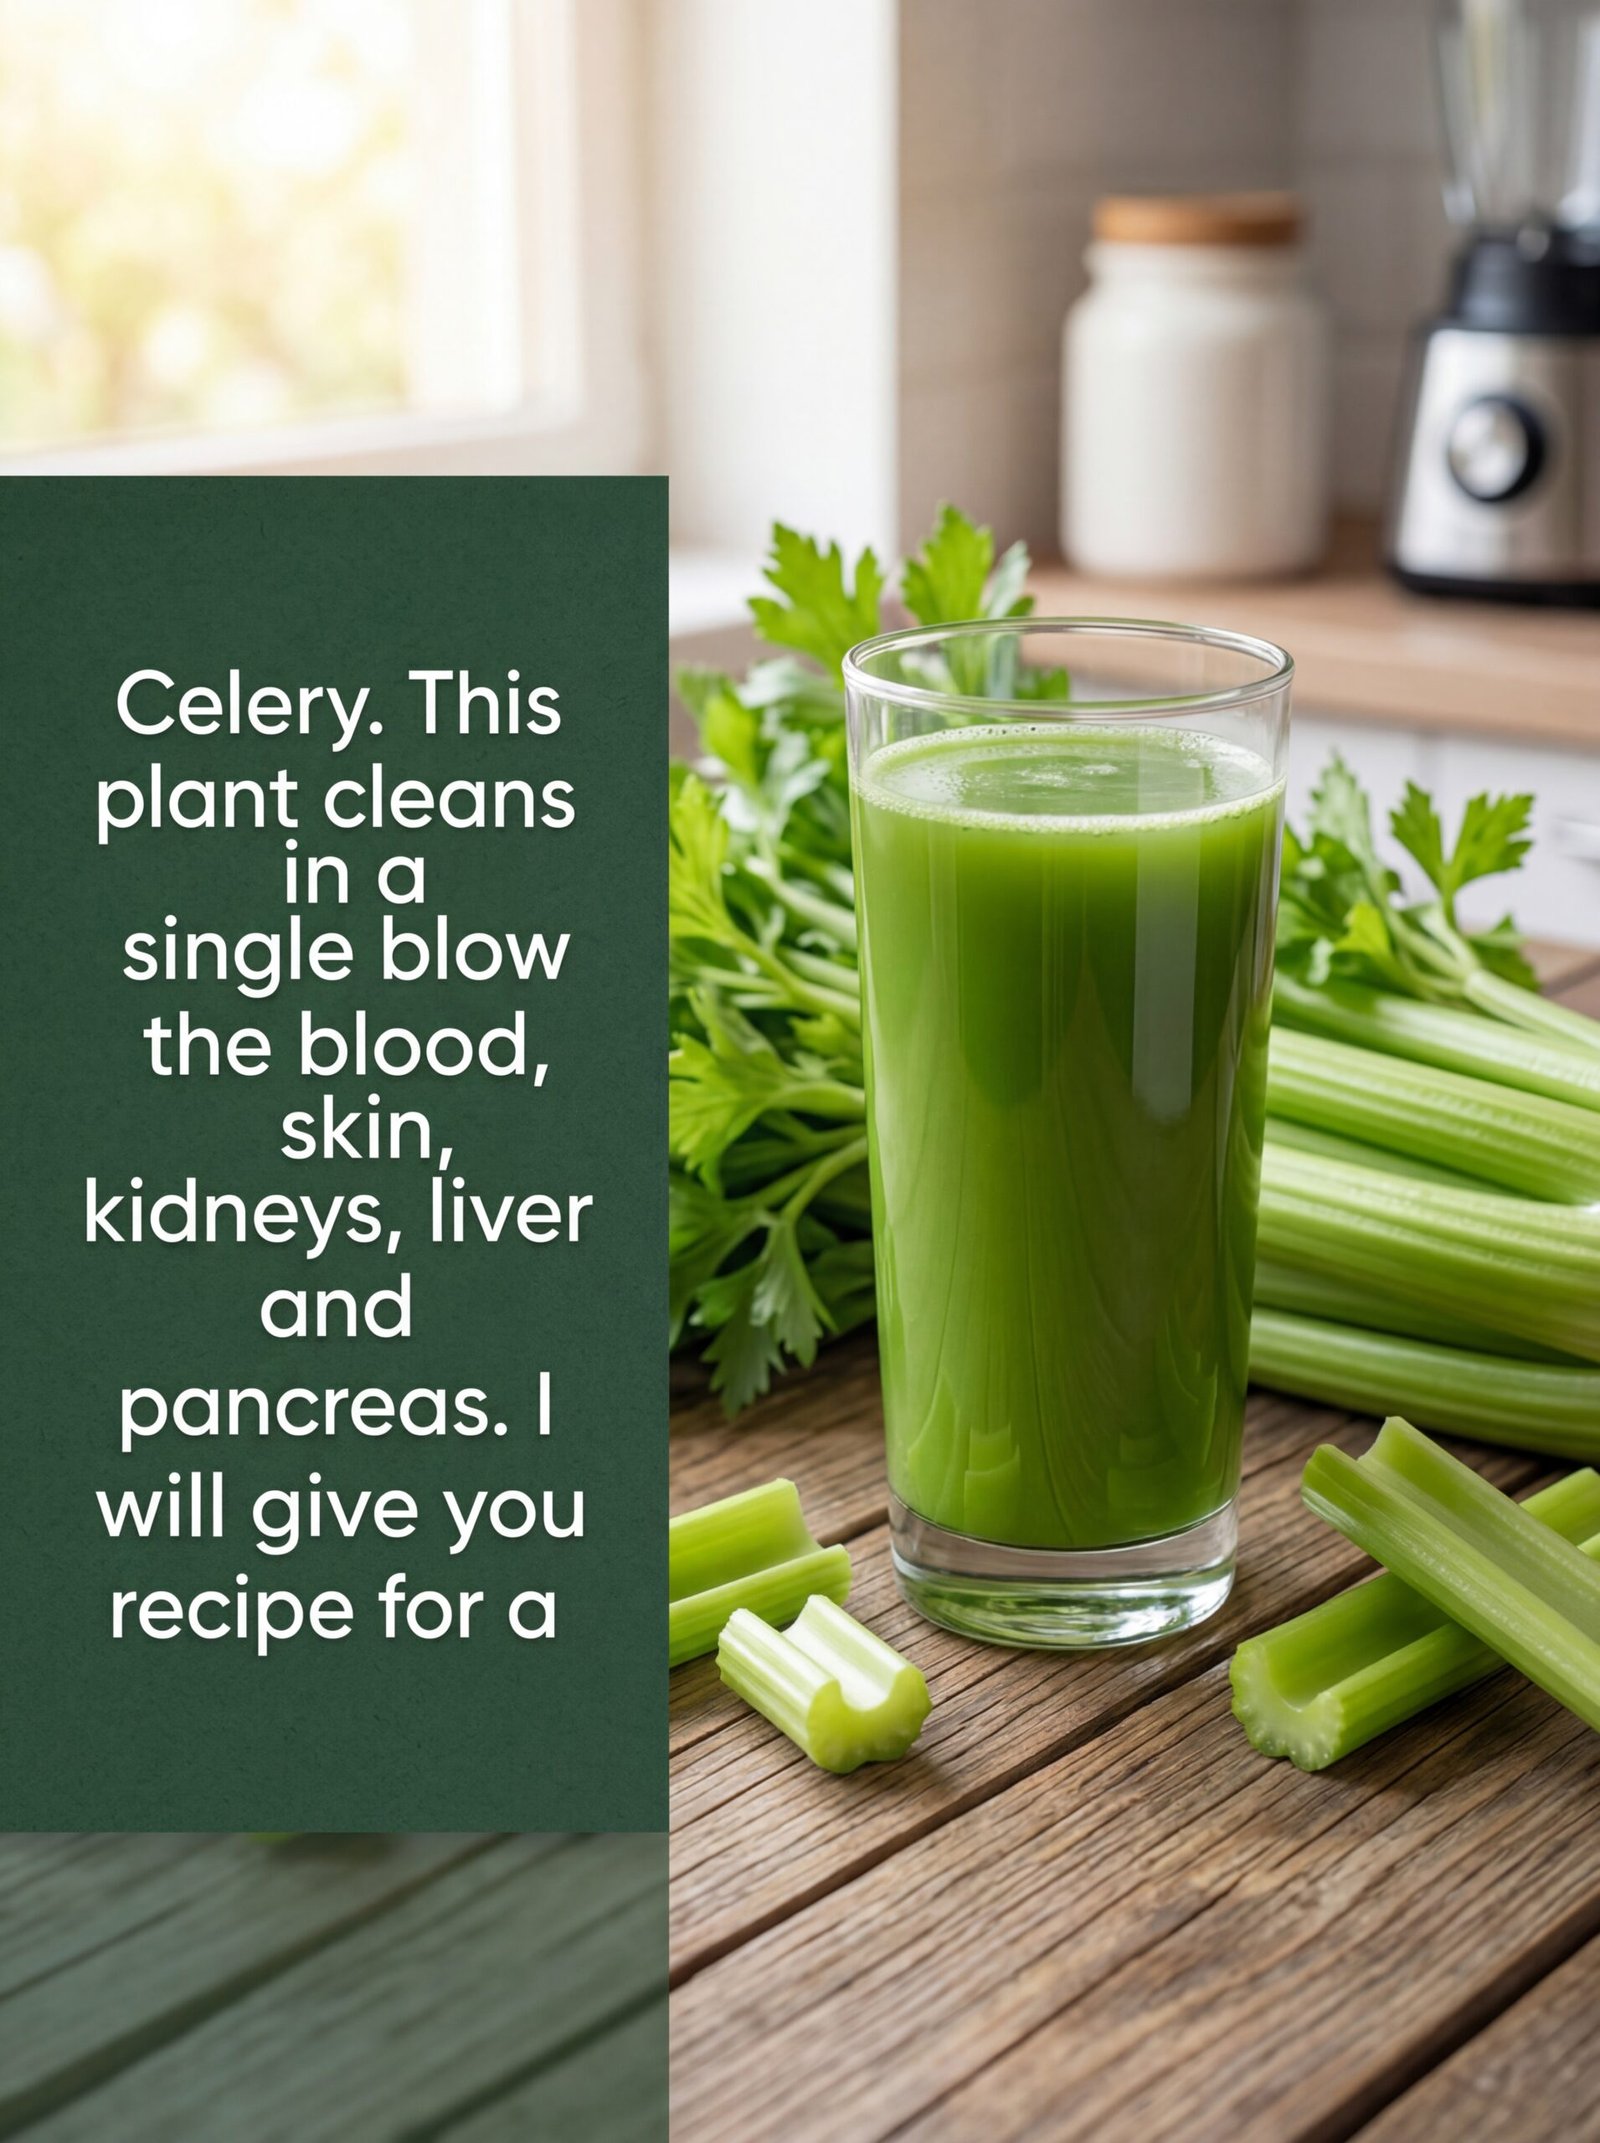
 Supports hydration
 Does NOT detox organs
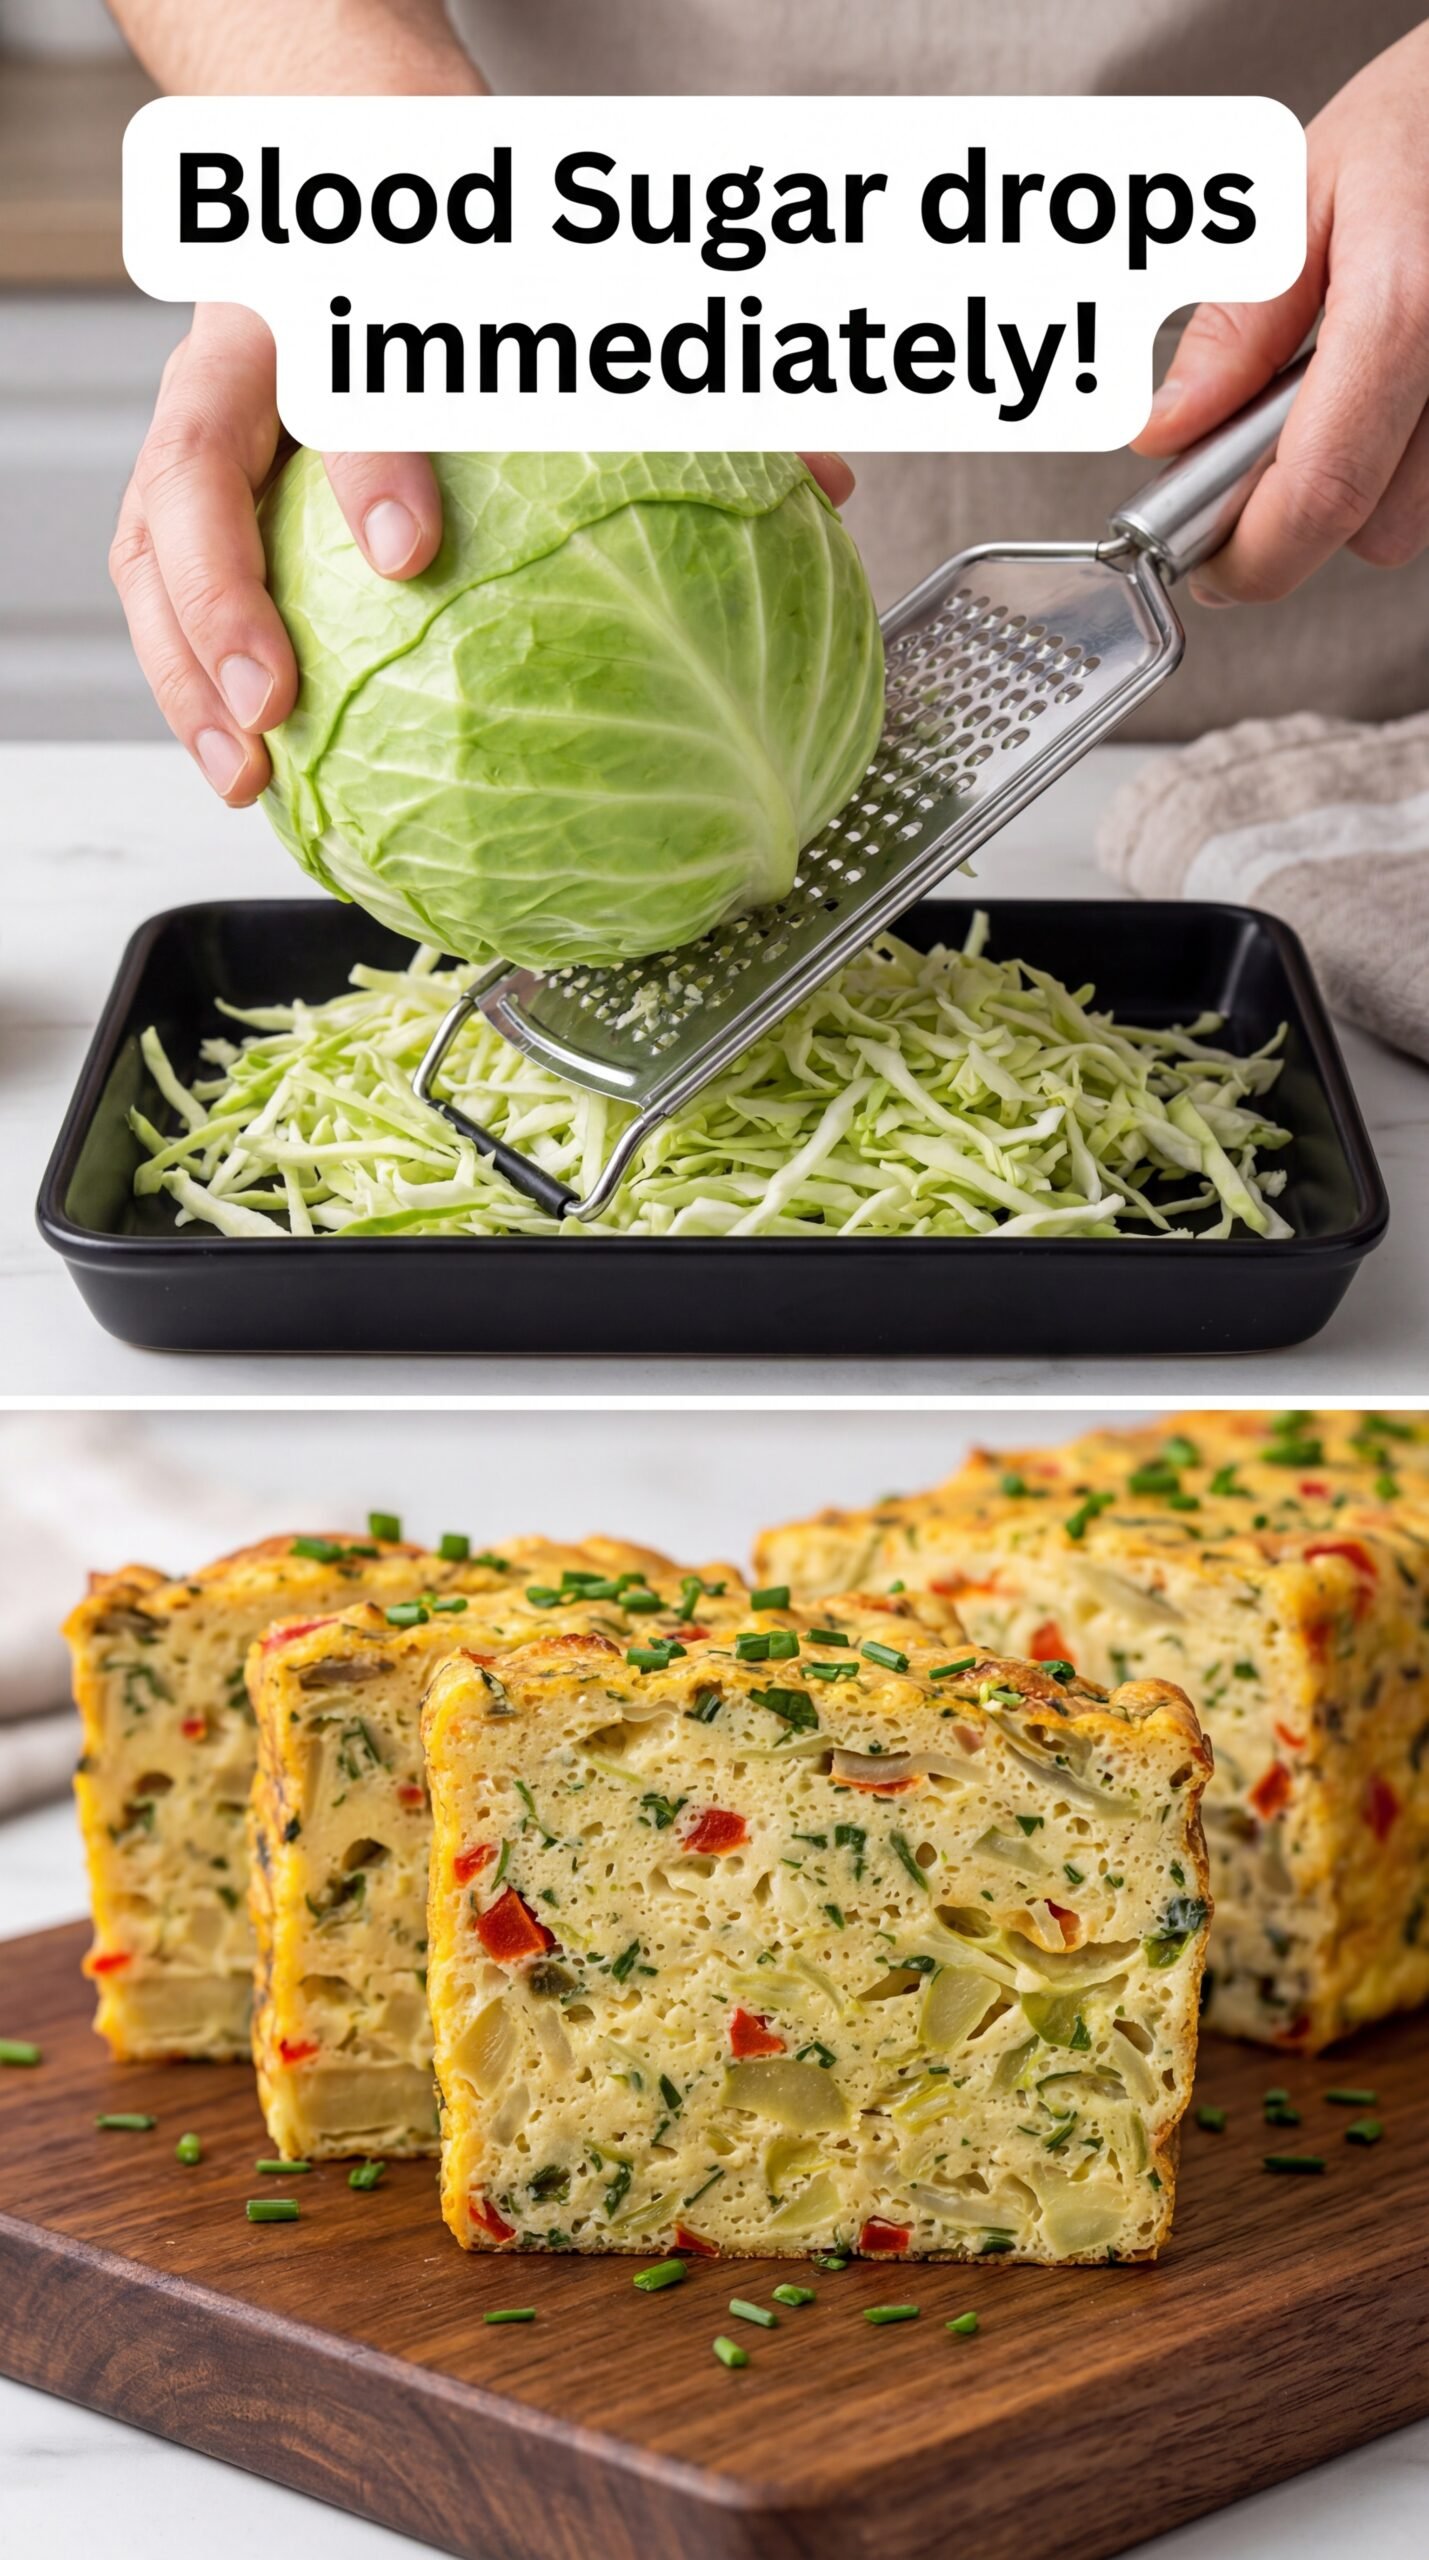


 Wash the herbs
 Prepare the ingredients.
 Blend
Blend Strain (optional)
 Serve
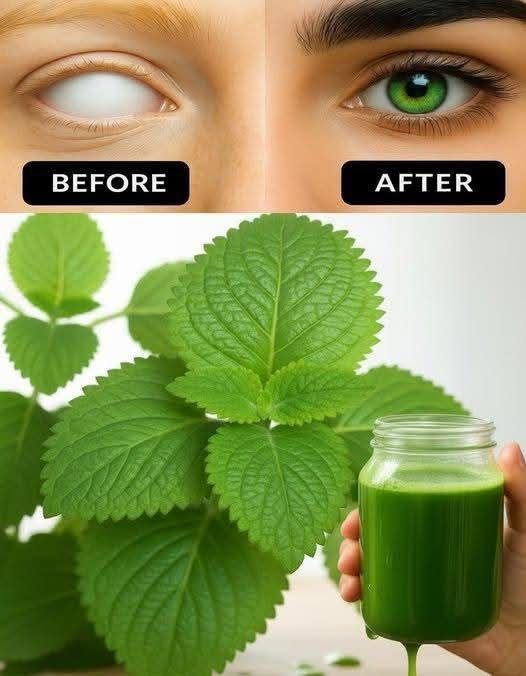
Serve Eye health support
 Immune support
 Anti-inflammatory properties
 Heart health
 Digestive support