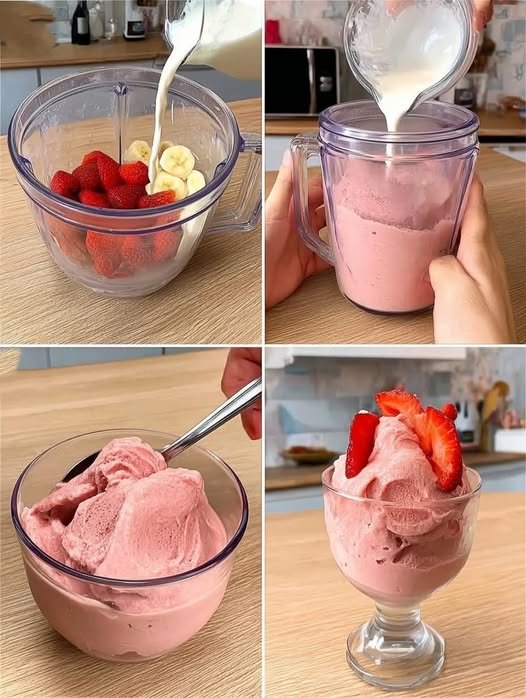
Digestive Support Chia–Flax Smoothie
Description
A high-fiber nighttime smoothie designed to gently support bowel regularity, reduce mild bloating, and promote gut health. This is not a weight-loss miracle drink — it supports digestion when combined with a balanced diet and hydration.
Ingredients (1 Serving)
-
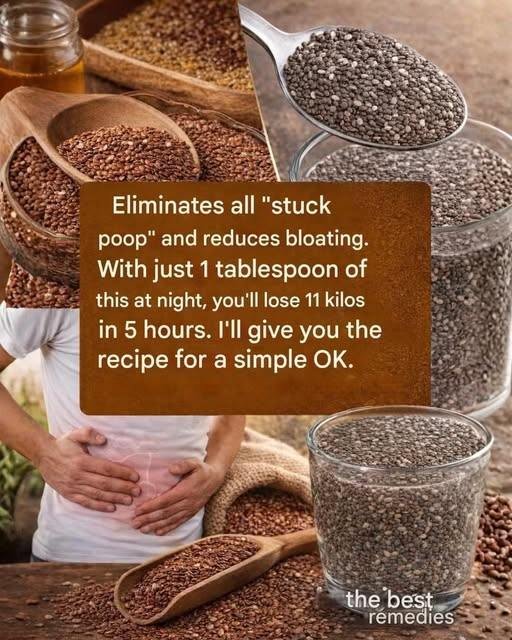
1 tablespoon chia seeds
-
1 tablespoon ground flaxseed (important: ground, not whole)
-
1 cup unsweetened almond milk (or milk of choice)
-
½ banana (optional, for taste and potassium)
-
½ cup plain Greek yogurt (optional for probiotics)
-
½ teaspoon cinnamon (optional)
-
1 teaspoon honey (optional)
Instructions
-
Add all ingredients to a blender.
-
Blend until smooth.
-
Let sit for 5–10 minutes (chia thickens).
-
Drink slowly, preferably in the evening.
-
Drink an extra glass of water afterward (fiber needs water to work properly).
Notes
-
Start with 1 teaspoon of each seed if you’re new to fiber.
-
Too much fiber too fast can cause gas or cramping.
-
Always use ground flaxseed for proper digestion.
Tips for Reducing Bloating
-
Drink at least 2 liters of water daily.
-
Avoid overeating late at night.
-
Walk 10–15 minutes after meals.
-
Limit ultra-processed and very salty foods.
-
Manage stress (stress affects gut motility).
Servings
Makes 1 serving.
Can be used 3–4 times per week.
Approximate Nutritional Info (per serving)
-
Calories: 220–280 kcal (depending on additions)
-
Fiber: 10–14g
-
Protein: 8–15g
-
Healthy fats (Omega-3s): 5–8g
-
Sugar: 6–12g (mostly natural)
Benefits
-
Supports bowel regularity
-
Provides omega-3 fatty acids
-
Feeds beneficial gut bacteria (prebiotic fiber)
-
May reduce mild bloating over time
-
Helps you feel full longer
Q & A
Q: Can this make me lose 11 kilos overnight?
No. That claim is false and unsafe.
Q: How much weight can I realistically lose?
Healthy fat loss is about 0.5–1 kg (1–2 lbs) per week with proper diet and activity.
Q: Can I drink this every day?
Yes, but monitor how your body reacts to fiber. Hydration is essential.
Q: Who should avoid this?
People with bowel obstruction, severe IBS, or on certain medications should consult a healthcare provider before increasing fiber intake.
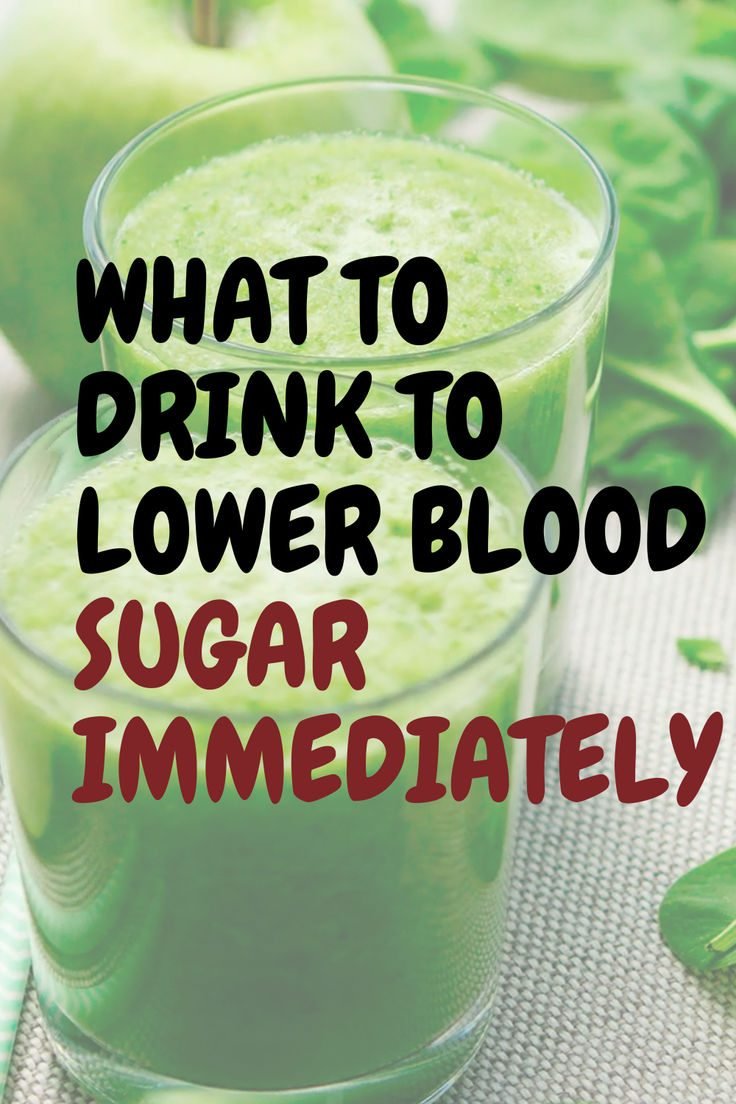
 High fiber helps slow glucose absorption


 It does not cure diabetes and does not guarantee blood sugar below 100.
 No. This is a supportive drink, not a treatment.
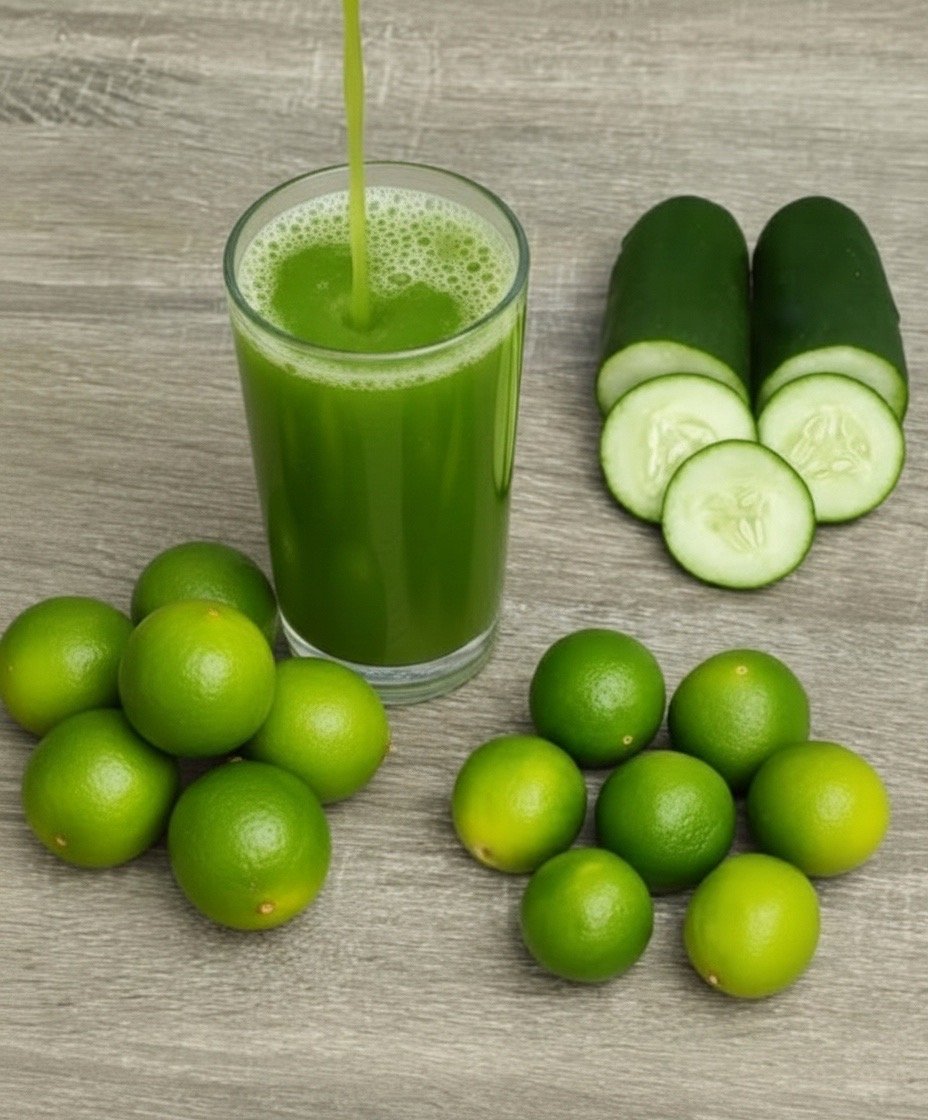
 Hydration Support – Cucumbers are ~95% water.